
Renderosity Forums / Blender
Welcome to the Blender Forum
Forum Moderators: Lobo3433 Forum Coordinators: bwsupport
Blender F.A.Q (Last Updated: 2026 Sep 17 11:58 am)
Welcome to the Blender Forum!
Your place to learn about Blender, ask questions,
exchange ideas, and interact with the other Blender users!
Gallery | Freestuff | Tutorials
Visit the Renderosity MarketPlace. Your source for digital art content!


Subject: Toni's adventures in Blenderland

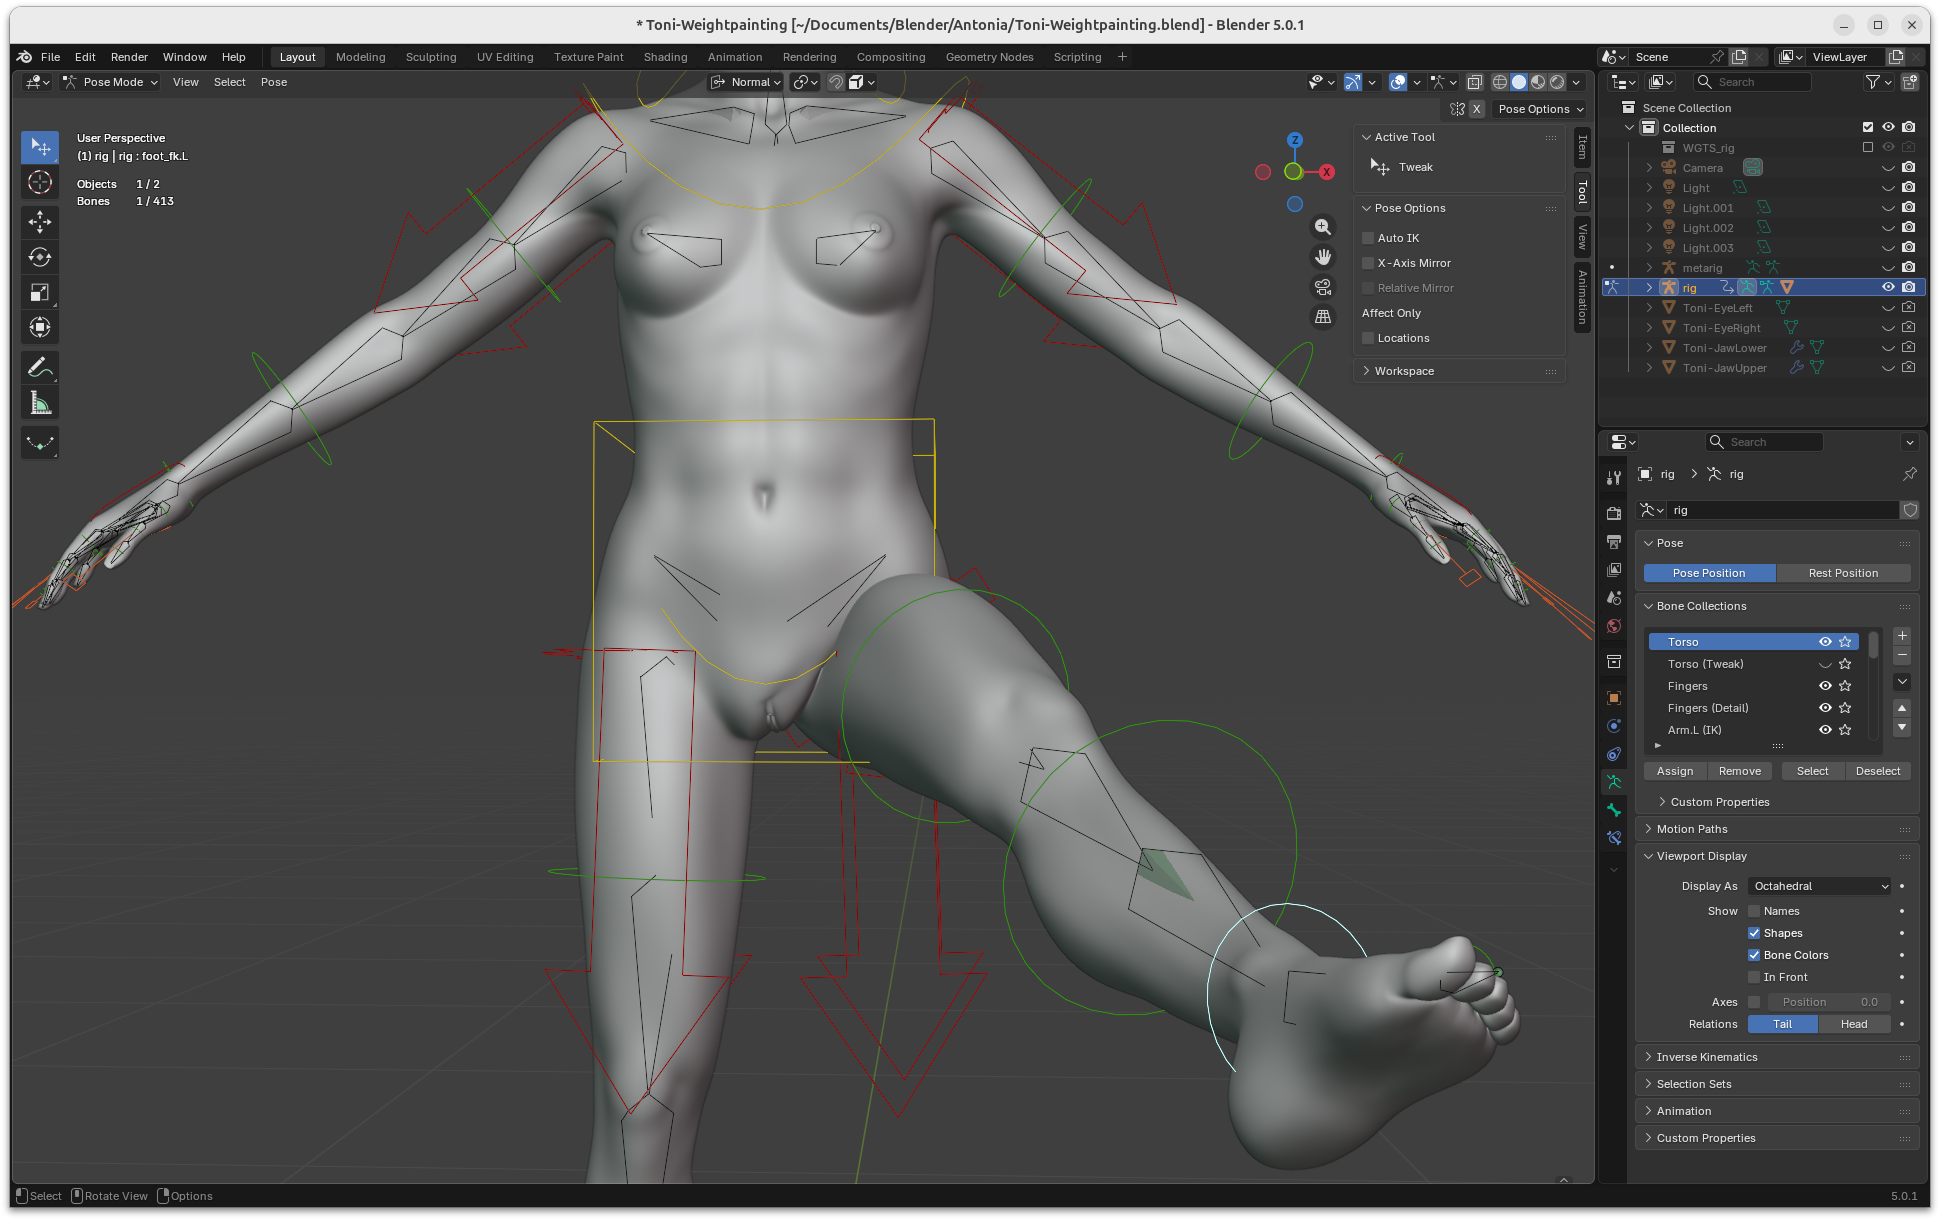
I actually just decided to abandon that attempt and regenerate the Rigify rig with the pelvic helper bones removed, as they're getting in the way of weight painting. I think I'll restart from the toes again, because there's a bending problem there that might require some extra edge loops. No biggie, I'm effectively learning (or relearning) weight painting while at the same time testing the appropriate construction of my mesh, so I never expected it go smoothly from beginning to end.
-- I'm not mad at you, just Westphalian.
So, change of plans: originally, I meant to go with Rigify's standard single toe policy and add individual toes later. But for bare feet a single toe bone simply can't bend right. I kinda had an inkling of how to add proper toes with Rigify (basically like one does fingers) although I wasn't feeling very confident yet about tweaking the metarig on my own. Fortunately, there's a cgdive course that covers it (for an actual skeleton figure, but that's close enough) which means I'll have my guard wheels. Then I realized that it's probably best to add a little bit more detail to the foot mesh anyway in order to support individual toes, so it's a good thing I'm thinking about this now. Apart from needing a couple more edge loops per toe, I noticed some ugly artifacts with the single toe bending due to badly placed poles, so I'm fixing that, too.
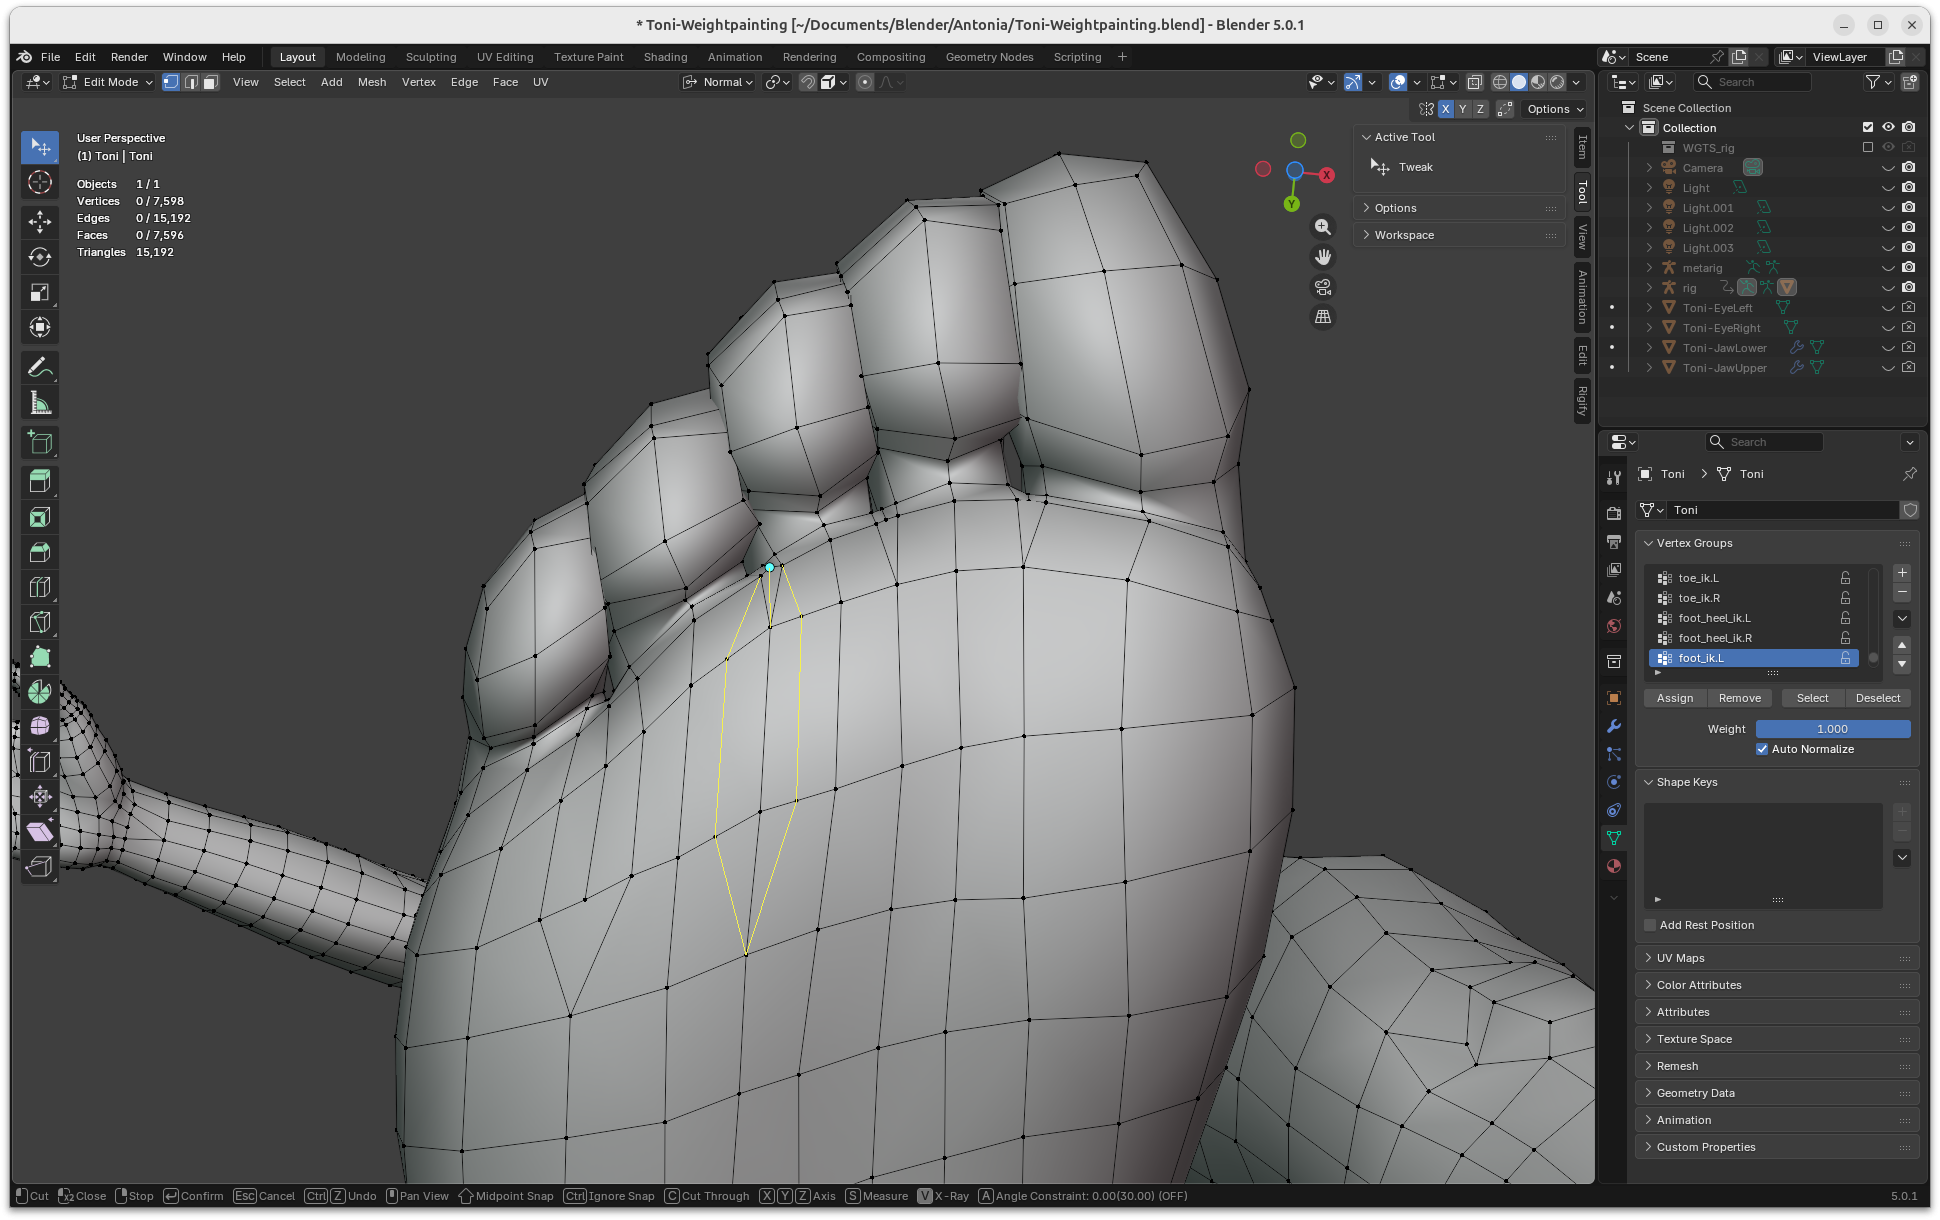
-- I'm not mad at you, just Westphalian.

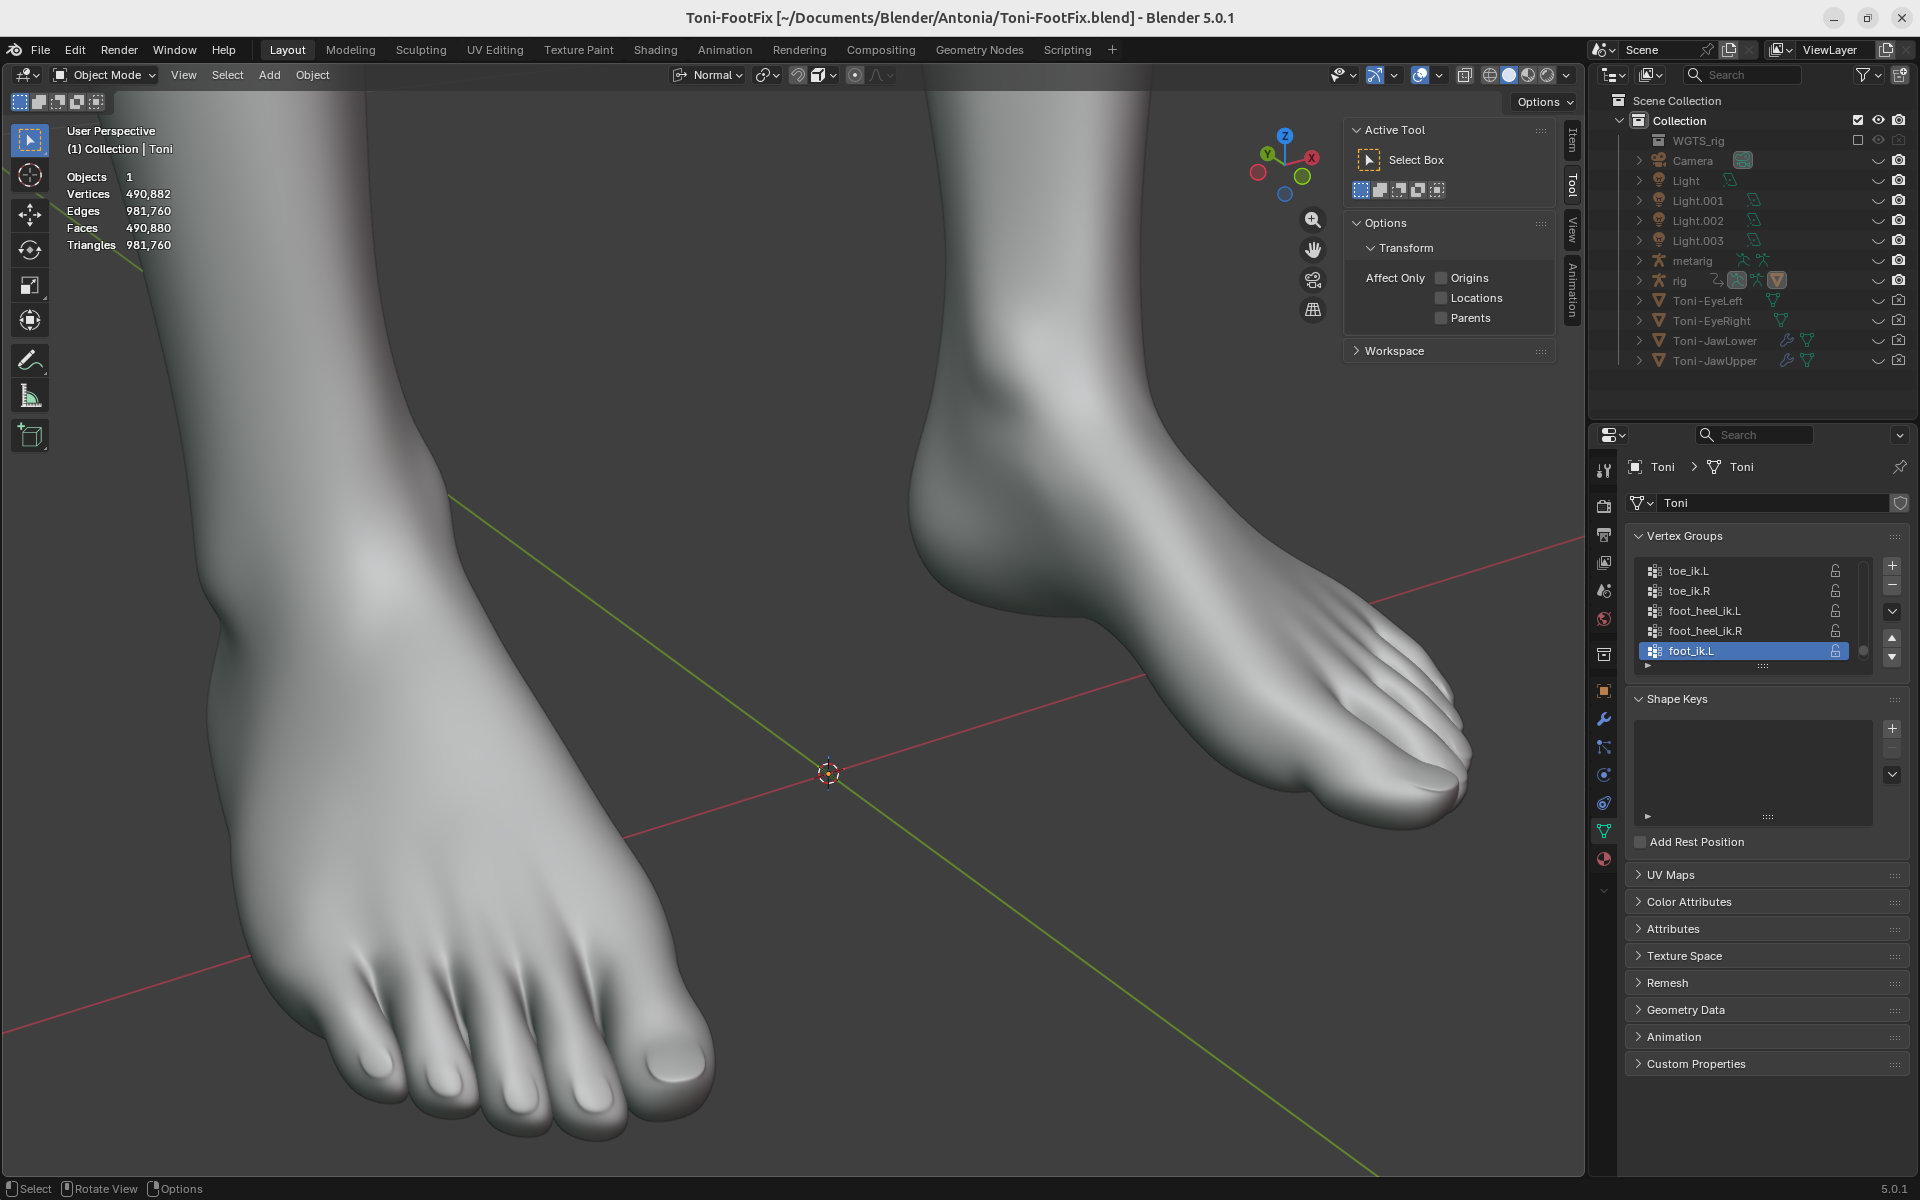
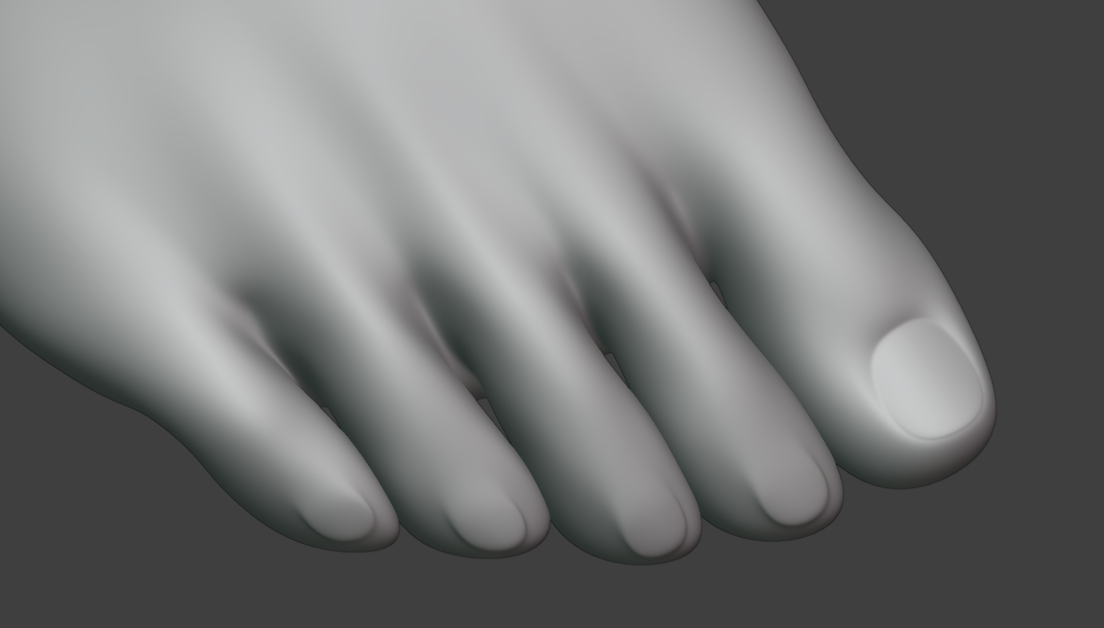
Good catch! Something's been bothering me about this particular part of the foot for a long time, but I never quite understood it. I think what I'm probably missing is the thinning in the upper part of the heel bone, before it meets the main foot bones, whatever they're called.You could probable slim down that heel some while you're down there, its looking a bit ... thick.
-- I'm not mad at you, just Westphalian.
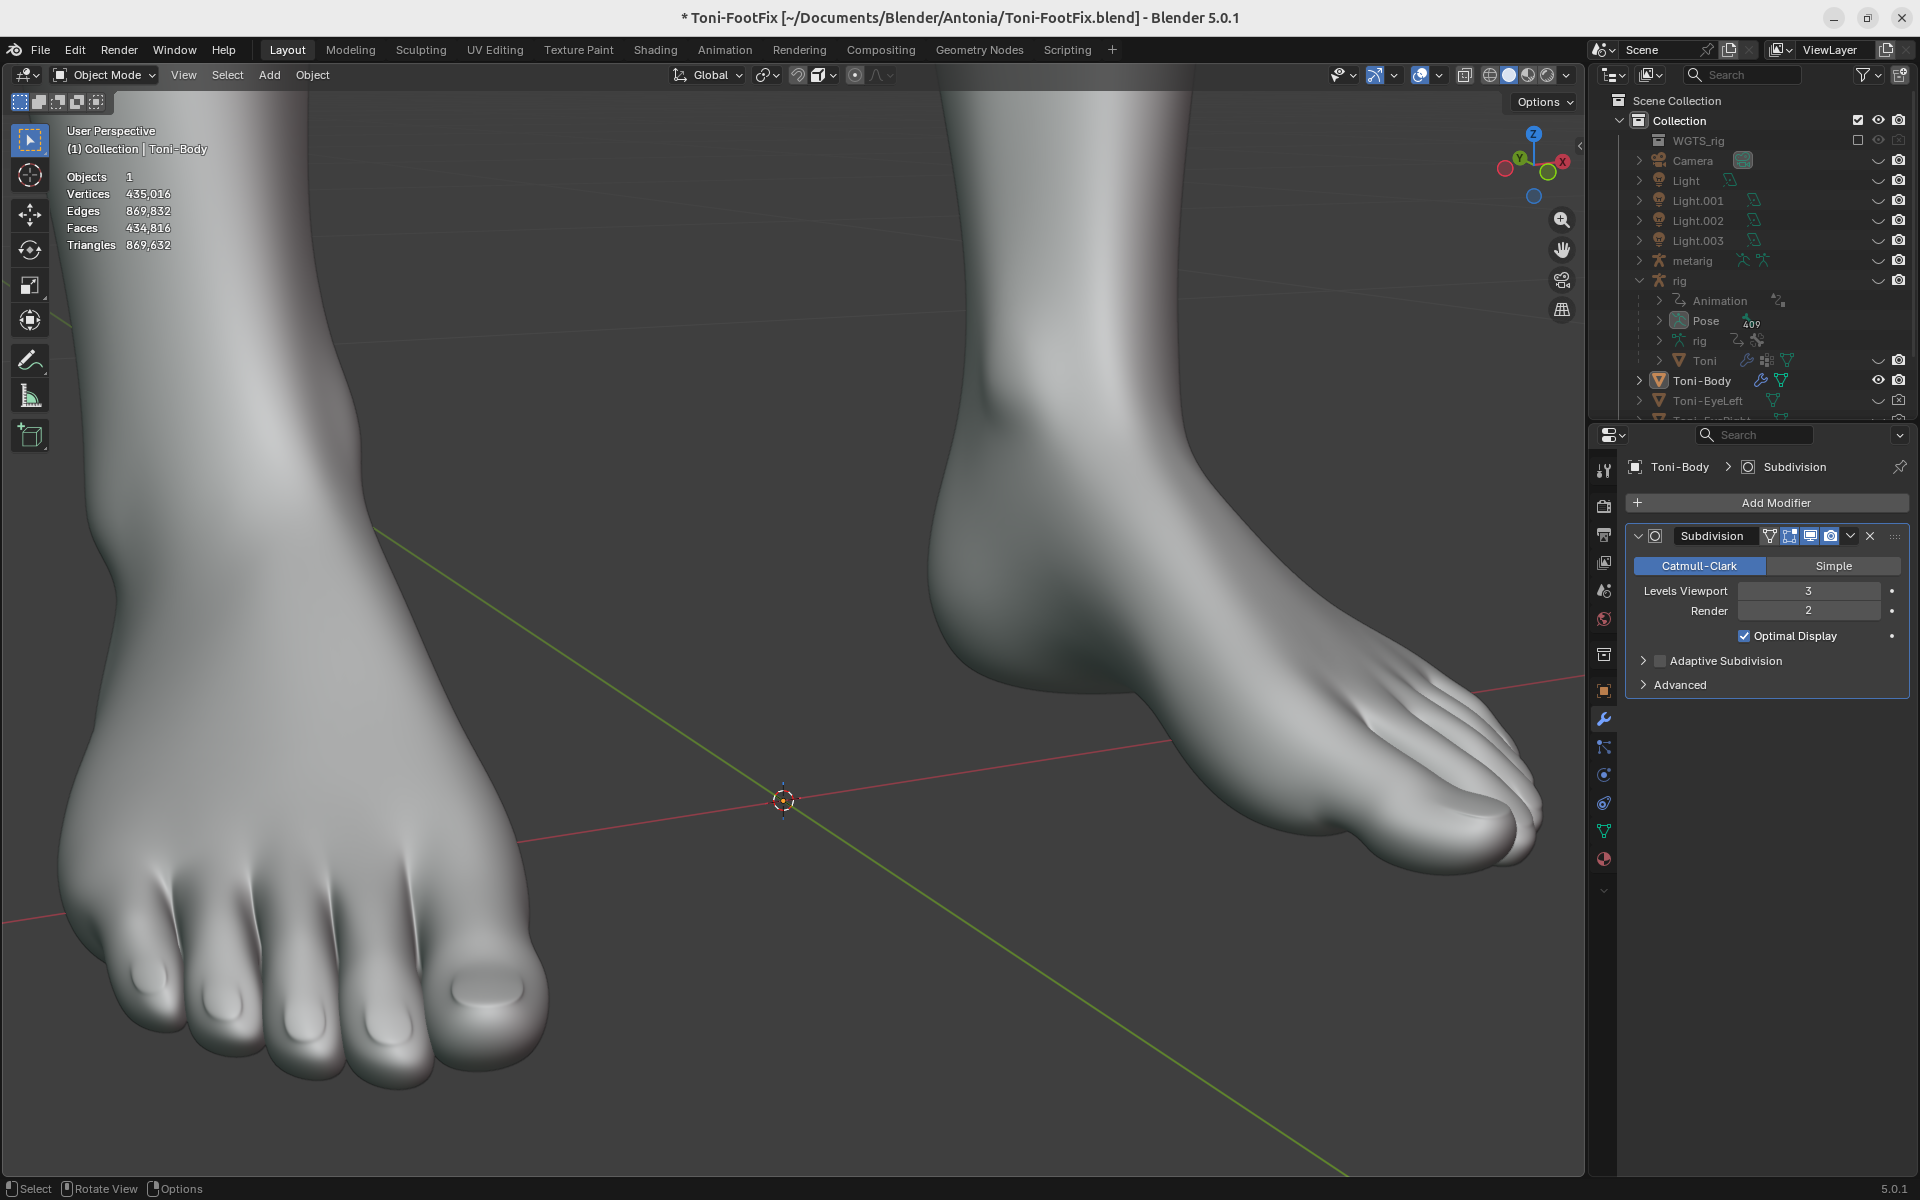
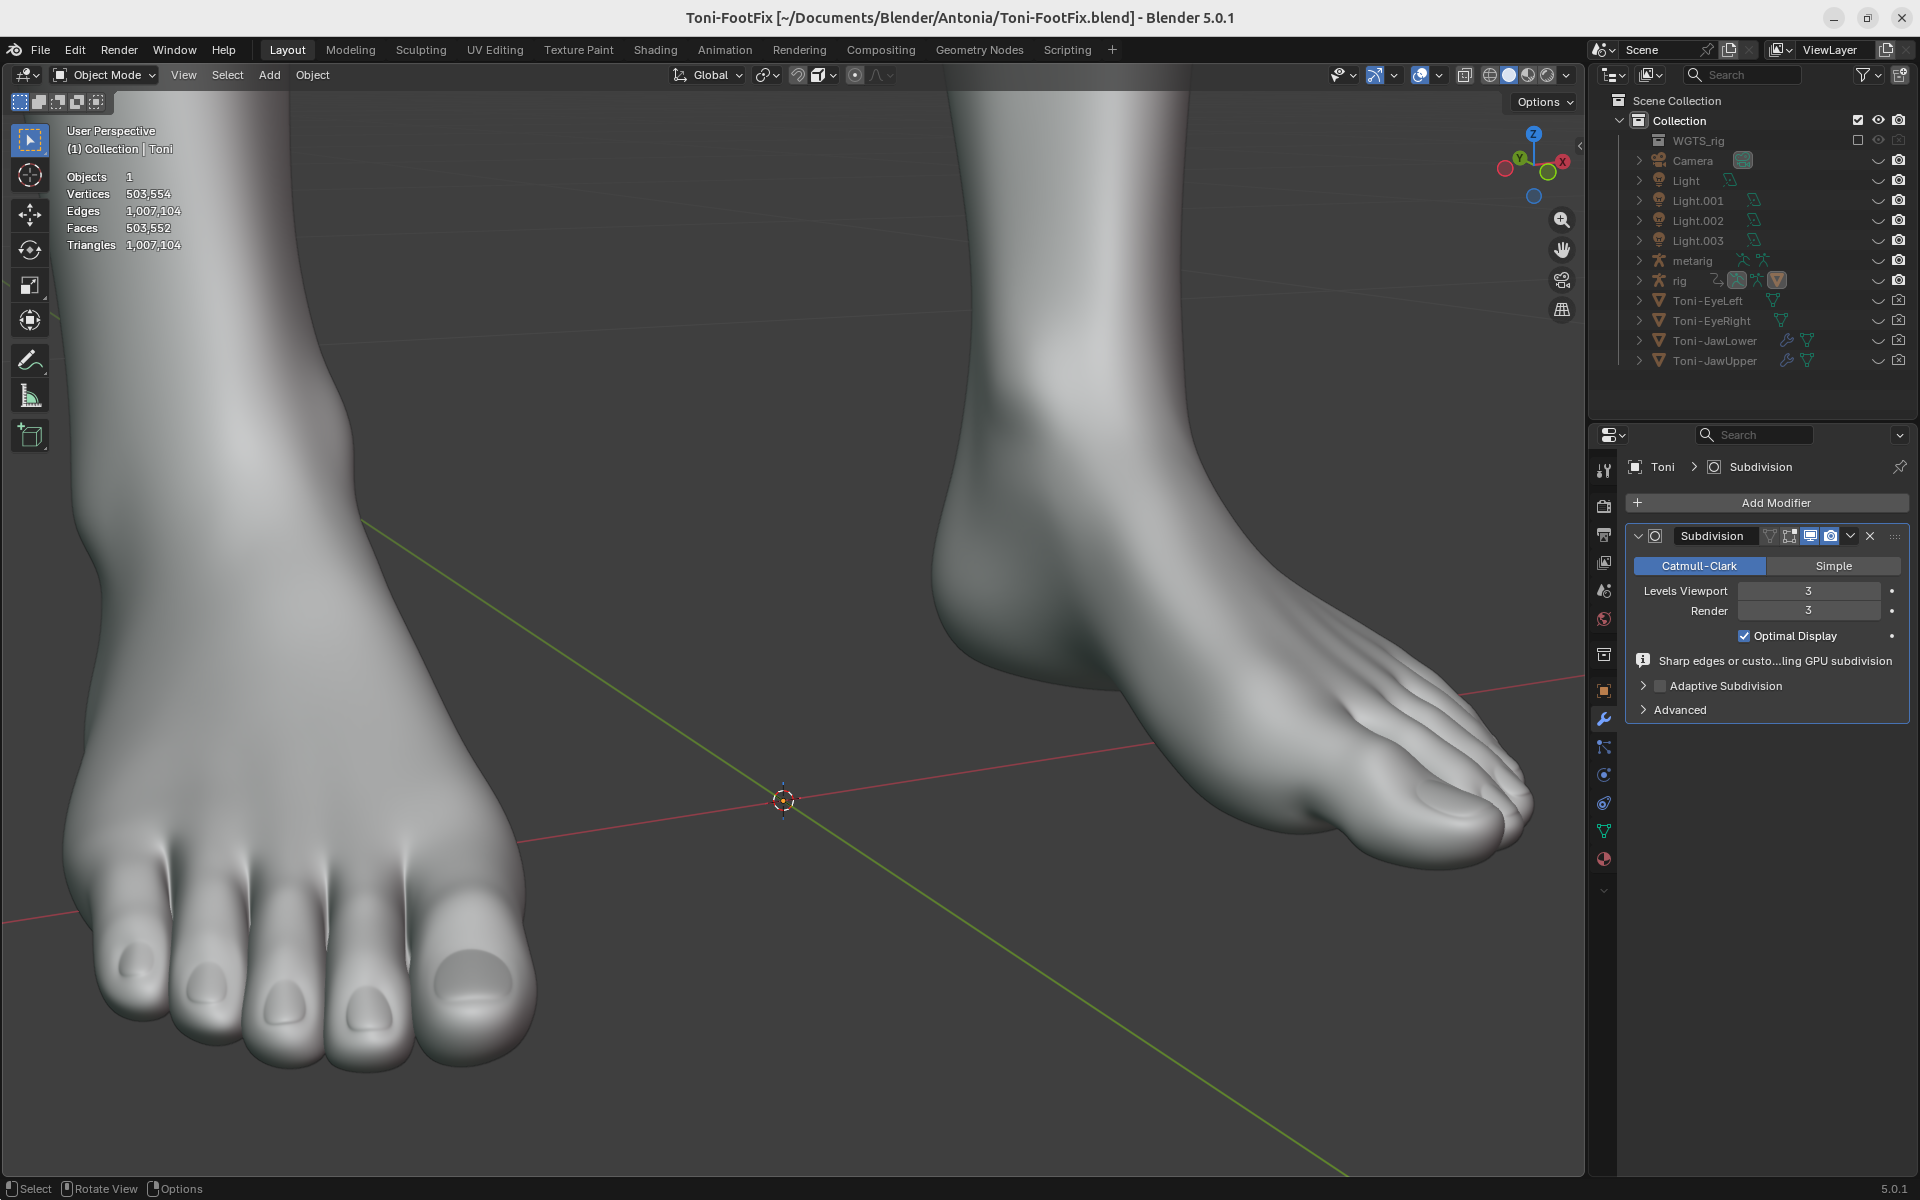

hborre posted at 8:42 AM Tue, 6 January 2026 - #4502848
Hmm, I just googled up a bunch of images, and can see the extra separation in a few, but certainly not most of them. But I did have a bit too much visual separation between all of the toes for a while there and struggled to fix it, so in end I may have overcompensated.If we are looking at realism, the first and second piggies should have more separation as the model stands. However, that might interfere with shoes.
Feet are somewhat tricky. Do I use a standing, neutral or in-shoe shape as the default? I went for more or less neutral with Antonia, so that they look right when she lifts them up from the ground, unlike the completely flattened soles I've seen in some older Poser figures (probably designed to have shoes put on them). But since with this new version the toes as well as the metatarsals will be fully rigged, it should be relatively easy to both spread and flatten them out a bit for a fully realistic barefoot standing pose as well as squeeze them into shoes. That said, if I ever decide I need to render her from below while walking barefoot on a thick glass pane, I may still need to create a shape-key to get the pads and balls shaped just right.
-- I'm not mad at you, just Westphalian.
Showing off my progress on Toni's slightly advanced foot rig. This is mostly just following a cgdive tutorial, but I did do the (effectively quite easy) linking together of the metatarsal rotations myself because the analogous function Rigify has for the palm does not work for the foot, and cgdive didn't think it was very useful. This is not weight-painted yet and I haven't been able to turn the automatic weighting of the original toe bone off, which explains the distortion of both the middle toes in this image.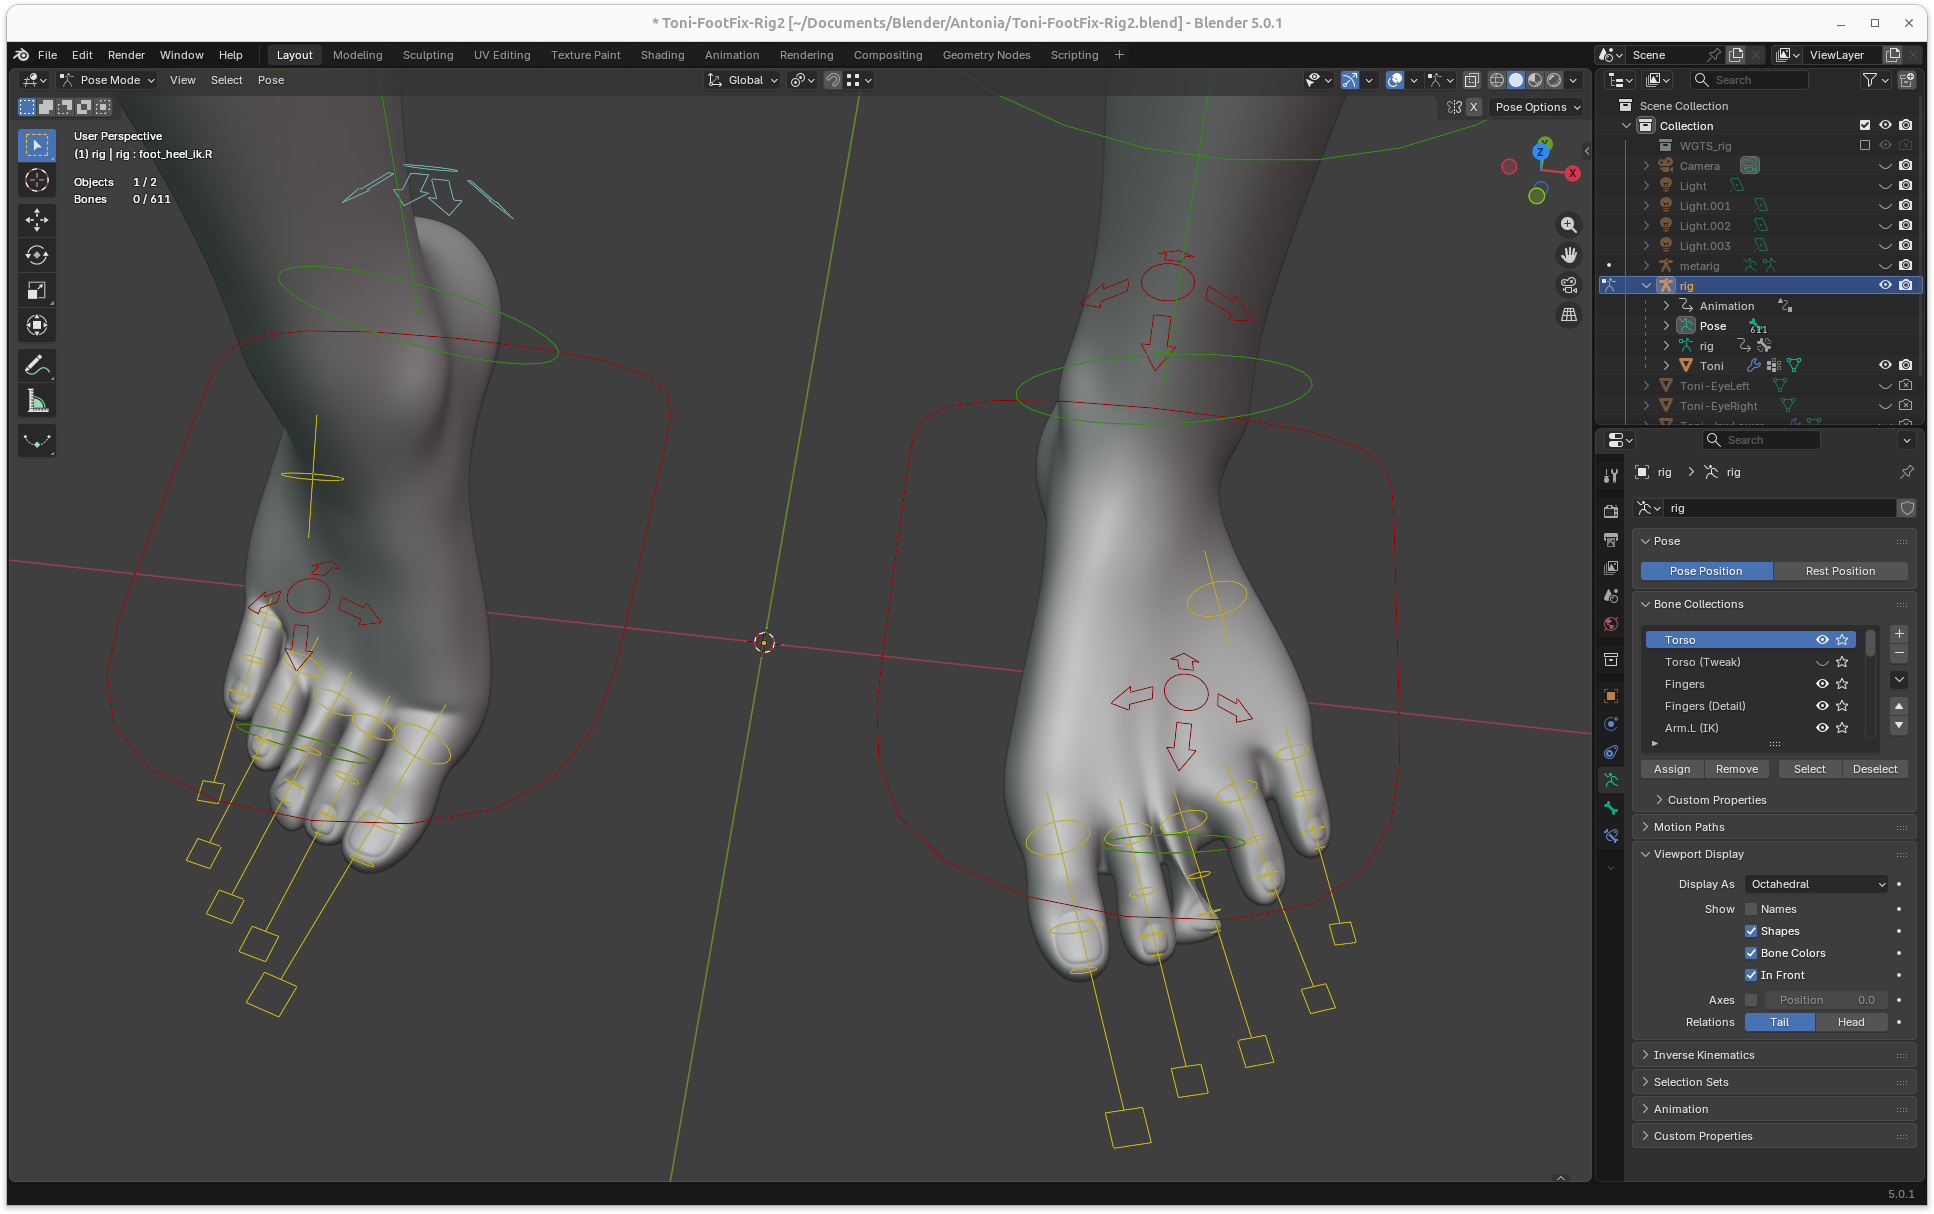
-- I'm not mad at you, just Westphalian.
Ah, so a trick for improving the automatic weights is to generate the rig, then make the generated deforming toe bones non-deforming before computing the weights. That seems reasonably practical given that AFAIK the weights only have to be recomputed if bones are added, removed, or renamed.
-- I'm not mad at you, just Westphalian.
So, getting serious about weight-painting, and after some headaches I decided to give the breast bones zero weights for now. Hopefully, that will keep them completely out of any painting I do in that area so that I can get the chest and shoulders to work right before adding an extra complication. Due to the magic of "auto normalize", it may not, though, so I'll just have to see. Technically speaking, I don't really need breast bones, it just seems that they might be nice to have.
Giving zero weights to a deforming (DEF-) bone is easy. Select the mesh, go into edit mode, select all vertices, find the vertex group corresponding to the bone in the data section, select it and click "remove". That's also a way to take care of the main toe bones being deforming by default, which I don't want for my particular tweak on the foot rig.
Interesting to note that Poser does not have this issue as such because the bones that can influence a given mesh vertex are strictly limited by the actor hierarchy - or at least that was my experience when I last tried to weight-paint a figure a few years back. Which of course can create problems of its own and is a less flexible system in general.
-- I'm not mad at you, just Westphalian.
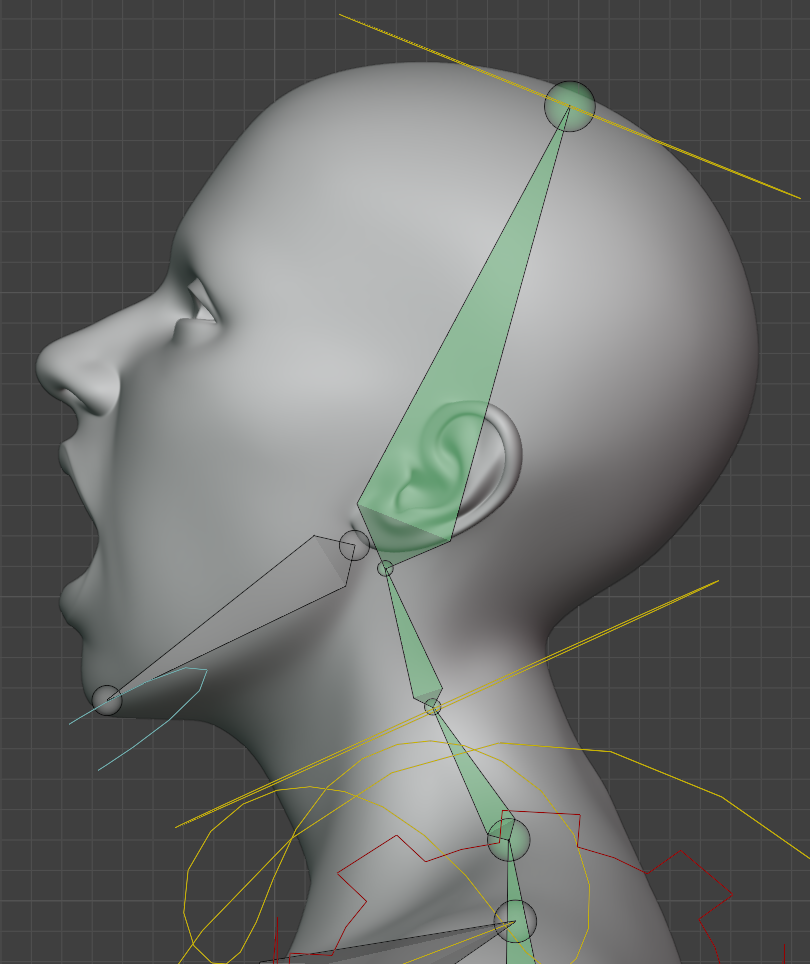
In more positive news, I think I did a decent job on the head and jaw, as demonstrated by Toni's "invisible banana" pose here. And before you say it, yes, the lips could still use some fine-tuning, but one can always do another pass for little tweaks and corrections later.
-- I'm not mad at you, just Westphalian.
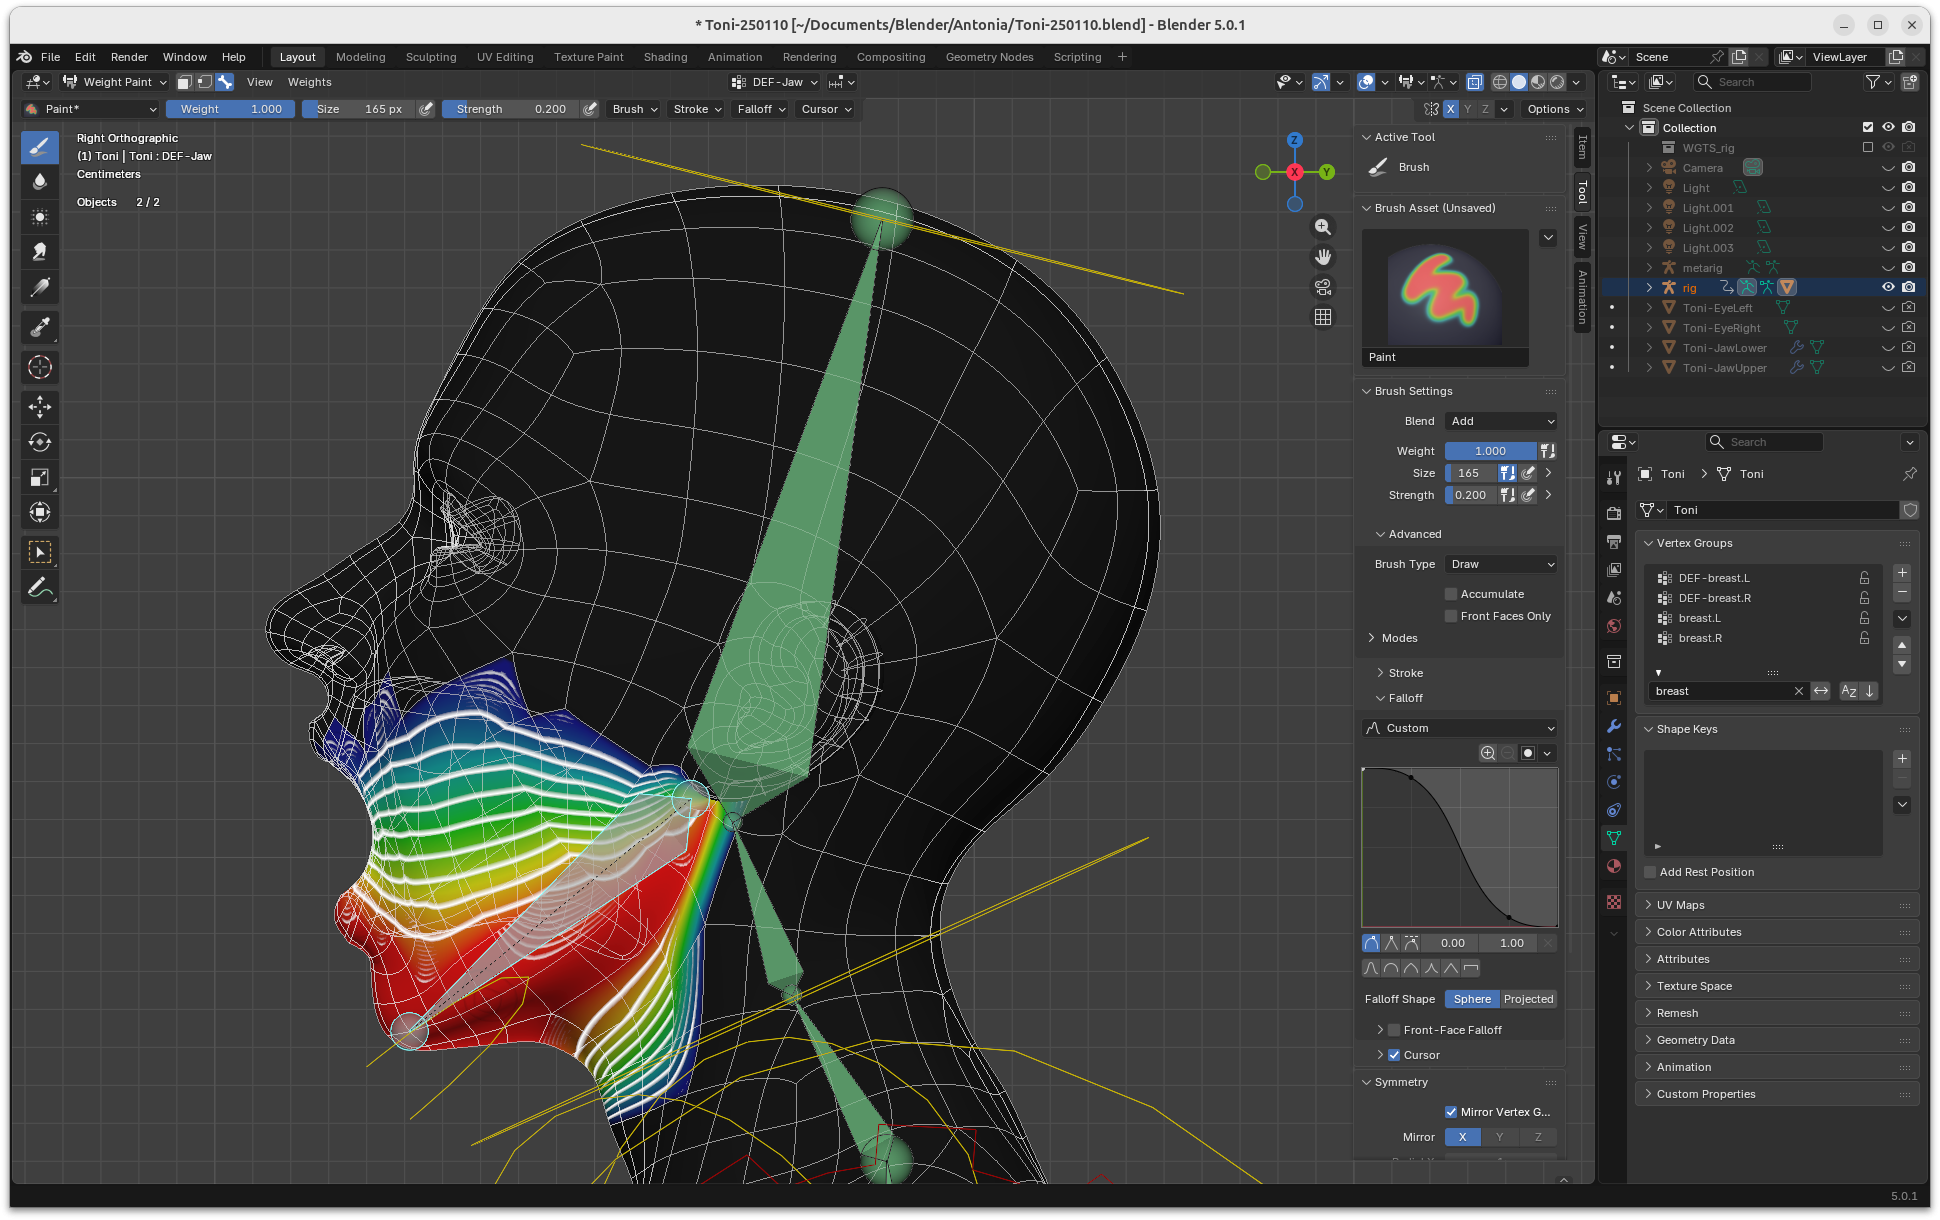
So, does anyone know a good tutorial on weight painting in Blender? I've been following the cgdive tutorials on rigging, which in general I found very useful, but when it comes to weight painting, his setup just does not work for me. Automatic weights plus auto-normalizing are just a total mess for any areas where a bunch of bones come together. I'm starting to think maybe it's better to start with zero weights everywhere and lock all the vertex groups except two or three at a time.
Honestly, at this point I'd almost prefer to get back to weight painting in Poser, if it weren't for the wonky navigation.
-- I'm not mad at you, just Westphalian.
LOL, I searched for "Blender 5 weight paint" on YouTube, and the first or second hit does exactly that. Not sure I really want to start from zero for a full figure with lots of deforming bones, but locking things to keep auto-normalize from wreaking havoc is definitely a go.I'm starting to think maybe it's better to start with zero weights everywhere and lock all the vertex groups except two or three at a time.
-- I'm not mad at you, just Westphalian.

When I want to learn something new, I like to find a book or a series of video tutorials that teach it. For Poser, the Poser Pro 11 tutorial by Renderosity looks like a good way to start: "Poser Pro 11 Tutorial: Introduction to the series"
Of course that's just covering the mechanics. There's a lot more to learn that's not Poser-specific: posing, composition, camera use, lighting, colors, etc.
-- I'm not mad at you, just Westphalian.
So, the plot thickens: when I lock some vertex/weight groups, things get even stranger. Drawing with the subtract brush on an area where only one group is unlocked, but has no (zero) weights there, a little weight is actually added. This stops happening when I check the option that restricts drawing to vertices already in the group. What that seems to indicate is that drawing in that area adds vertices to the group and gives them some default positive value. I can work with that, especially if the clean operation for weights not only sets weights under a certain limit to zero, but also remove the corresponding vertices from the group. So, most of the time, I would have the restrict option on, except when I actually want to extend the area of influence of a specific bone, not just adjust its weights.
LOL, not sure if that makes any sense to anyone. I'm basically mumbling stuff to myself, but unless you have at least some vague idea what I'm on about, it's probably not relevant for you anyway.
-- I'm not mad at you, just Westphalian.
Okay, so it looks like the weight cleaning operation only removes vertices from groups when it's done in object mode. In weight painting mode, the weight is set to zero, but the vertex remains in the group.
So, a potential workflow for me might looks something like this: parent the mesh to the armature with automatic weights, do a weight clean-up in object mode to reduce the influence zone of each bone to something more sensible (using 0.2 as the minimum preserved weight looks reasonable here), go through the bones and remove more areas of influence I'm sure the bone should not have, with an additional individual clean-up after doing each bone, then start fine-tuning the weights with "restrict" on. If I cut off too much of a bone's area of influence, I can always carefully add it back later with the "restrict" option temporarily off.
We'll see how it goes. I might still have to make further adjustments, but I'm glad I'm starting to get an idea of how to deal with some of this weird behaviour.
-- I'm not mad at you, just Westphalian.
I should point out that the cgdive tutorials I mentioned are quite old when measured in Blender time, so it's entirely possible that there have been some changes in the meantime and the workflow and setup they suggested was perfectly adequate for the version they used at the time.
-- I'm not mad at you, just Westphalian.
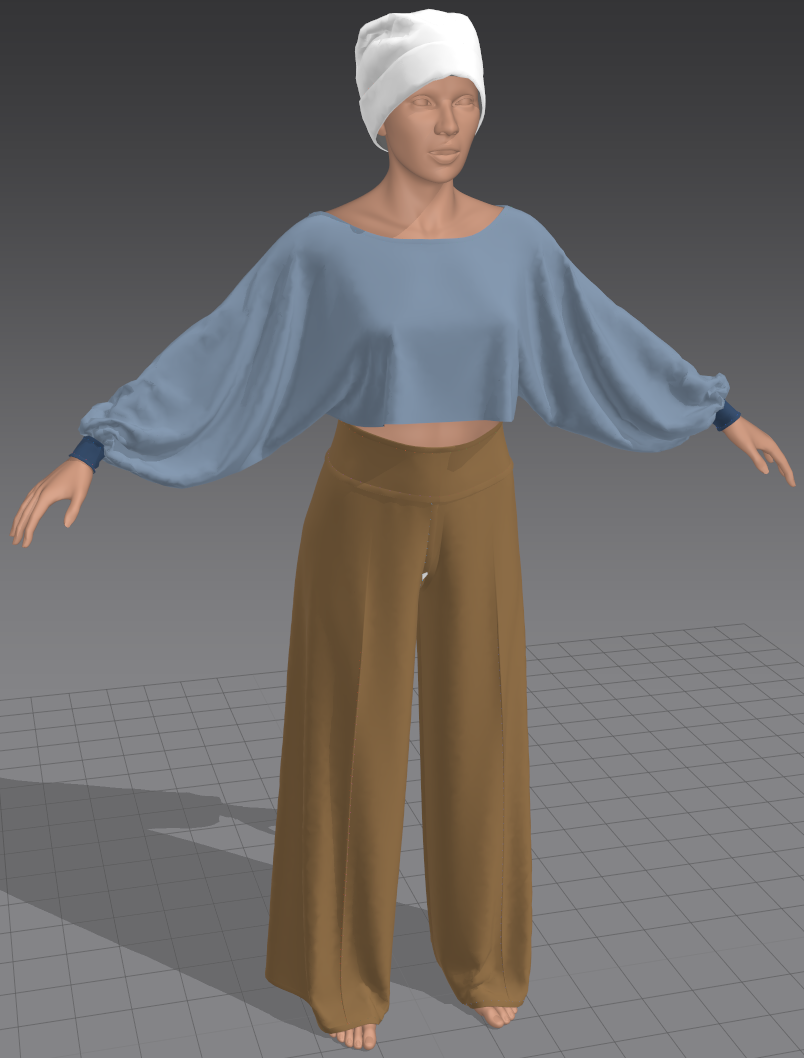
Toni visiting Marvelousdesignerland to try on some LaFemme2 clothes I made a while ago. In general, these will need to be scaled down quite a bit to fit her, but in this case the style works quite well oversized. If I decided to convert a bunch of LF2 clothes, I could of course scale up the avatar to match LF2 better and then scale down the exported clothes later. I'd have to adjust her A-pose a bit to match LF2's, anyway.
I can run MarvelousDesigner under Linux via Wine, but unfortunately it tends to crash on me whenever I try to interact while another operation is still running, so in practice that's a no-go. I'll try it on my private Windows laptop next. It's only a Surface, but hopefully it will be able to deal. There is now a Linux version of MD, but it's only available to enterprise clients (i.e. studios) at the moment. With some luck, that's going to change in the future.
-- I'm not mad at you, just Westphalian.
Content Advisory! This message contains nudity
Hmm, it looks like MD just likes to crash every now and then under Wine when it's asked to change the pattern in any way. If I get ambitious, I might have a look at the stack traces and see if there's any discernible hint in there regarding what went wrong.
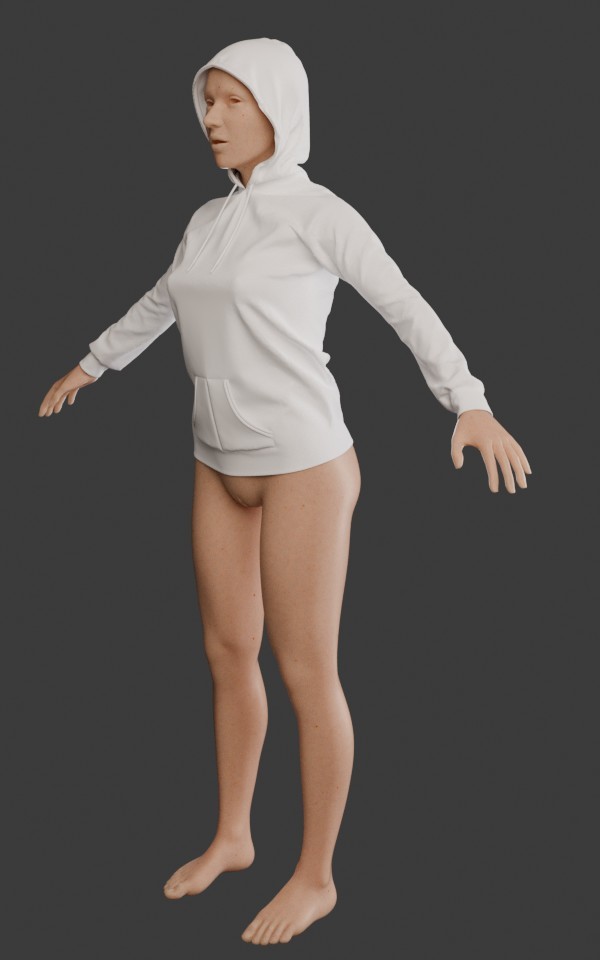
Anyway, since I've got six days left on my subscription, I decided to go through all my saved garments and save the ones that I still like and can make to fit this iteration of Toni as .obj files for Blender. Such as this old hoodie that never got published for Poser.
-- I'm not mad at you, just Westphalian.
It seems that the MD crashes were due to a missing function in a DLL, and this appears to have been fixed in a more recent version of Wine. I’m not going to chase this up right now, but once I feel ready to make some new clothes a few months forward, I’ll grab the latest MD version at that point for a free trial and check again if I can get it to work reliably under Linux.
Using my Surface instead is an option despite the limitations of the graphics card, but I don’t love the tiny screen for this kind of thing. Can a surface drive an external monitor via USB? No idea how computers work these days, LOL.
-- I'm not mad at you, just Westphalian.

There was always a lot of concern about the quality of Antonia's knee bends, in Poser. I'm curious about how well that works in Blender.
===========================sigline======================================================
Cage can be an opinionated jerk who posts without thinking. He apologizes for this. He's honestly not trying to be a turkeyhead.
Cage had some freebies, compatible with Poser 11 and below. His Python scripts were saved at archive.org, along with the rest of the Morphography site, where they were hosted.
I weight-painted the knees - and elbows, I think - early on with pretty good results. But then I threw that away because I needed to make some fundamental changes before I could work on the more difficult regions, so I can't show anything right now.
Blender appears to use some magic to make joints look better even without any manual tweaking, but I don't know any details. For the knees, the main issue was making the knee cap keep its shape and move to the correct position, and then there was a little bit of tweaking in the back to get a nice fold. I did some work to improve the topology beforehand, so that may have helped, too.
I'll probably still add a corrective shapekey - what's called a JCM in Poserland - at some point because I'm a perfectionist. 
-- I'm not mad at you, just Westphalian.
How much can Blender actually change the way its joints handle, given its widespread use as a development tool for game assets and such? I wonder. They need to at least keep an option in place for joints to handle in Blender as they will once exported as fbx or whatever. Yet I could imagine that they might introduce better-quality joint handling, for use with Blender's prestige animation projects.
I'm just pretty curious, but not enough so to re-learn Blender again. Every time I learn some things, They break everything, to versions later. Umm. If you have knees and other tricky joint spots to show off, I'll be interested, is the thing.
===========================sigline======================================================
Cage can be an opinionated jerk who posts without thinking. He apologizes for this. He's honestly not trying to be a turkeyhead.
Cage had some freebies, compatible with Poser 11 and below. His Python scripts were saved at archive.org, along with the rest of the Morphography site, where they were hosted.
Cage posted at 9:29 AM Tue, 20 January 2026 - #4503291
Blender can handle joints however you want it to. From half-baked if you slap a basic-generic rig into it, to passable with some weighting and a little experience, to near-perfect complete with skin flexion if you're willing to put the work [and computational power] in to it. It is very much a system that you will get out equal to what you put in.How much can Blender actually change the way its joints handle, given its widespread use as a development tool for game assets and such? I wonder. They need to at least keep an option in place for joints to handle in Blender as they will once exported as fbx or whatever. Yet I could imagine that they might introduce better-quality joint handling, for use with Blender's prestige animation projects.
I'm just pretty curious, but not enough so to re-learn Blender again. Every time I learn some things, They break everything, to versions later. Umm. If you have knees and other tricky joint spots to show off, I'll be interested, is the thing.
@odf Weighting looks pretty good in the torso.
Core i7 950@3.02GHz | 12GB Corsair Dominator Ram@1600mHz | 2GB Geforce GTX 660
Lightwave | Blender | Marmoset | GIMP | Krita
Content Advisory! This message contains nudity
I had an issue with a vertex in the foot having a spurious positive weight in some unknown group that it had no business being in, and while I need to eventually learn how to debug this kind of thing, I decided to for now just restart my weight-painting from scratch because realistically, there weren't any great results in there that would have needed preserving.
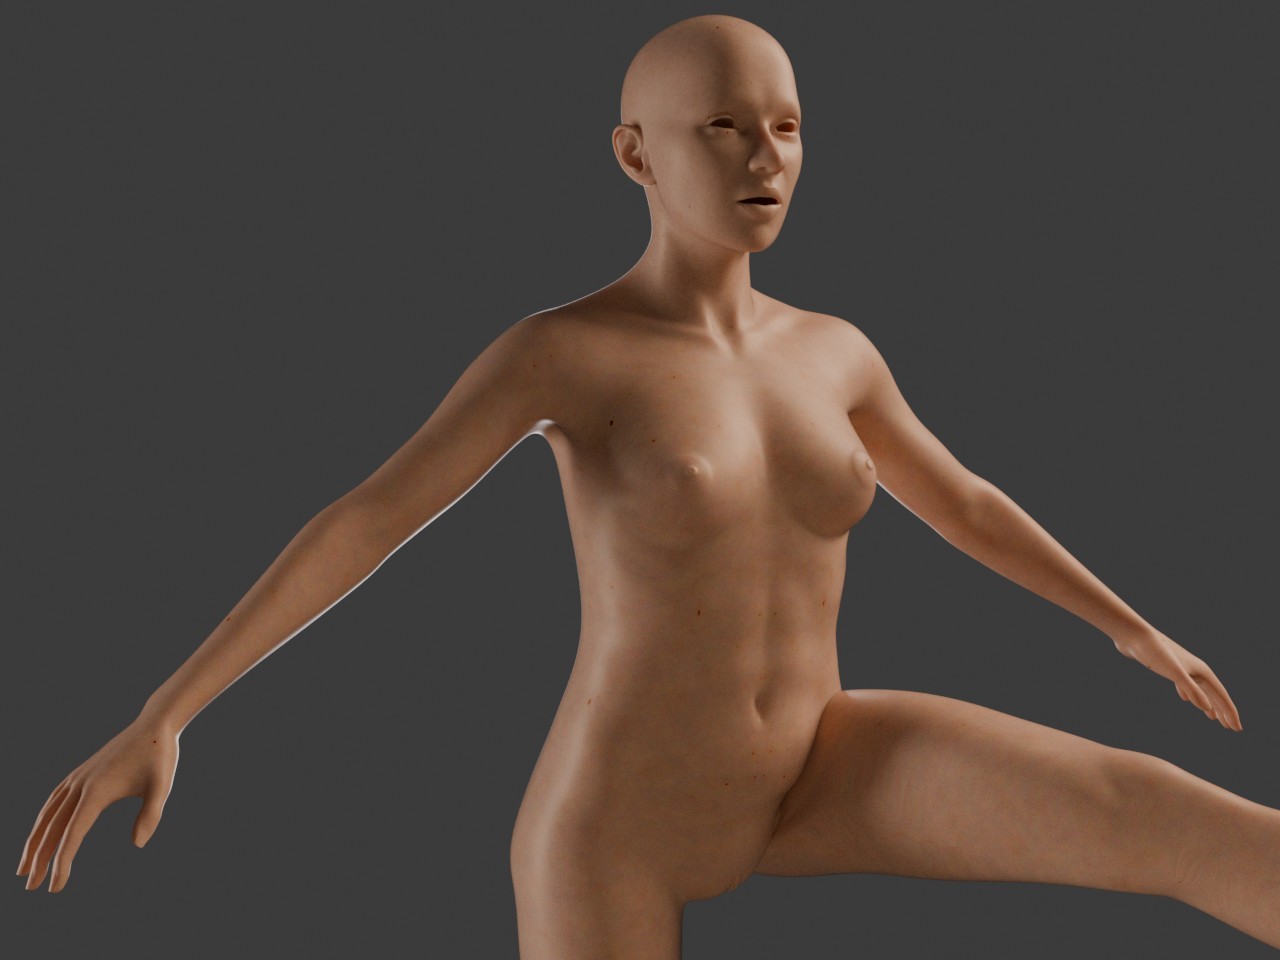
So this time around, I started with the hip, which is always challenging. There's a big range of motion to consider and the question of how the crotch and underbelly should deform with the thigh movements. The easy way out would be to just have it stay put and ignore the thighs completely, but then if the figure goes in a crouch or squat, it's going to stick out like a sore ... umm ... thing that sticks out when it's sore. If, on the other hand, I let the thighs influence the crotch and underbelly, I have to mix the weights for both thighs very carefully so that the labia and other parts don't explode on me. So, that's where I'm at right now, and I haven't even mentioned potential complications with the butt and hip bone.
Here's a quick render of what things look like at the moment. Incidentally, I reduced the SSS scale from Blender's default value of 5 cm (2 inches) down to 1 cm, so I think her skin looks more skin-like and less waxy now.
-- I'm not mad at you, just Westphalian.
Content Advisory! This message contains nudity
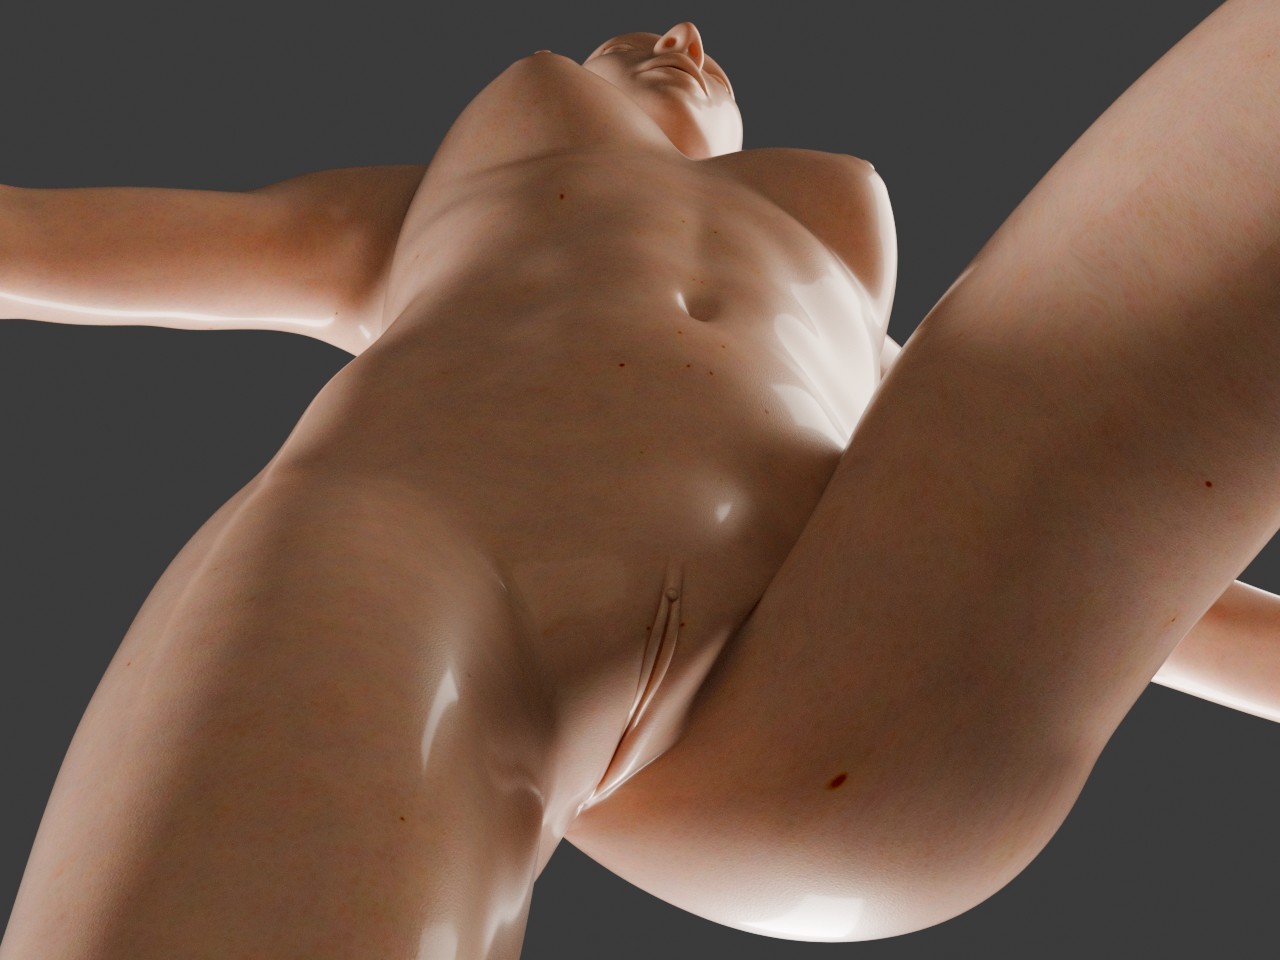
Here's the same pose from a different angle to get a better idea of what the deformation looks like at the moment. I also played a bit with the lights and materials - the later not strictly necessary but I've been curious about the P-BSDF coat settings for some time now.
I hope this gets a pass on a account of being a technical post without me censoring any ... fine details, ahem. How does the saying go, better to ask for forgiveness than permission.
-- I'm not mad at you, just Westphalian.
Content Advisory! This message contains nudity
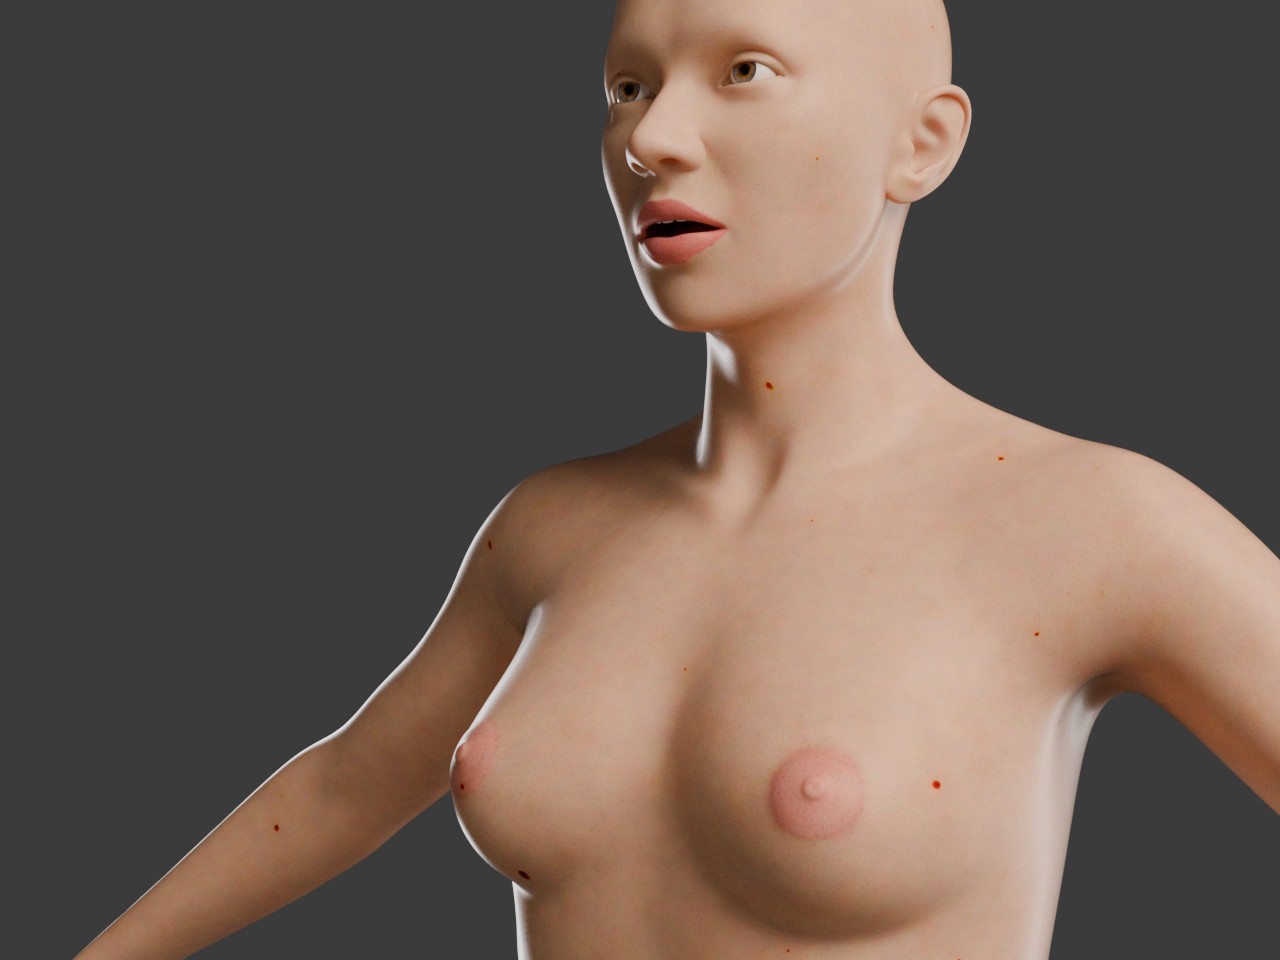
Weight-painting and corrective shape keys will occupy me for a while, so I decided to break it up a little by UV-mapping her and making the first feeble attempts at texture painting. Just the lips and areolae for now, the moles and other irregularities are still procedural.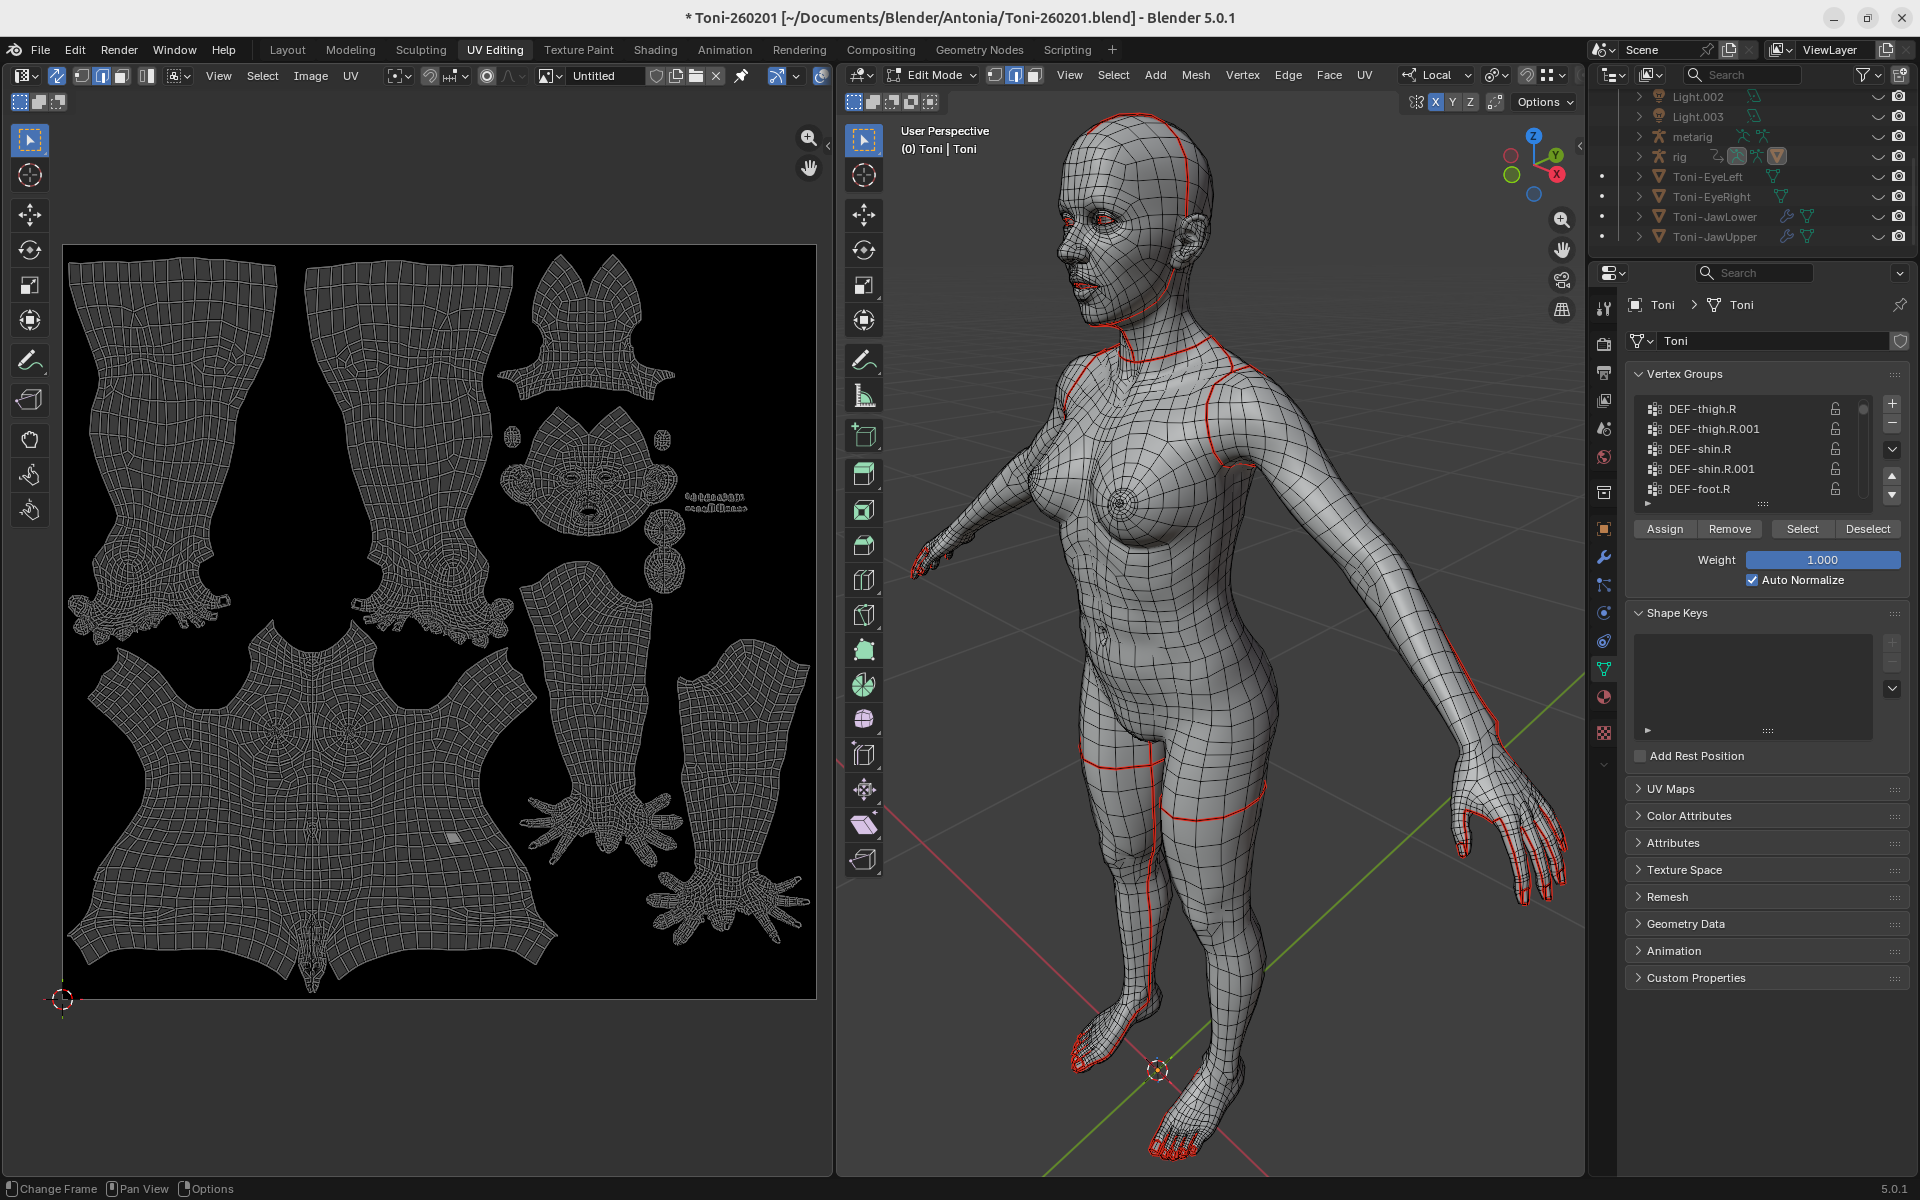
-- I'm not mad at you, just Westphalian.
Content Advisory! This message contains nudity
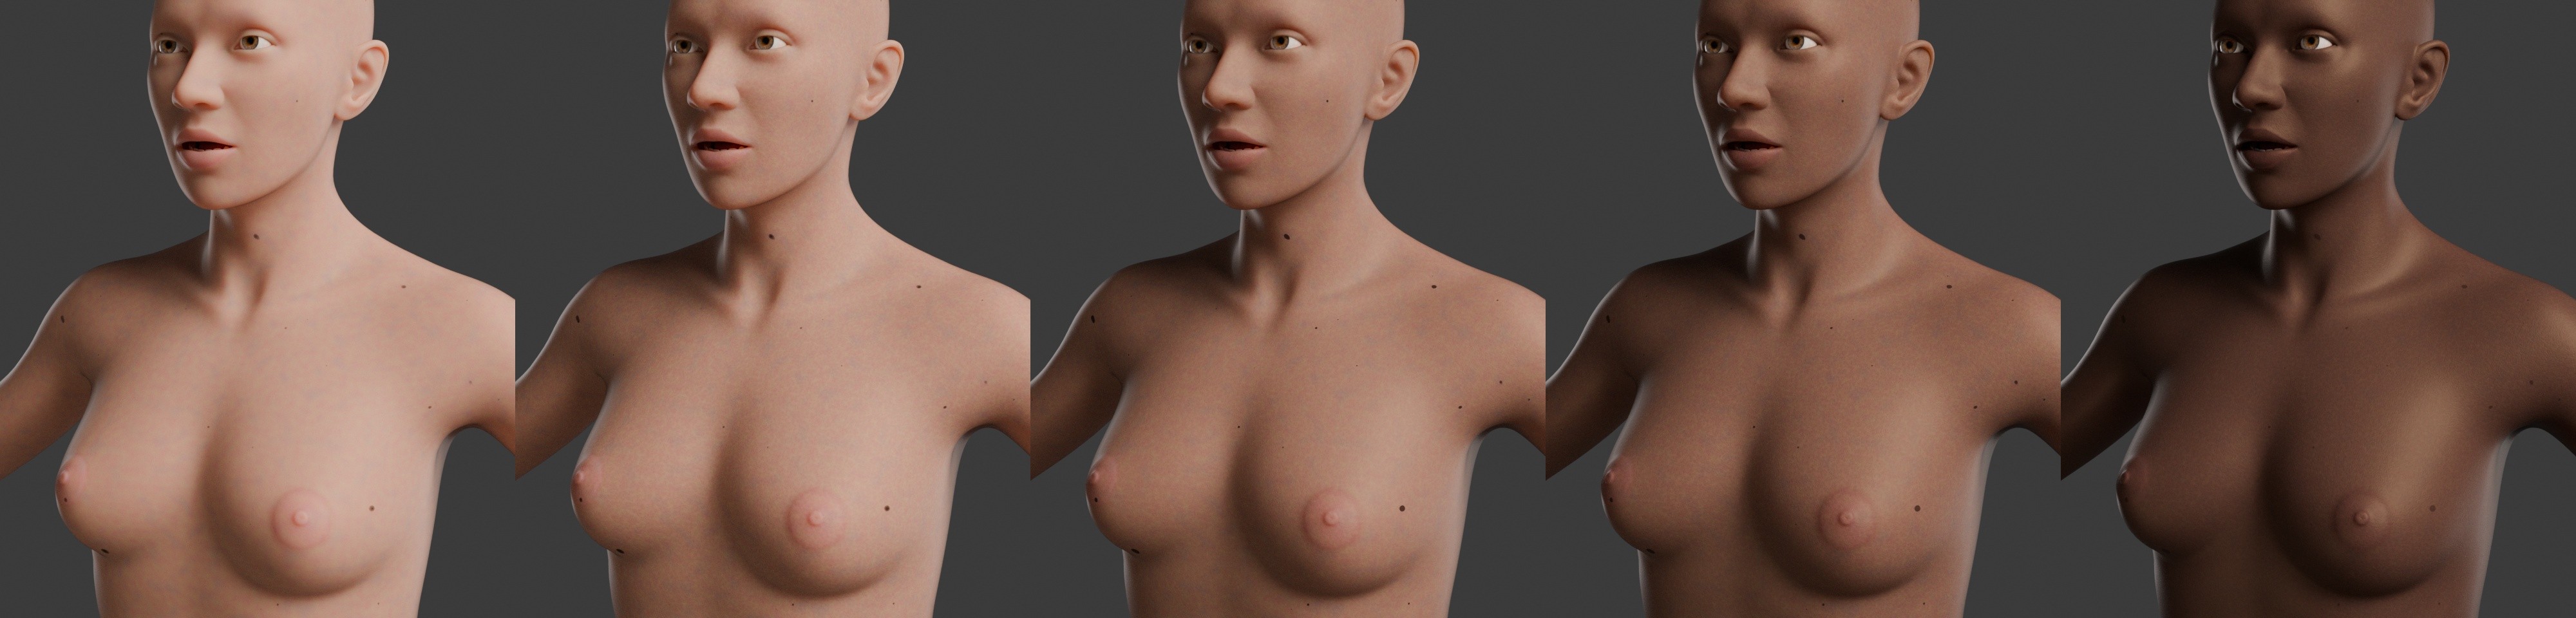
Some skin tone experiments.
-- I'm not mad at you, just Westphalian.
Content Advisory! This message contains nudity
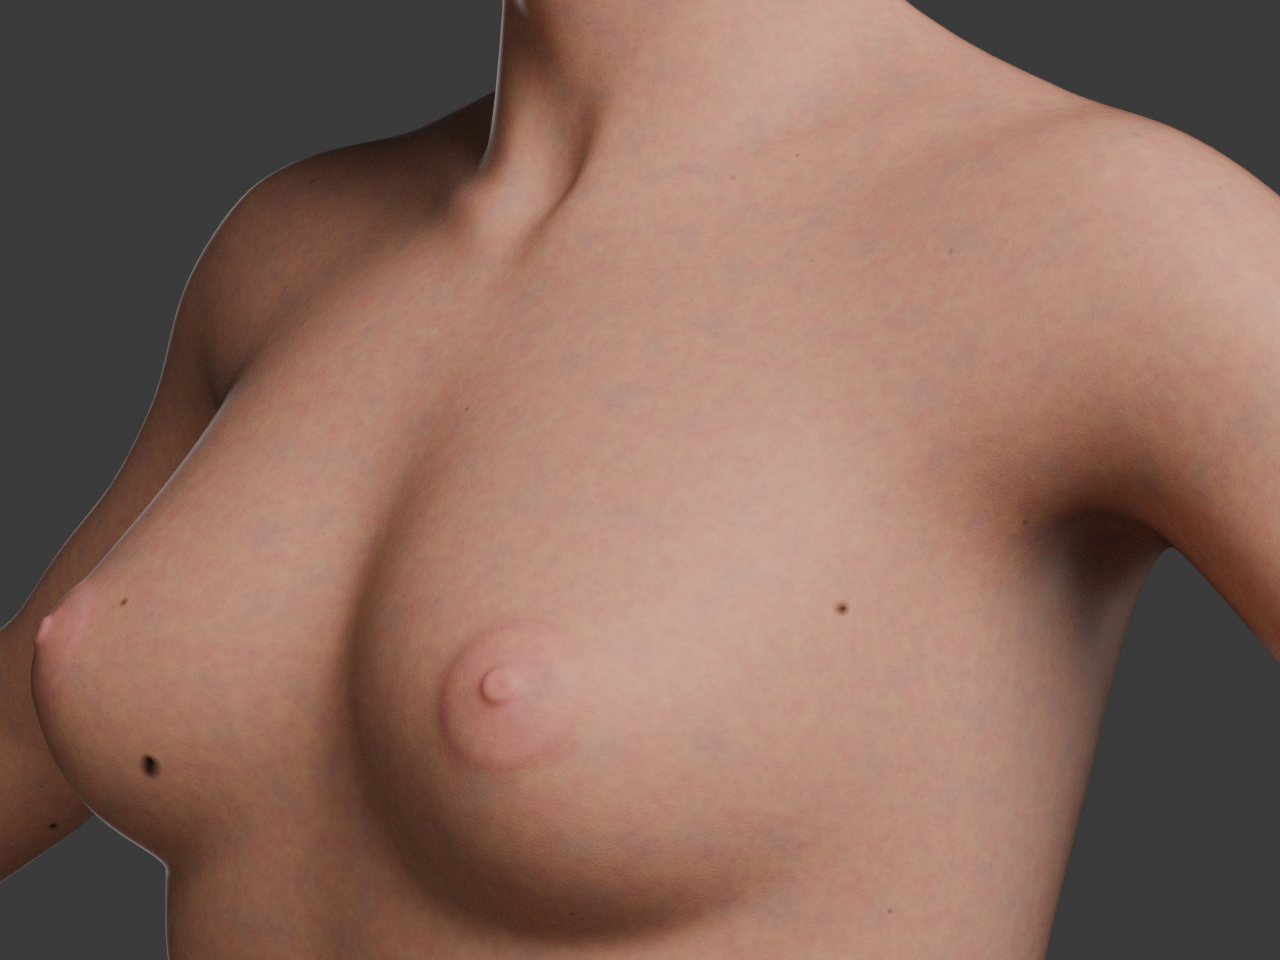
A closeup of today's "state of the skin". Today's learning: using object coordinates for generated textures means the texture stays stationary when the figure moves, say, an arm, which is particularly obvious with moles. So, that's definitely no good unless I bake the textures later. UV coordinates with generated 2d textures can produce very visible seams and texture stretches. UV with generated 3d textures seems to effectively avoid both problems, but I'm not entirely sure how that works. Anyway, that's what I'm using for now, until such time as I find some reason not to.
-- I'm not mad at you, just Westphalian.
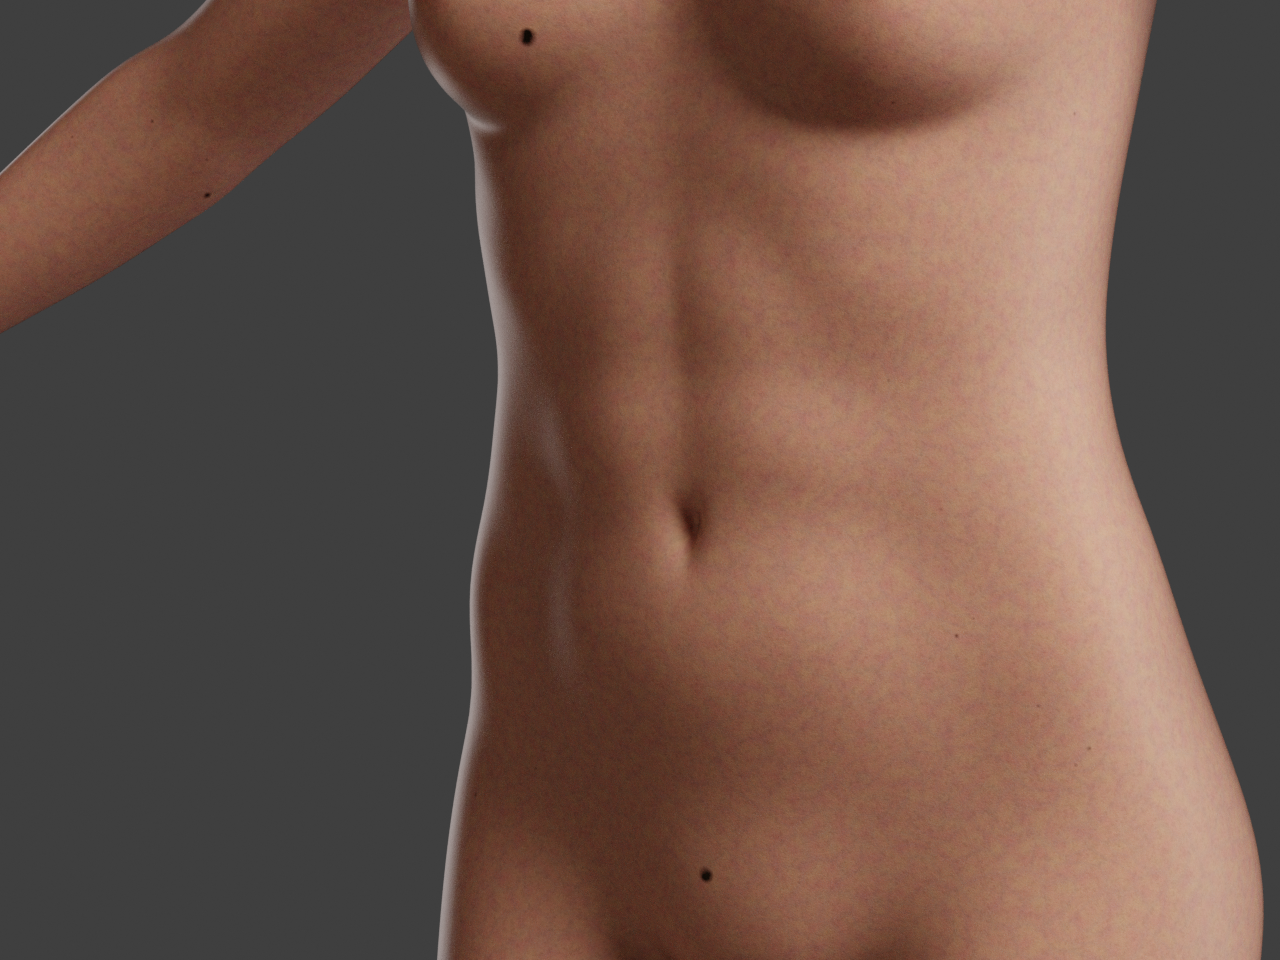
Huh, progress is slow with many distraction, but I do think that by and by I'm learning my way around Blender. Here's my latest procedural skin:
-- I'm not mad at you, just Westphalian.
And today's update with a bunch of tweaks and added features:
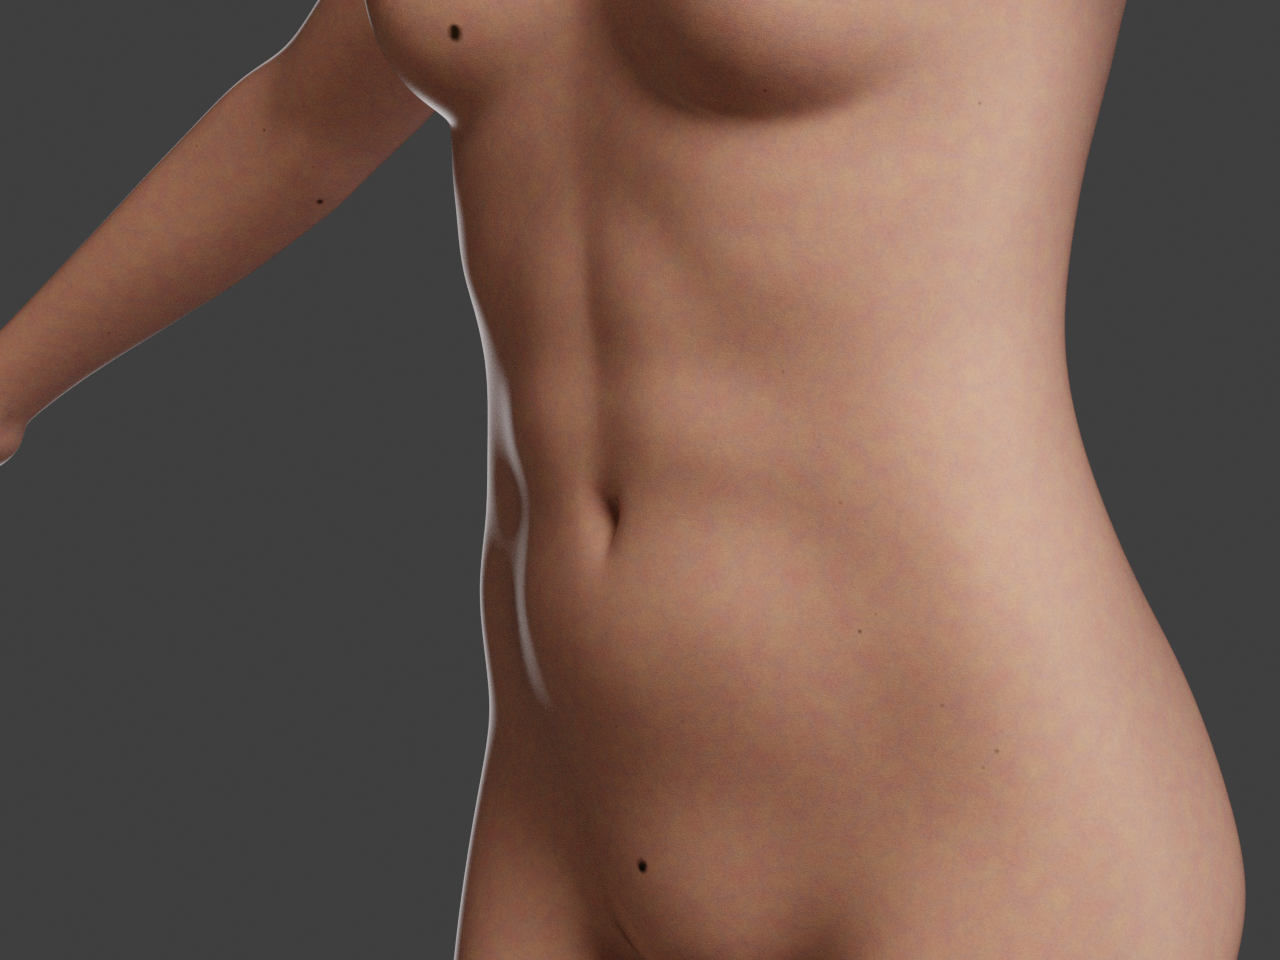
Here's a closeup:
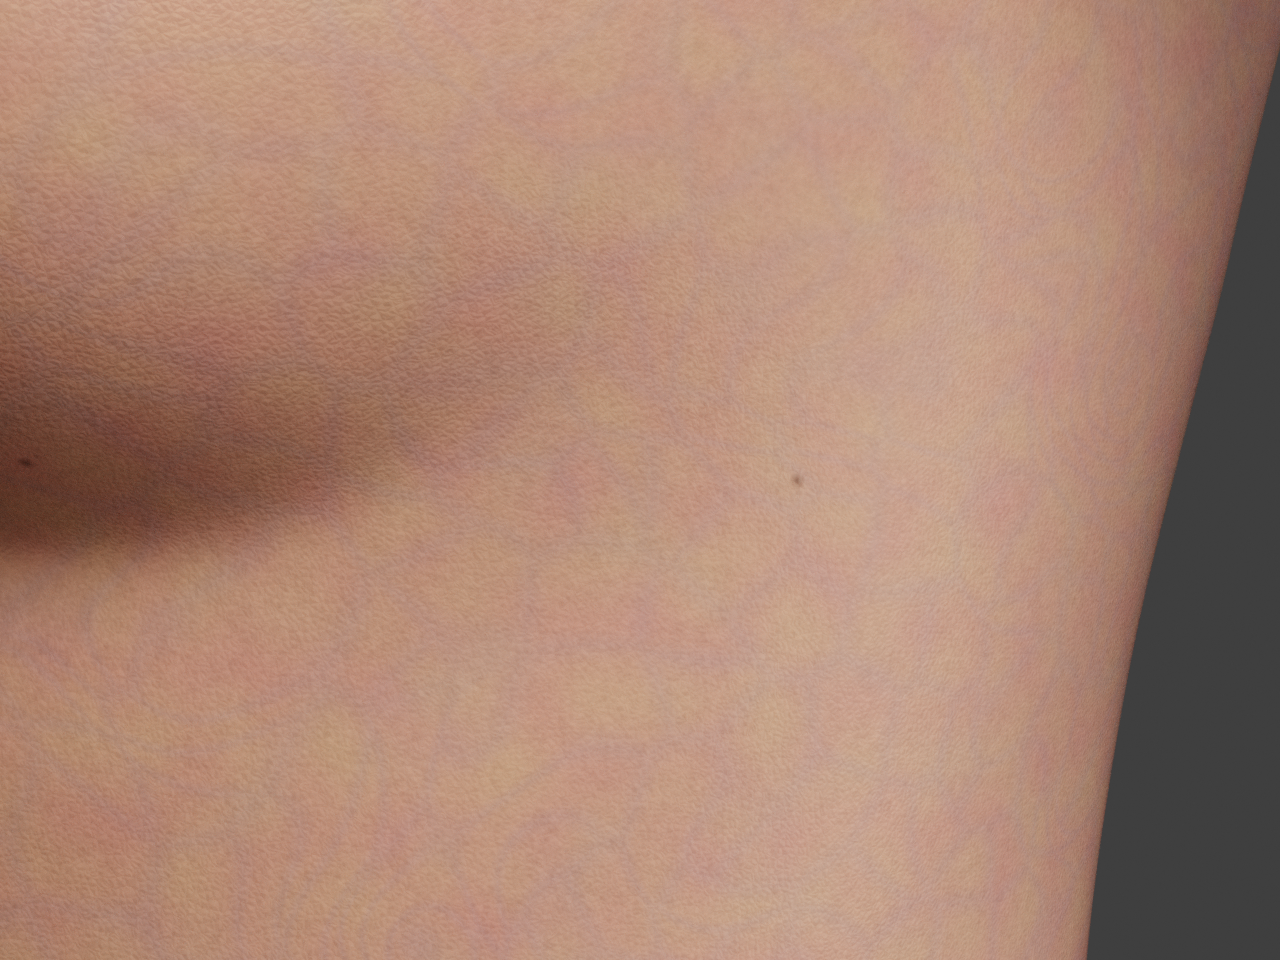
The shader tree has grown quite a bit, so if anyone knows a good tutorial on organizing complex Blender materials, please throw me a hint/link!
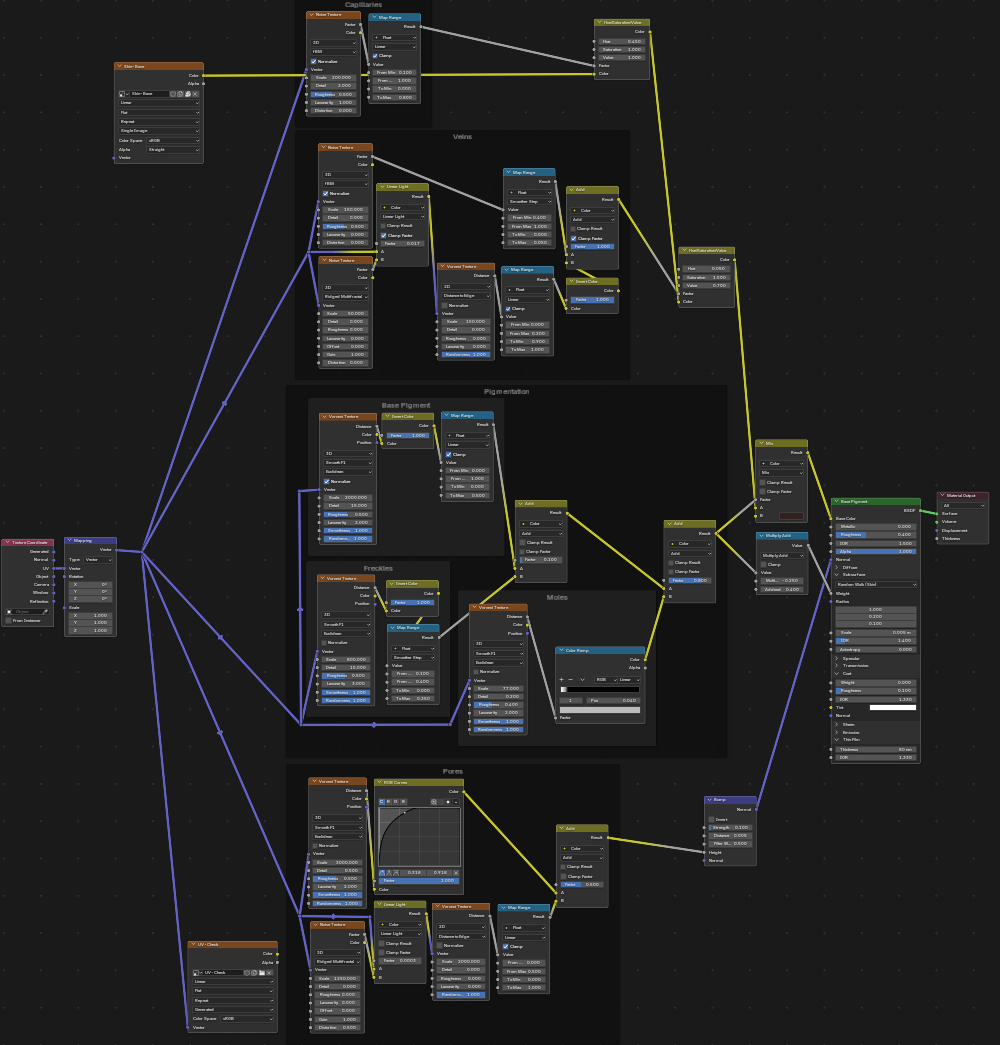
-- I'm not mad at you, just Westphalian.
I've got a new and improved freckle setup, as well, but here's where one would really want a pigmentation map to limit the freckles to areas that have had some sun exposure.
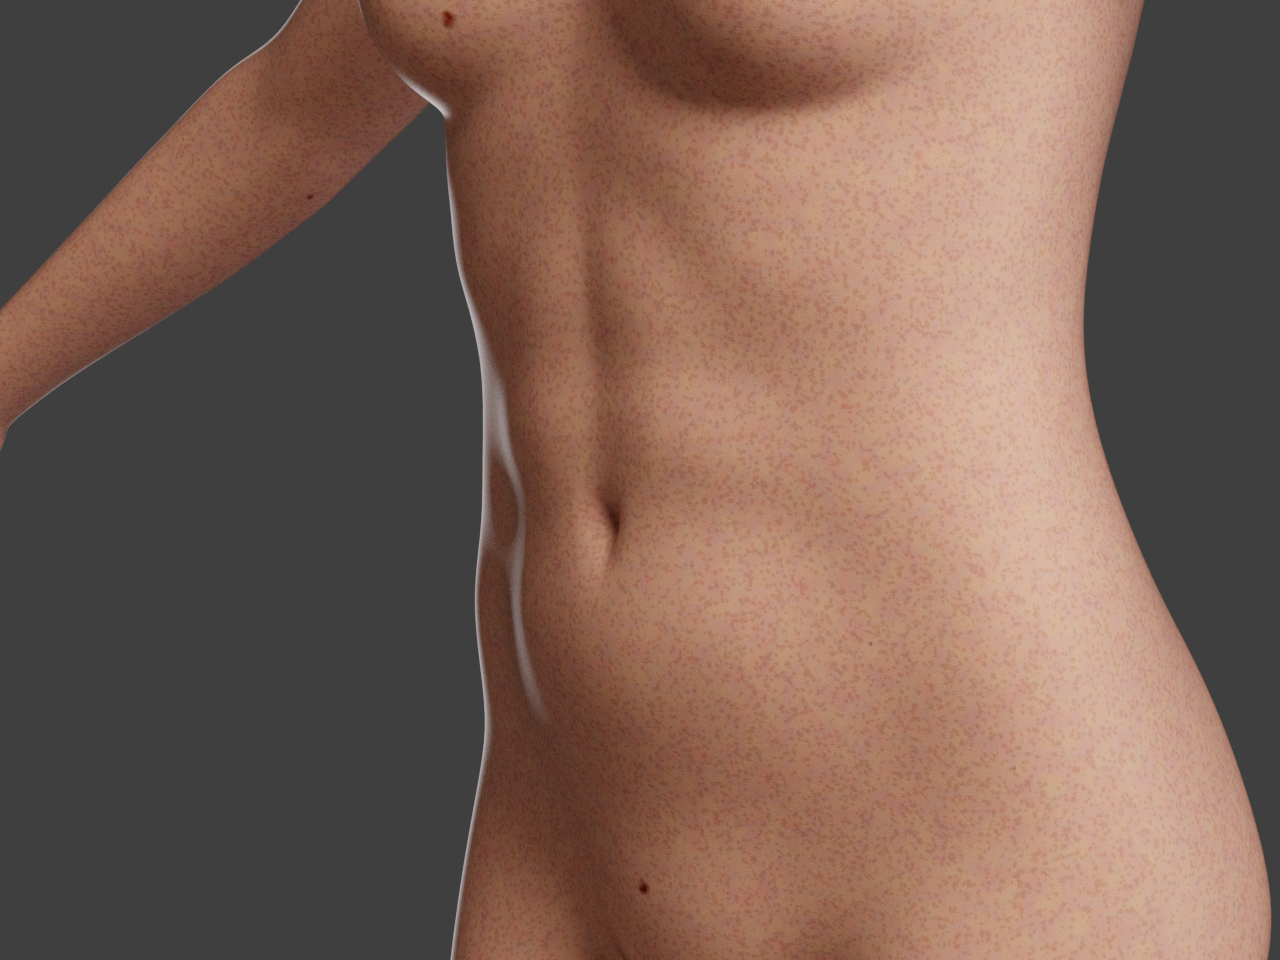
-- I'm not mad at you, just Westphalian.
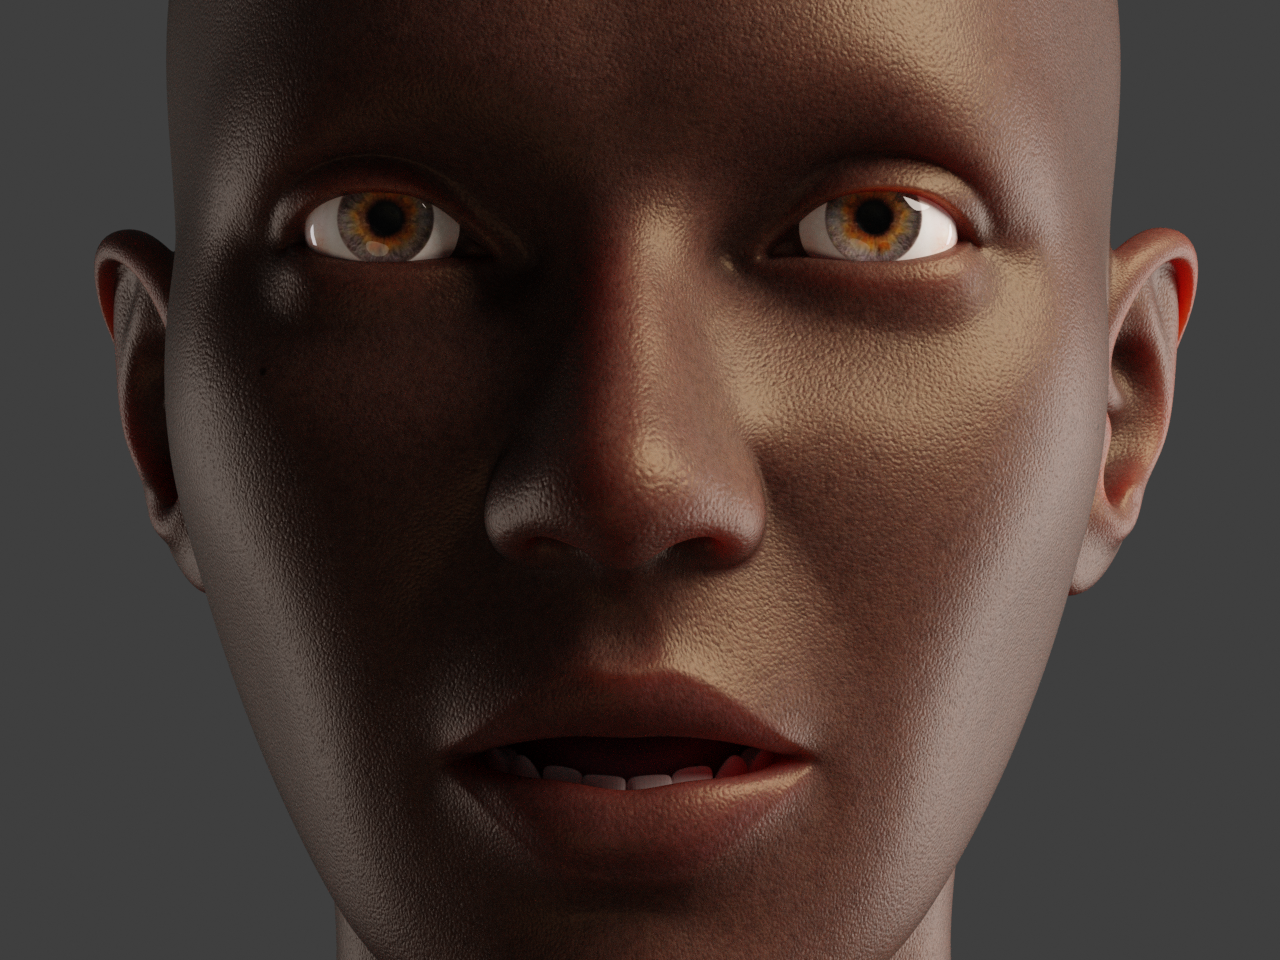
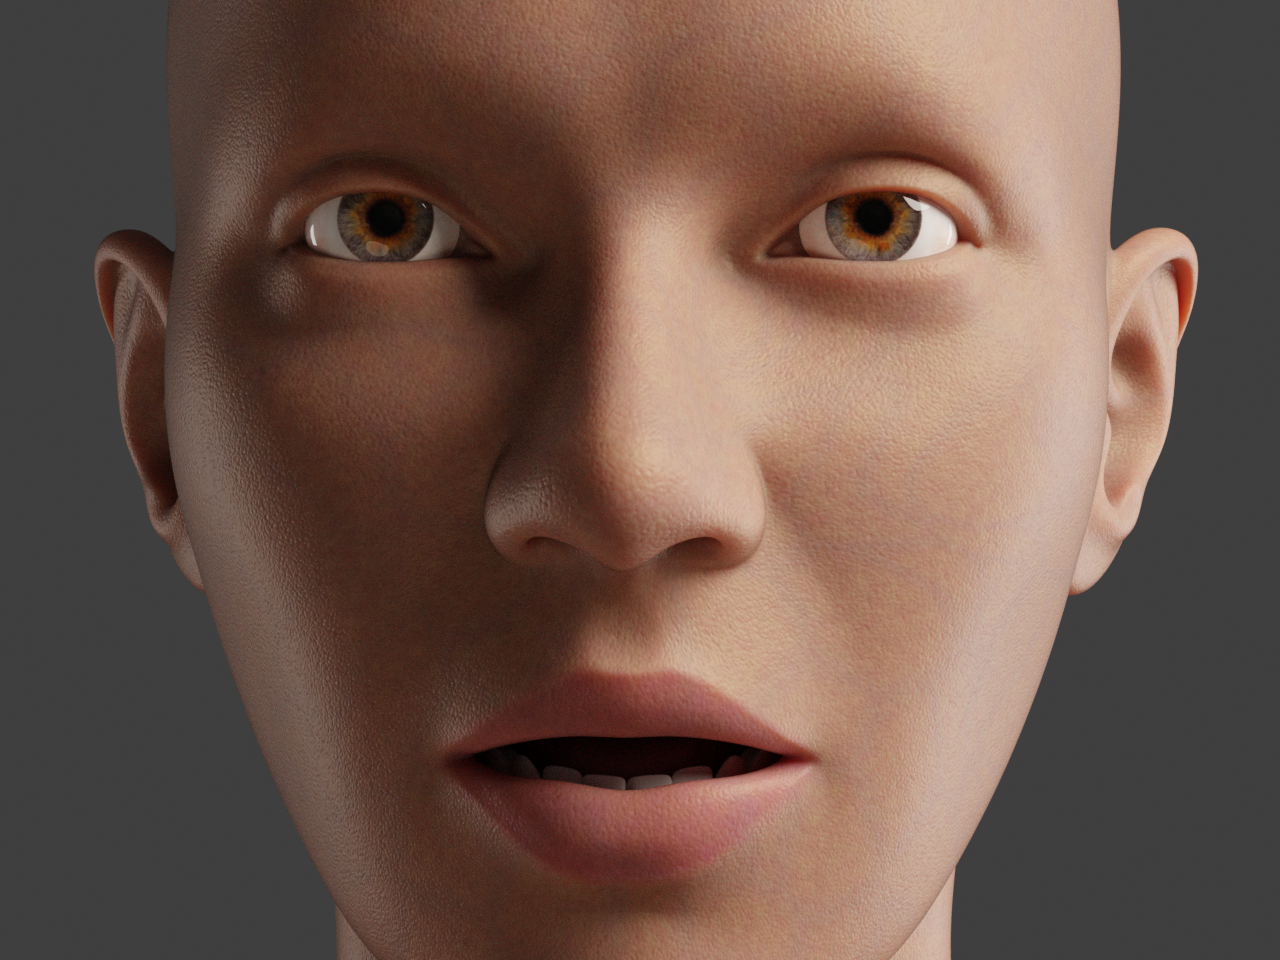
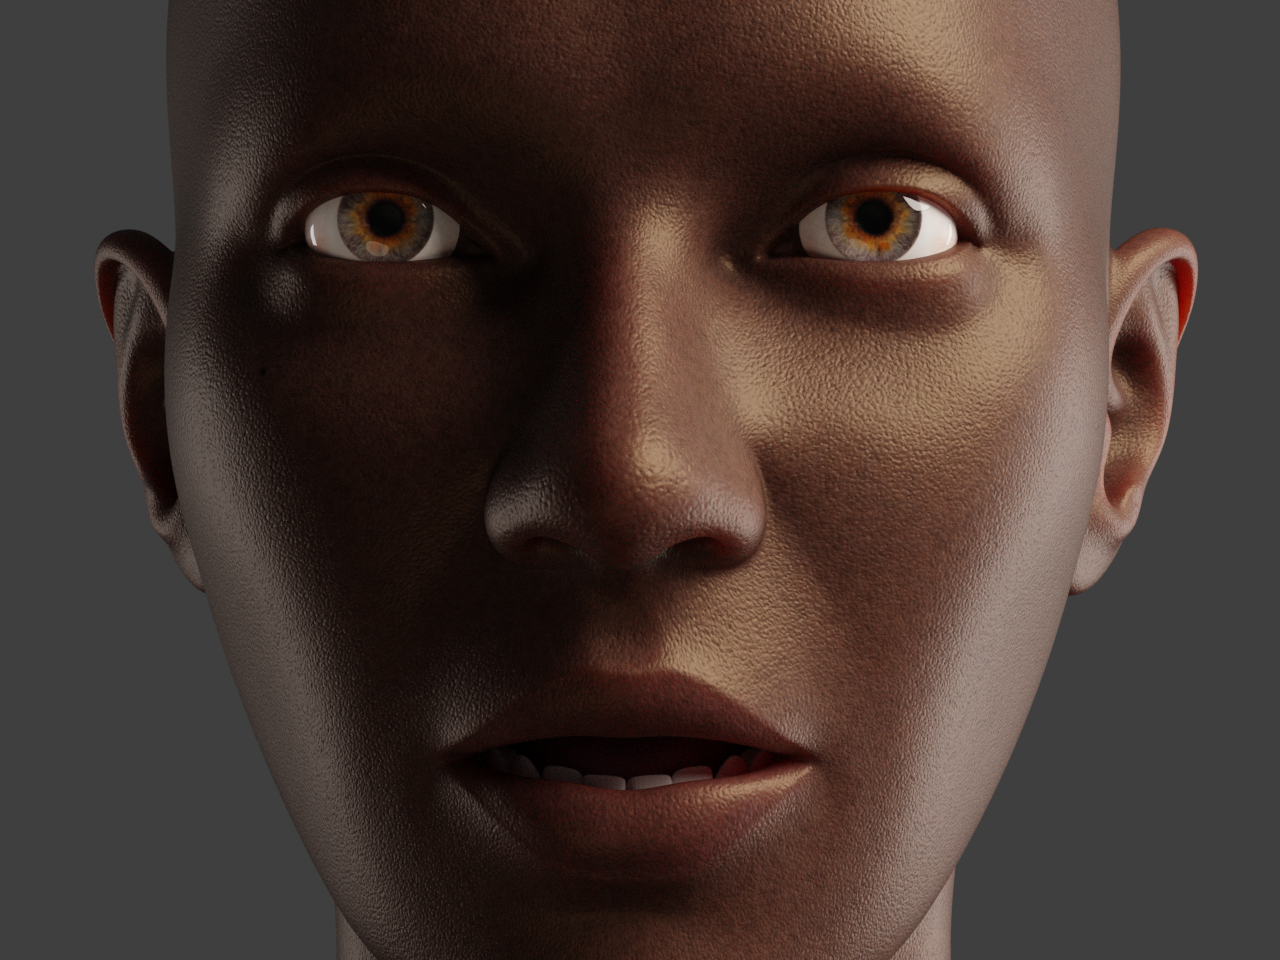
I took a break from Blender for a few weeks. Opened it up again last night and tweaked some parameters on the procedural skin. Scaling seems quite important for achieving a plausible look, as well keeping the various effects subtle.
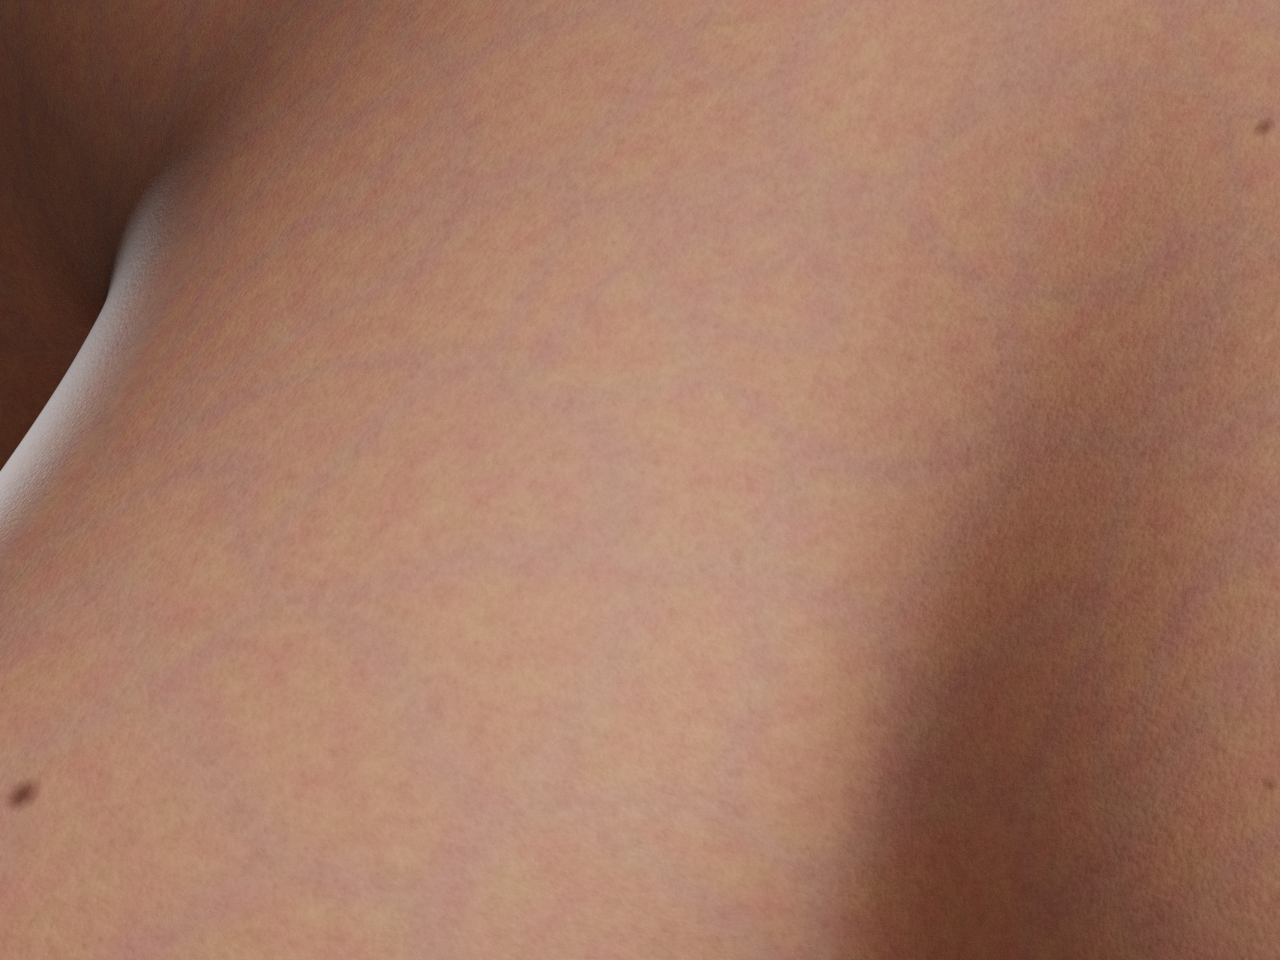
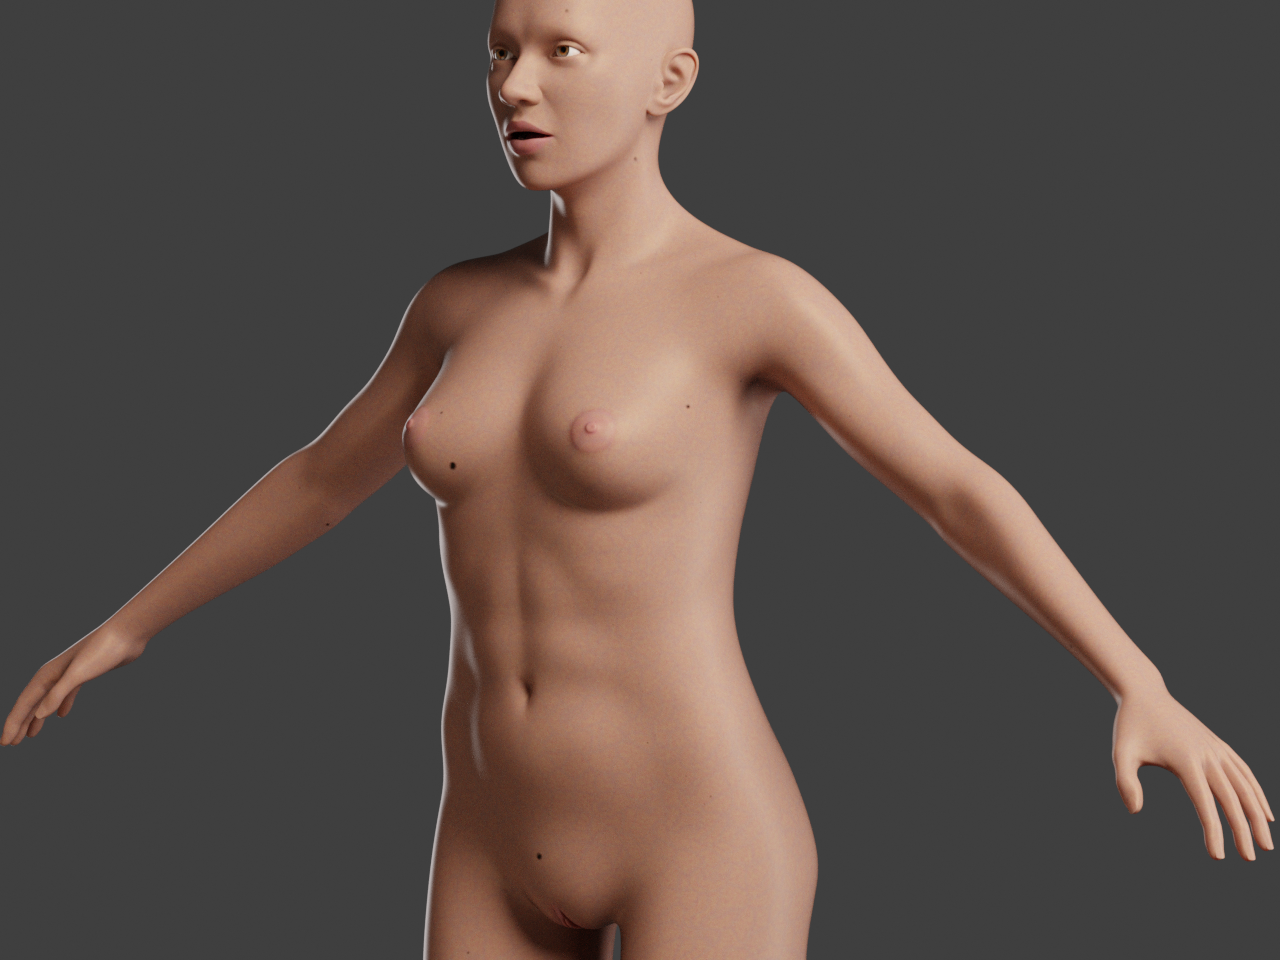
-- I'm not mad at you, just Westphalian.
That is looking nice. Is this the low-res mesh that you're showing us?
===========================sigline======================================================
Cage can be an opinionated jerk who posts without thinking. He apologizes for this. He's honestly not trying to be a turkeyhead.
Cage had some freebies, compatible with Poser 11 and below. His Python scripts were saved at archive.org, along with the rest of the Morphography site, where they were hosted.
I should also maybe point out again that by no means am I planning to give her a purely procedural material. I just thought the procedural part would be a good starting point. I'm already using hand-painted lips and areolae here, but in addition to just adding details like that, I would also like to experiment with painted maps that drive some of the procedural parameters, for example pore size, pigmentation strength, sub-surface scattering depth and oiliness. When I'm happy with the outcomes, I'll probably start baking them down for faster rendering.
-- I'm not mad at you, just Westphalian.

Privacy Notice
This site uses cookies to deliver the best experience. Our own cookies make user accounts and other features possible. Third-party cookies are used to display relevant ads and to analyze how Renderosity is used. By using our site, you acknowledge that you have read and understood our Terms of Service, including our Cookie Policy and our Privacy Policy.
Weight painting is now officially in progress after I had to watch the tutorial videos several times to pick up all the settings and tricks and experimented a while to figure out what kind of process works best for me. I took the snapshot when I started with the toes earlier today, but have worked my way up to the thigh/hip joint in the meantime.
-- I'm not mad at you, just Westphalian.