Renderosity Forums / Blacksmith3D & Texture Transformer
Welcome to the Blacksmith3D & Texture Transformer Forum
Forum Moderators: tim, msansing
Blacksmith3D & Texture Transformer F.A.Q (Last Updated: 2026 Mar 12 8:28 pm)
BLACKSMITH3D Version 8 for Windows (FREE Distribution)
https://www.posersoftware.com/blacksmith3d

Subject: Creation of G3F Genitalia maps

Hello NudeFan6,
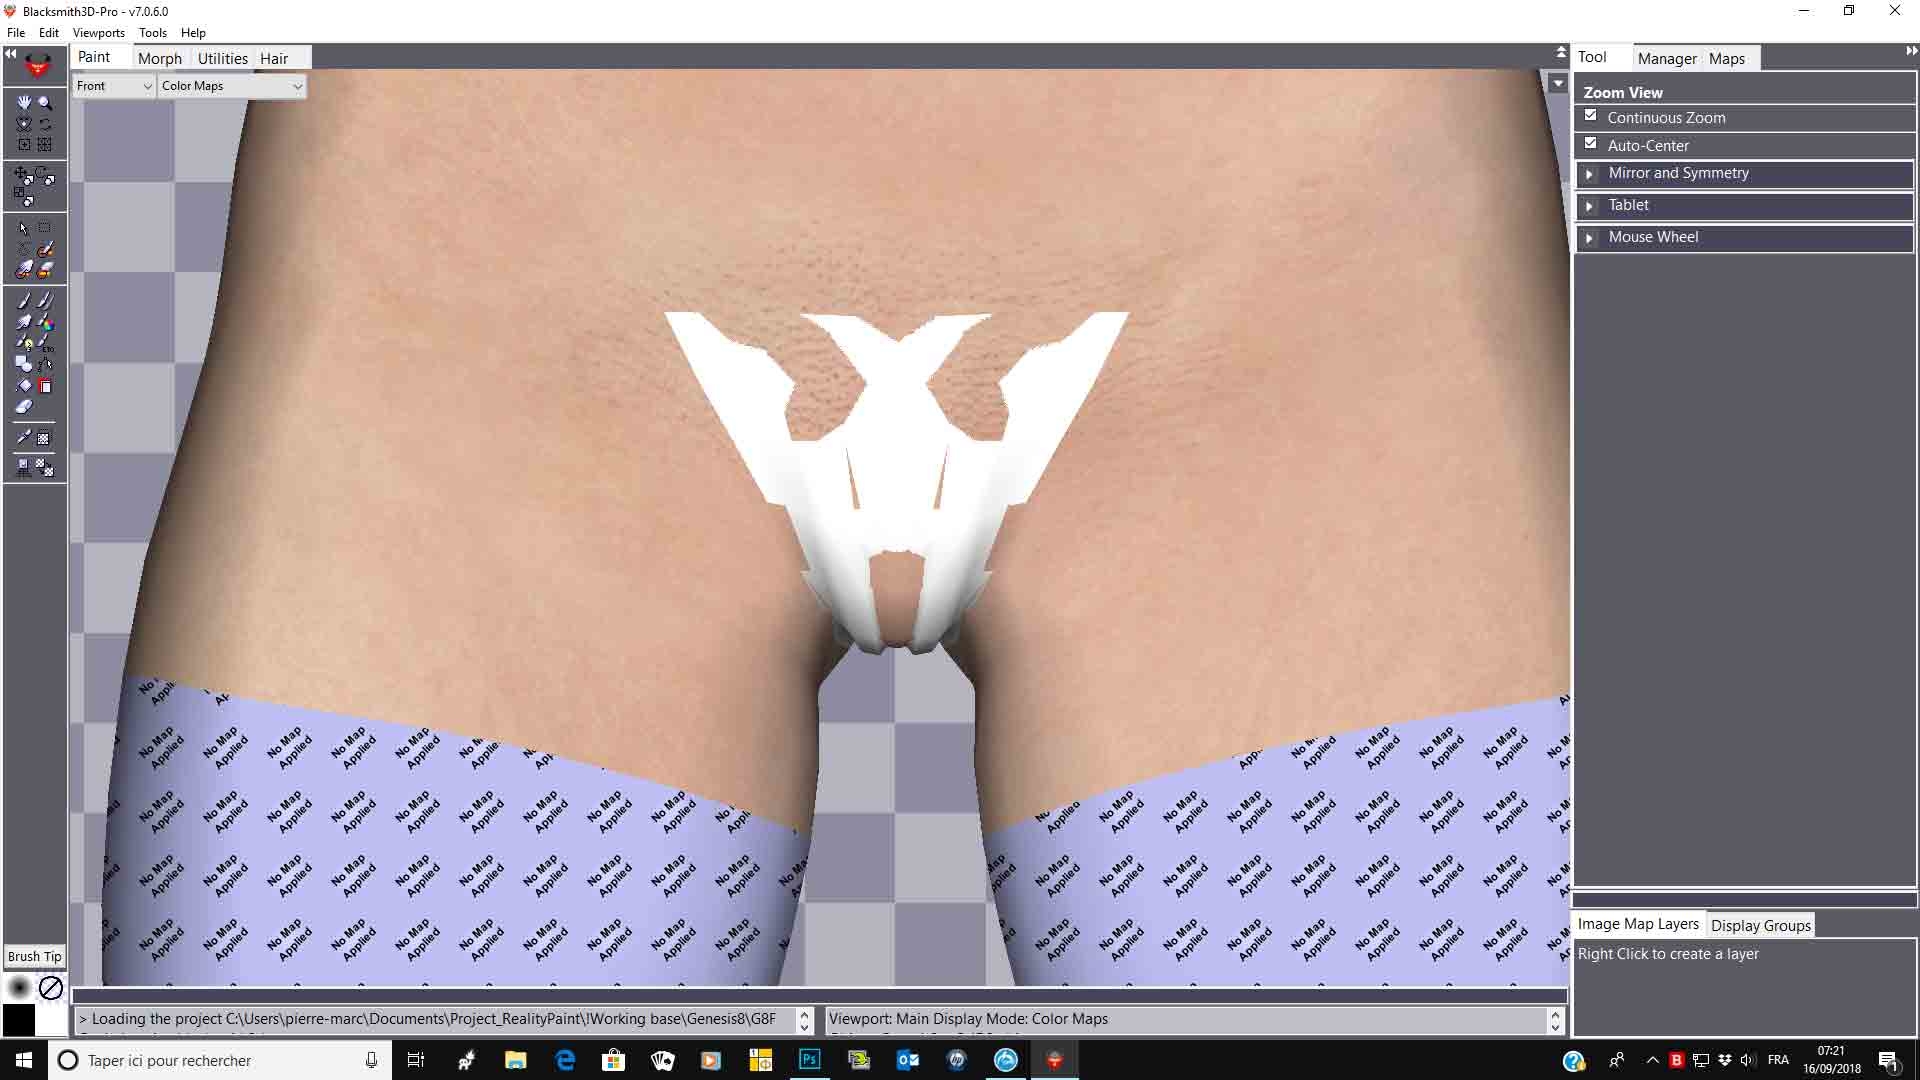
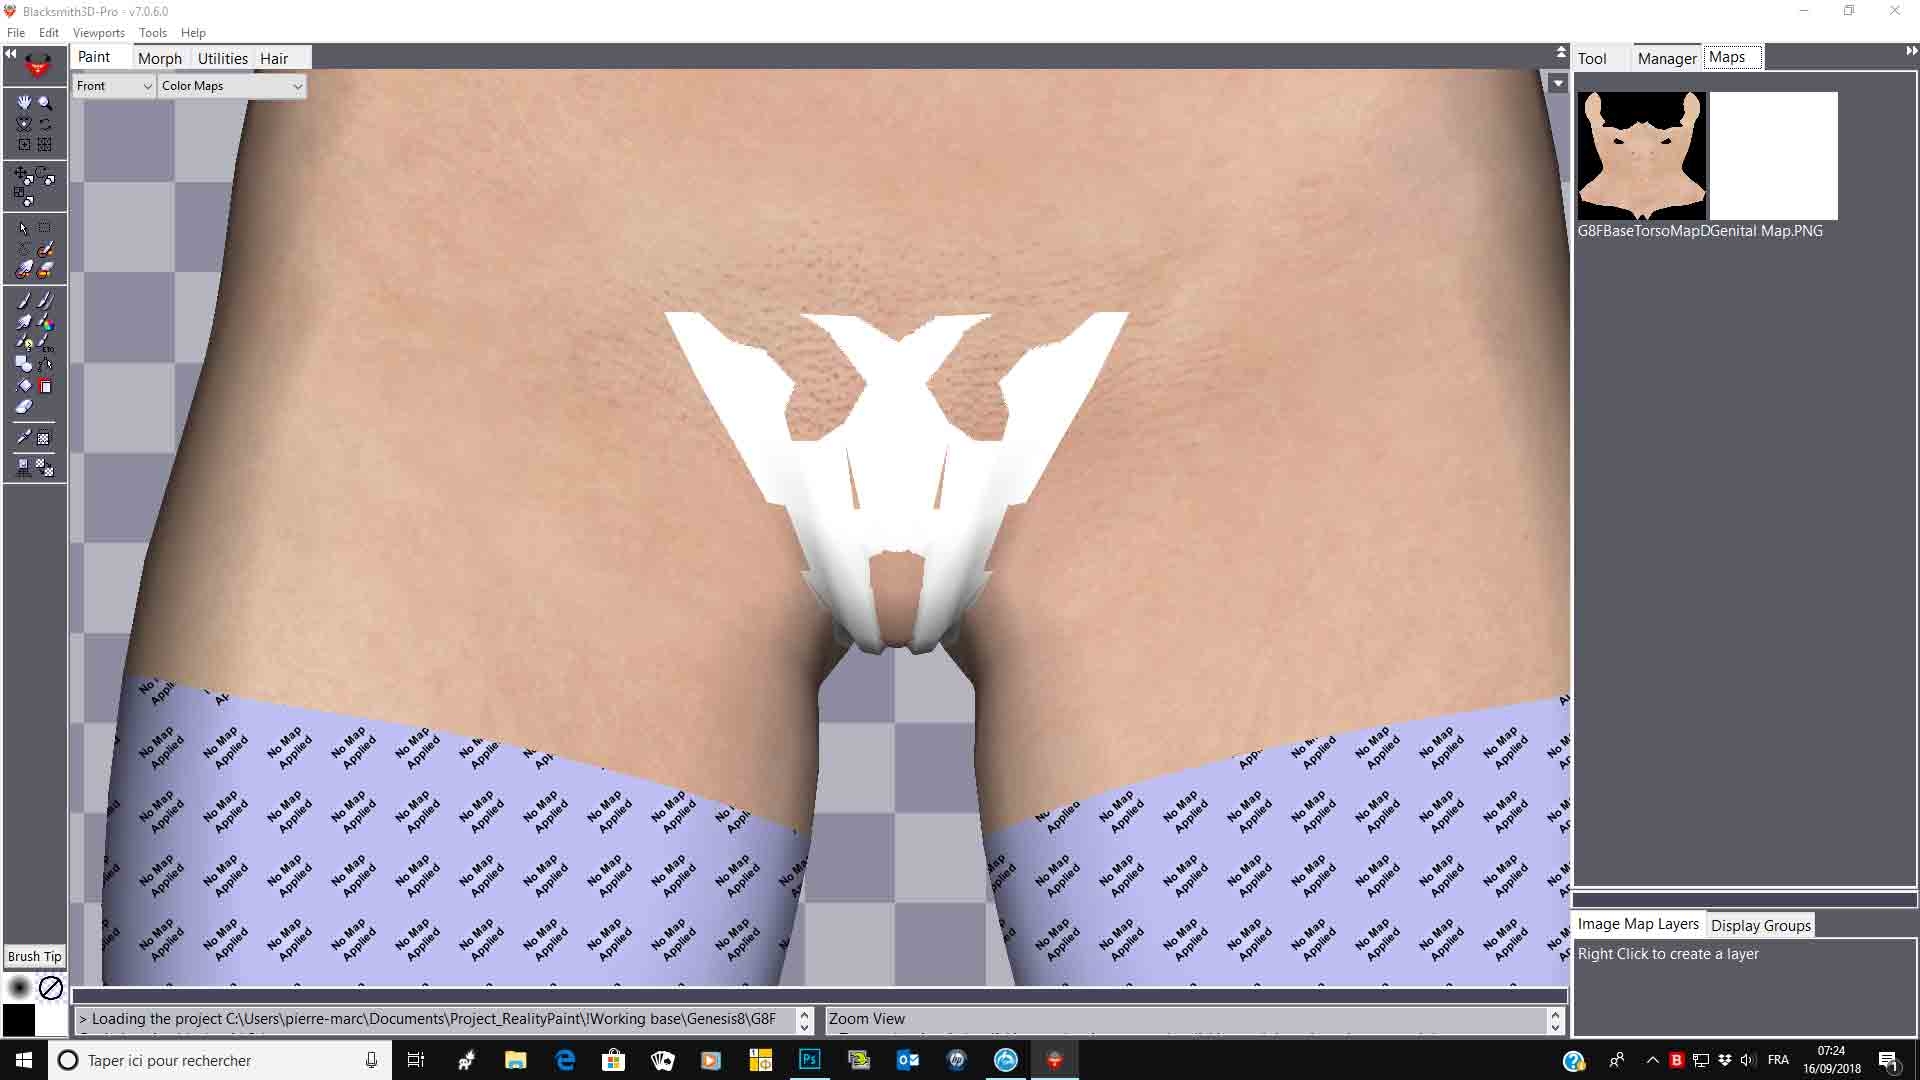
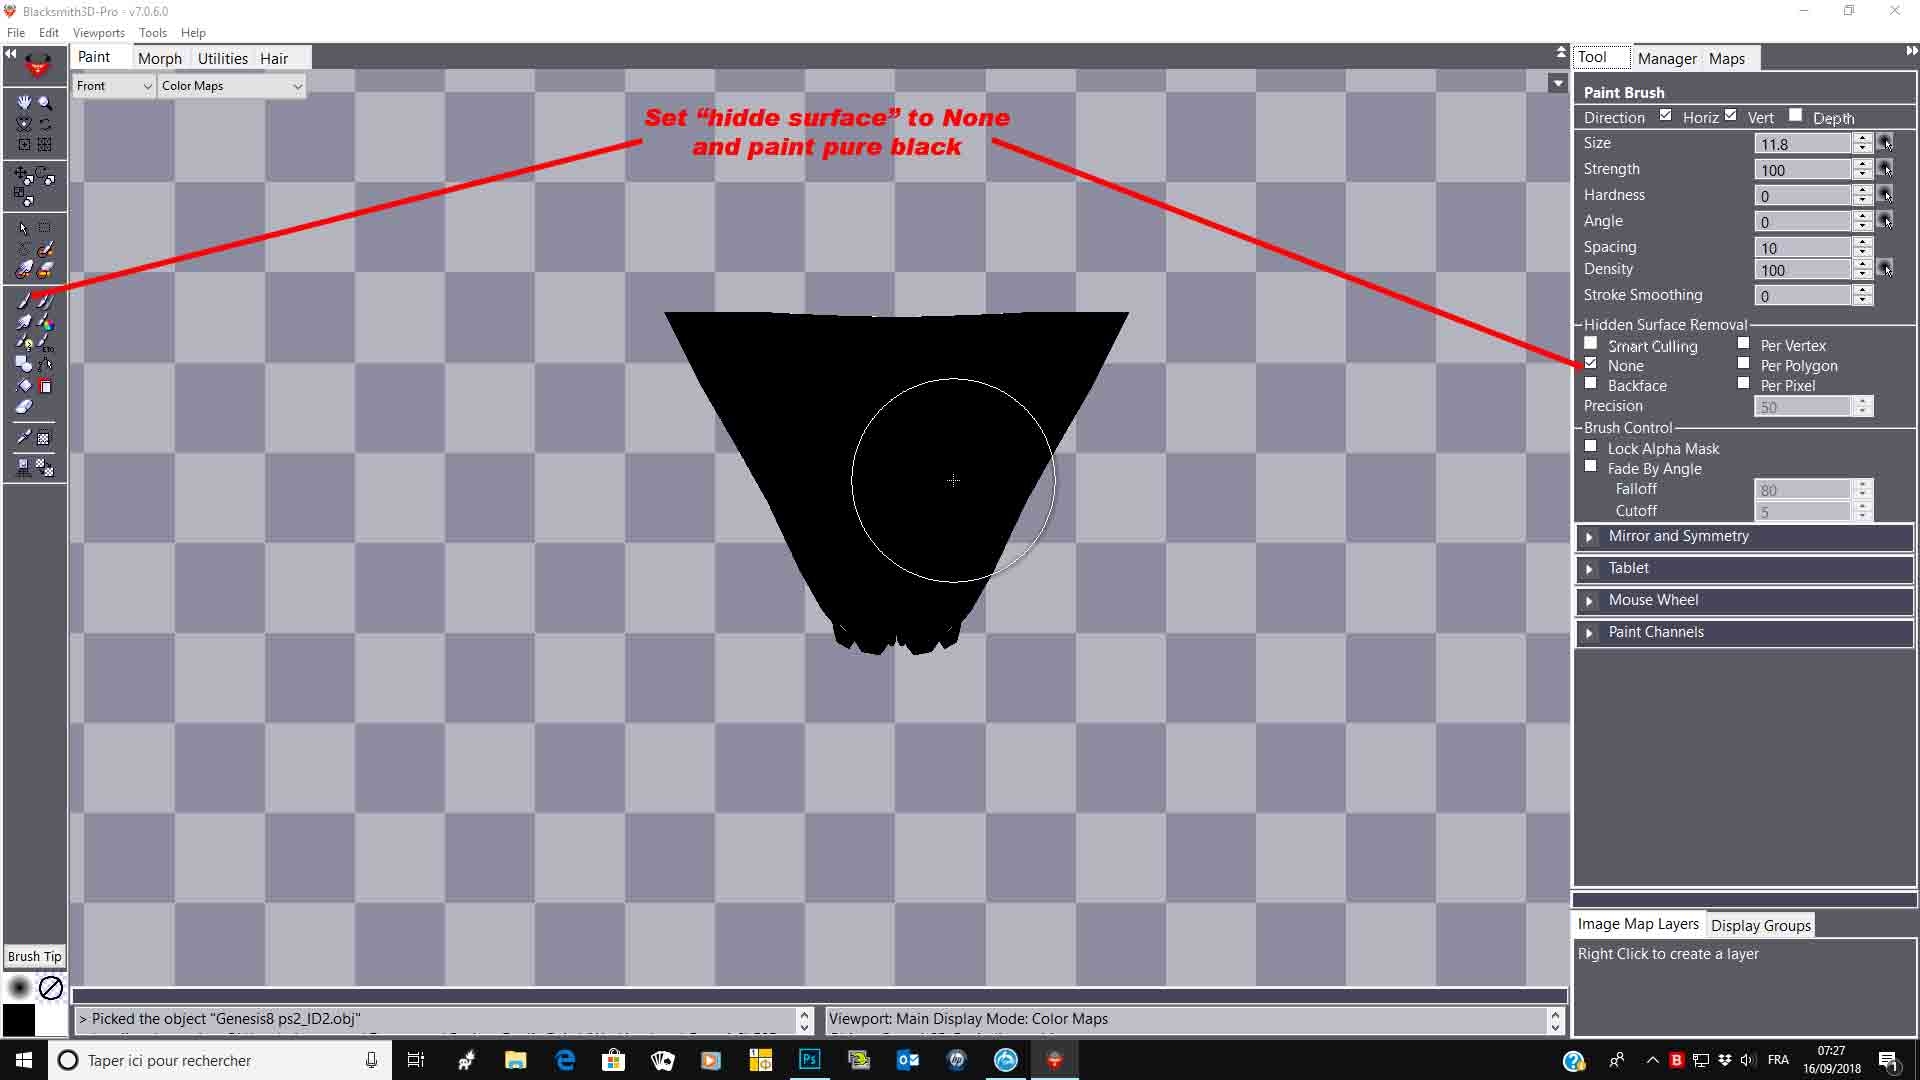
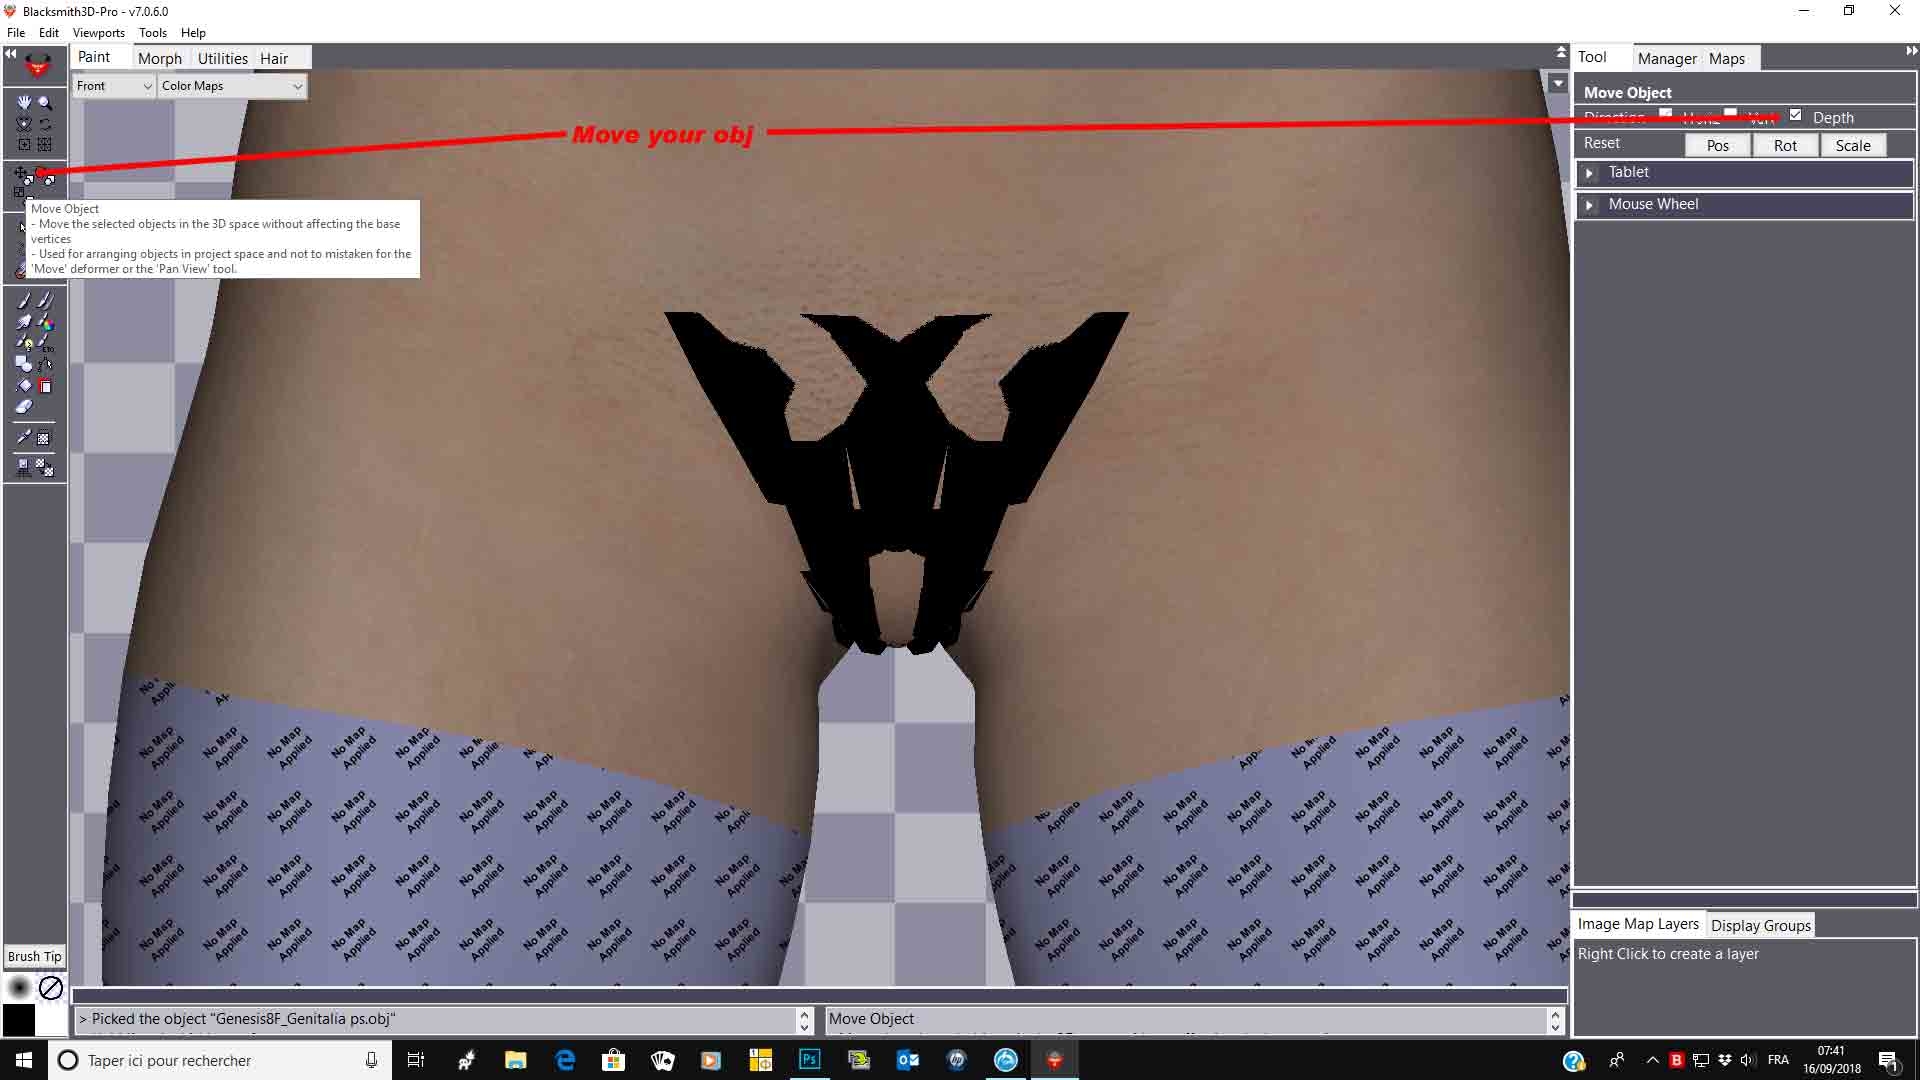
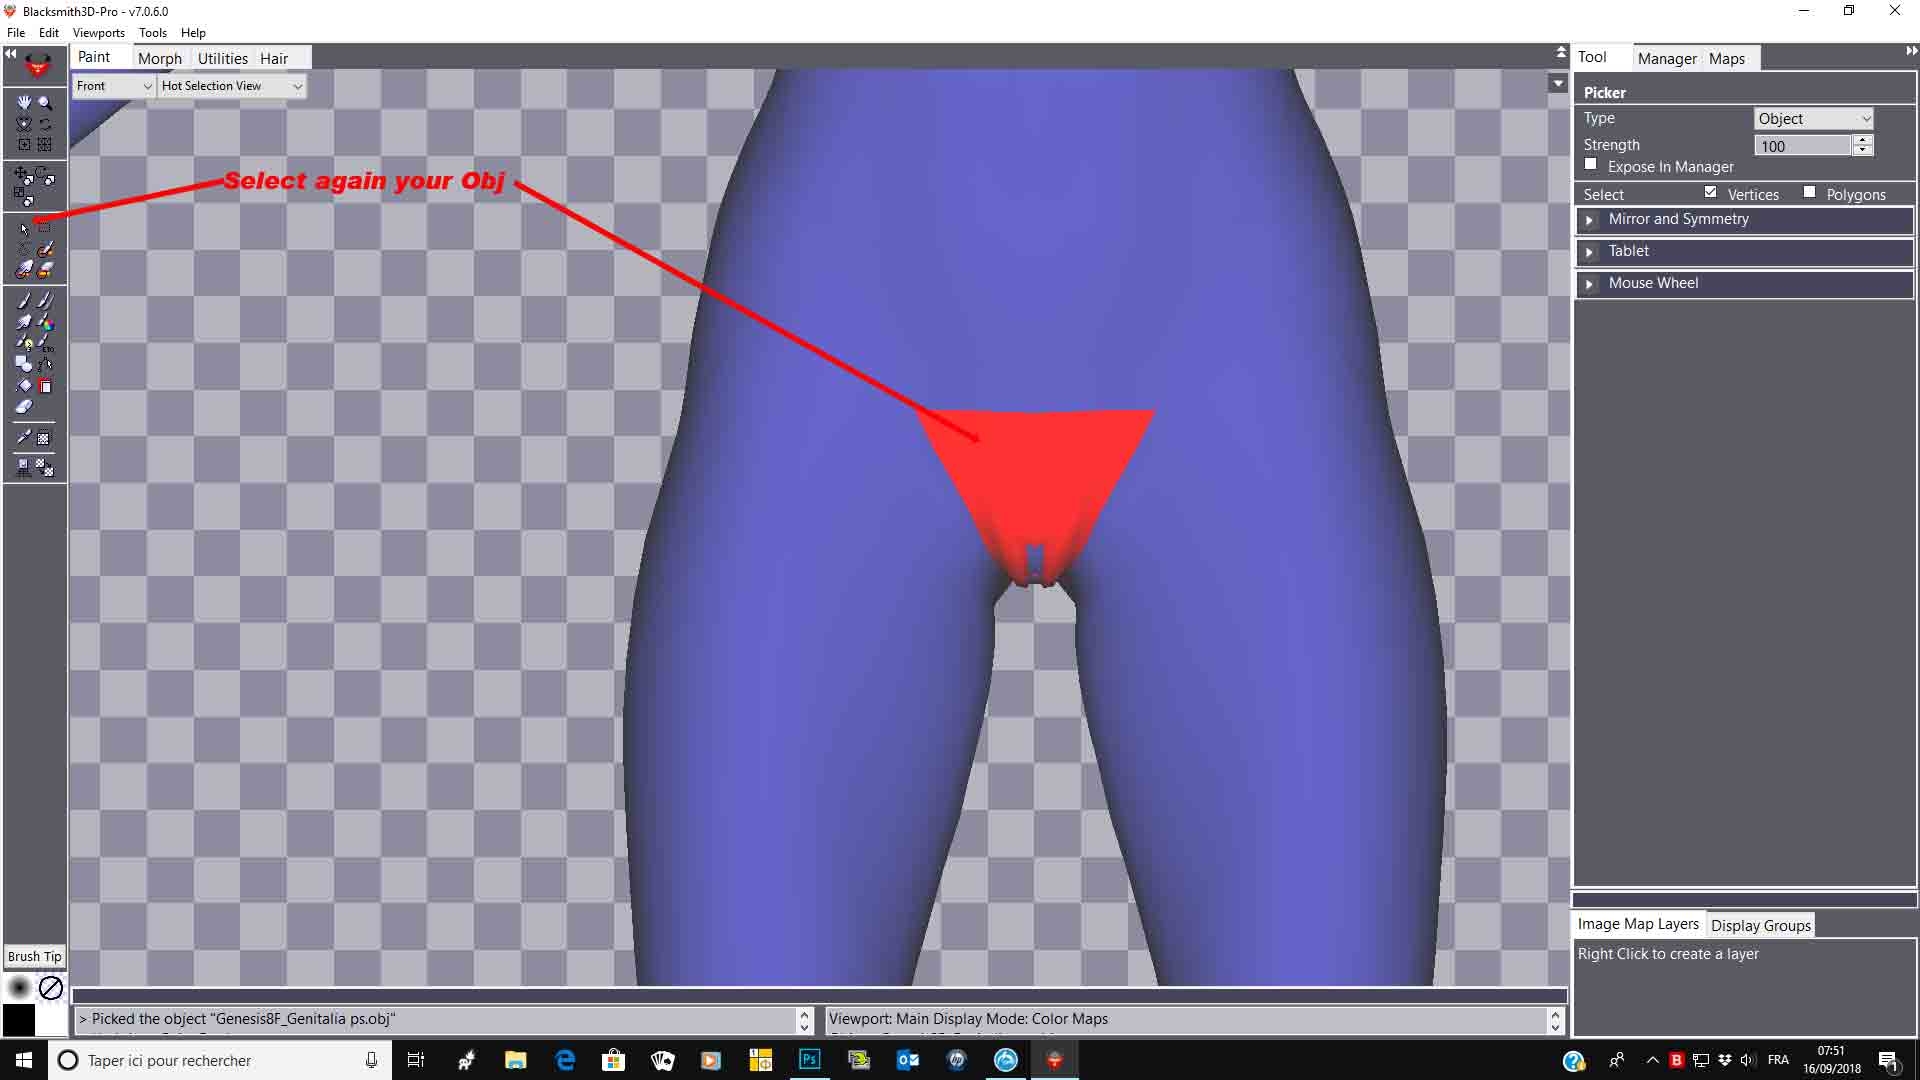
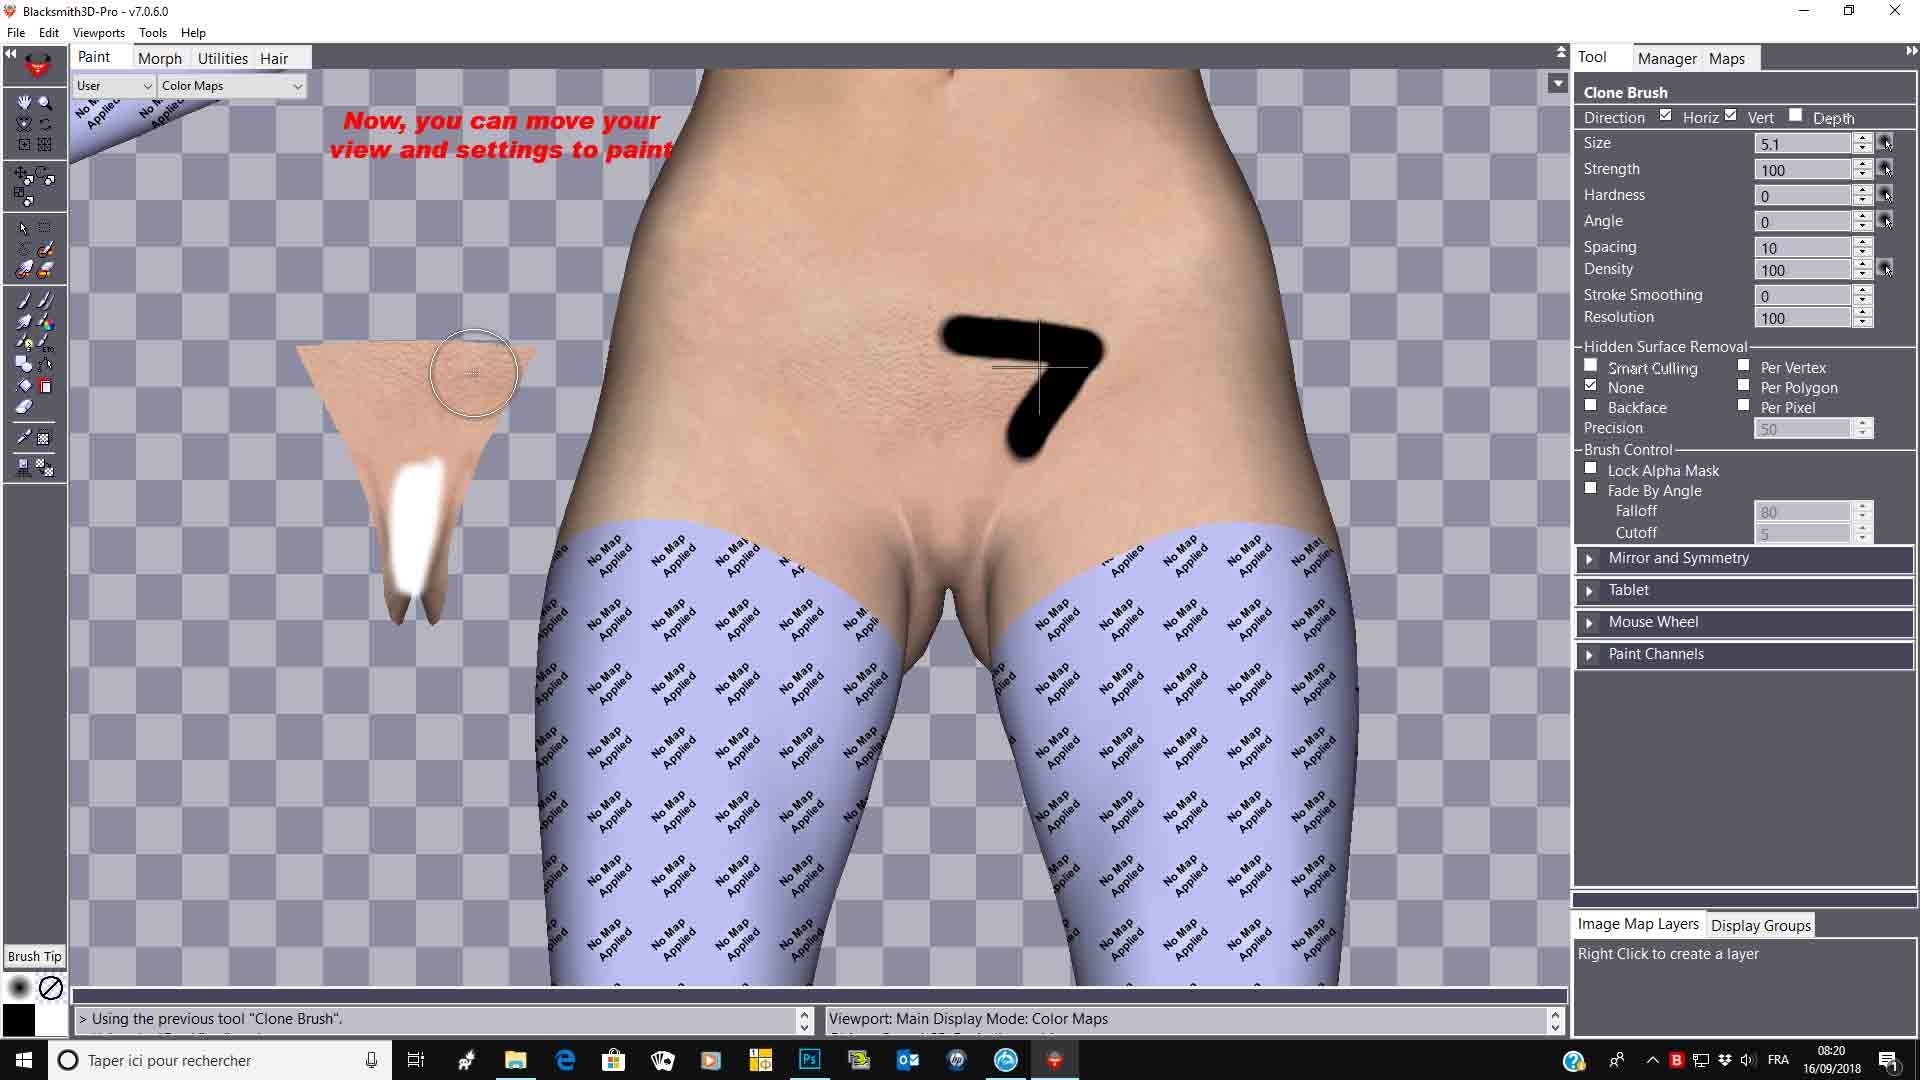
Here is a process: To get a good result, load your g3f figure as obj and your genital obj in BS3D. Apply Torso map to G3F Torso and create a blank map 4096x4096 and apply it to the genital obj Paint with a plain color around gen obj on g3f in order to get a guide for your painting
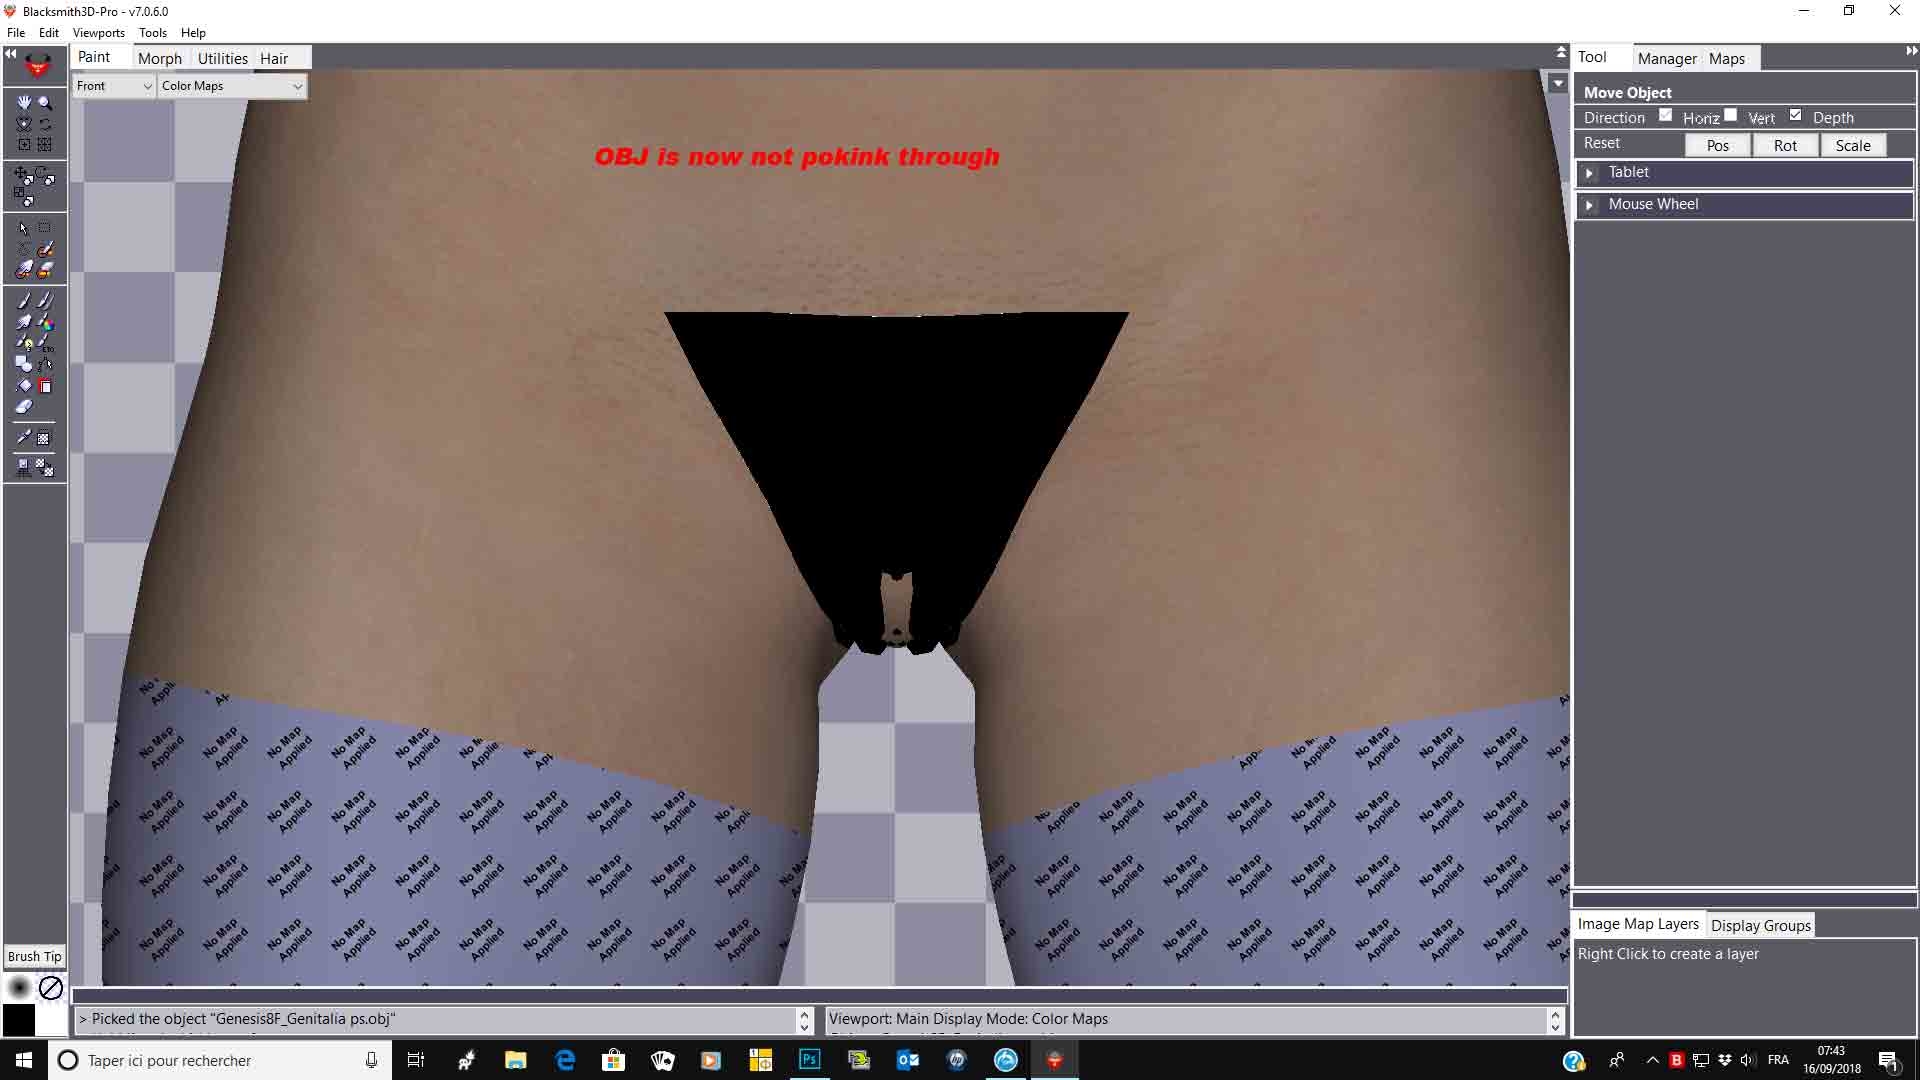
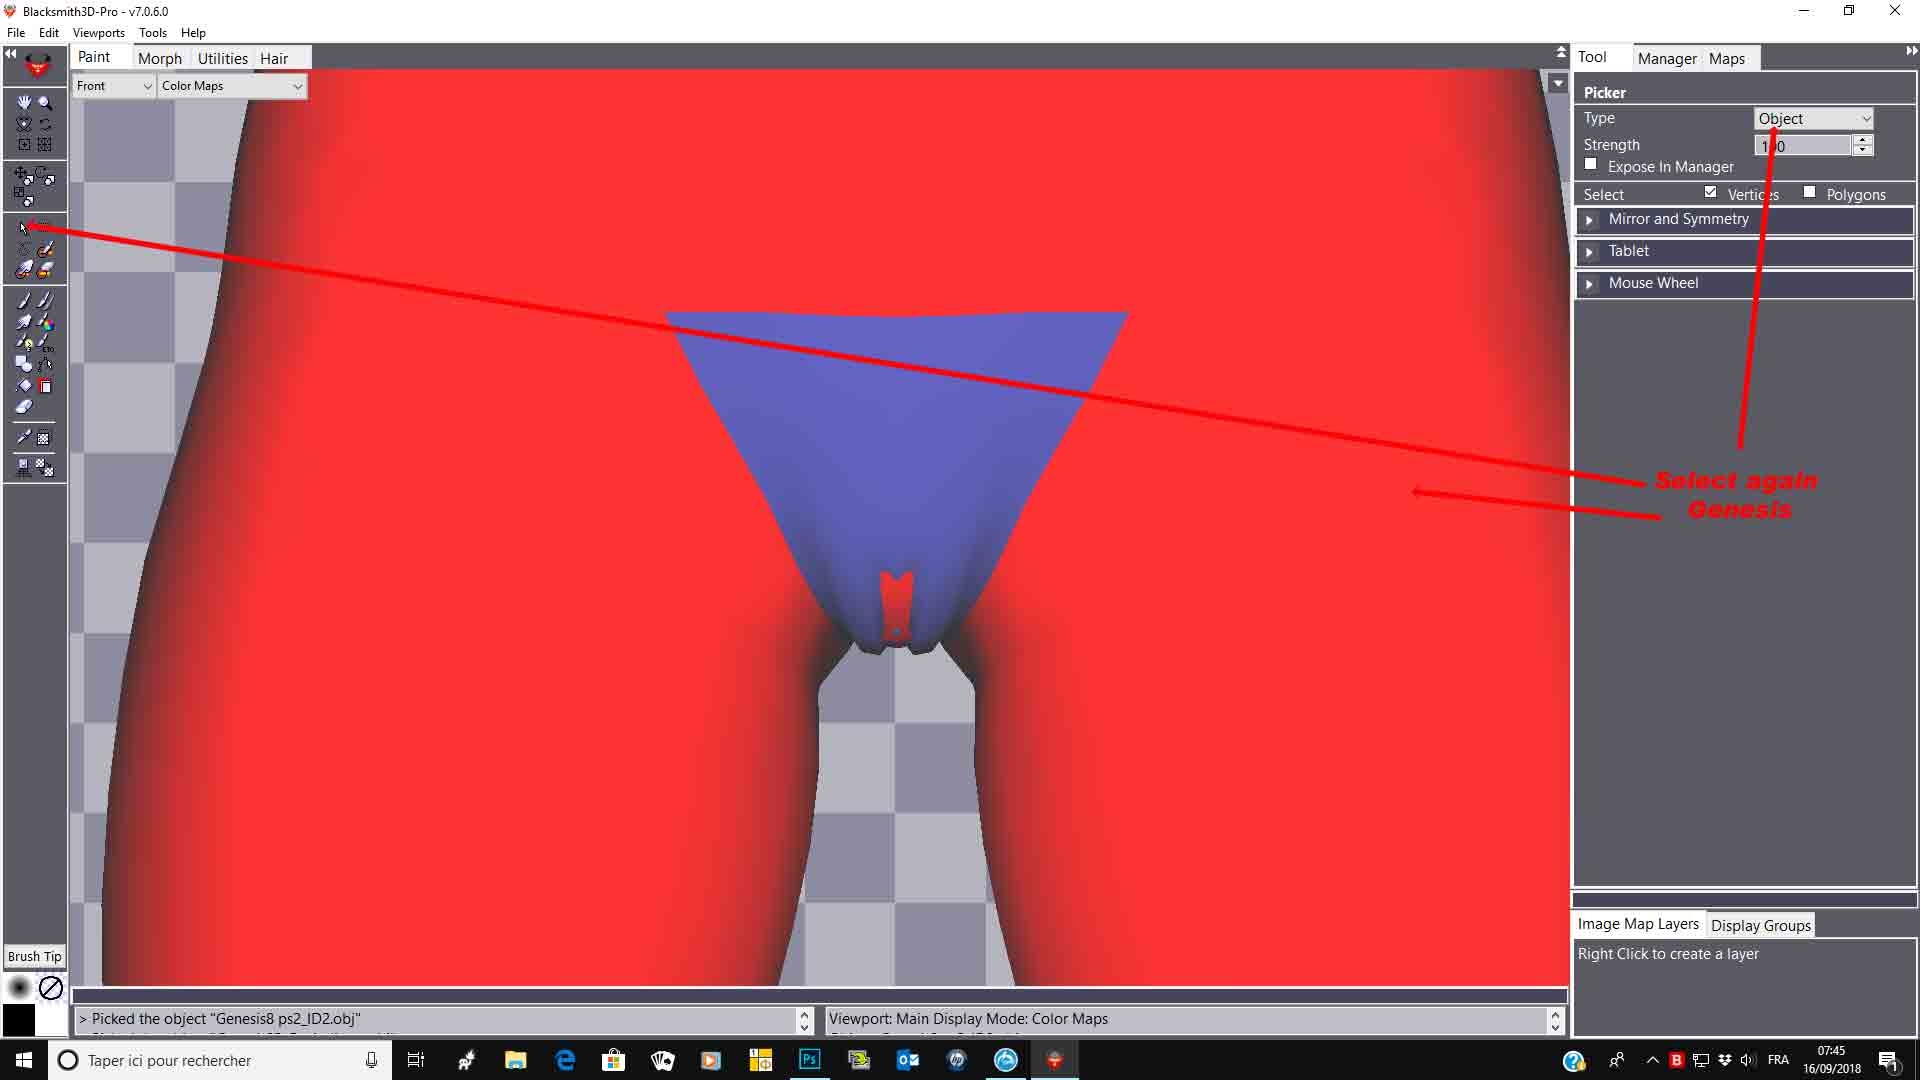
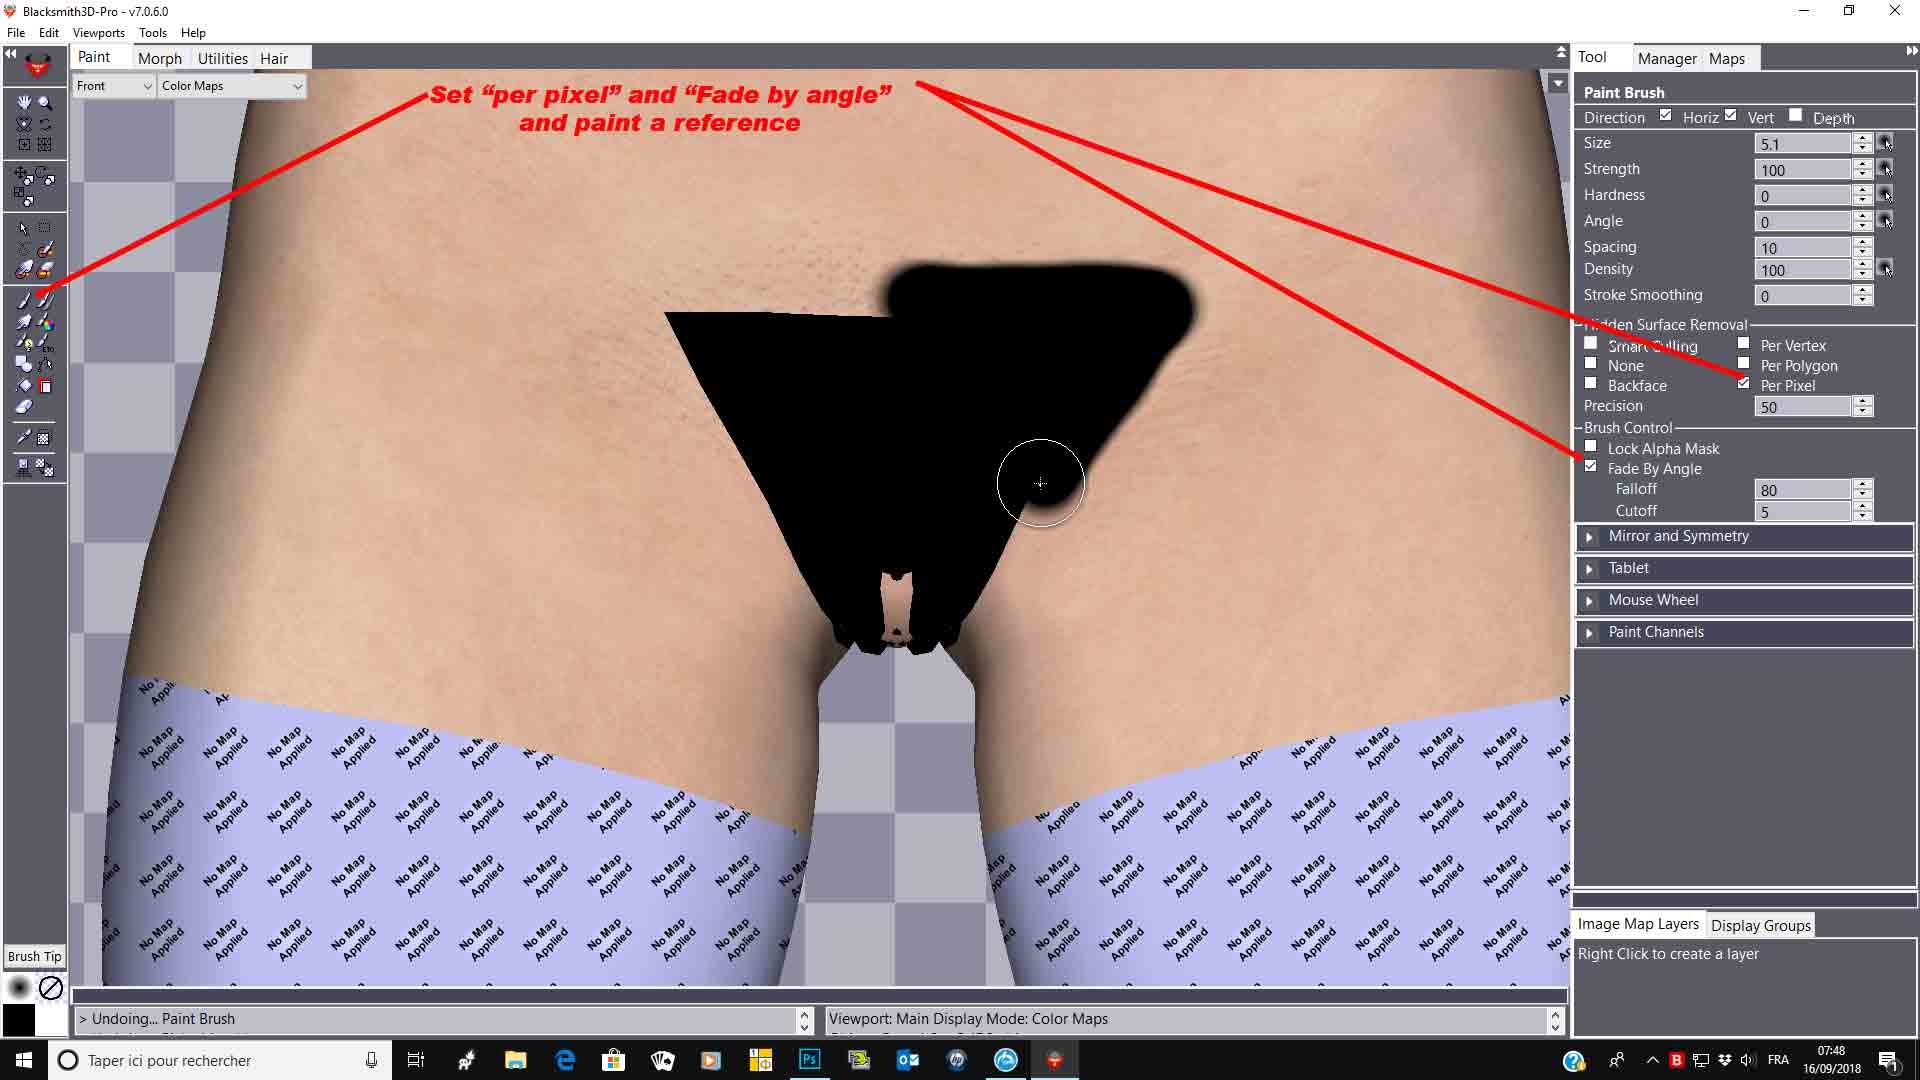
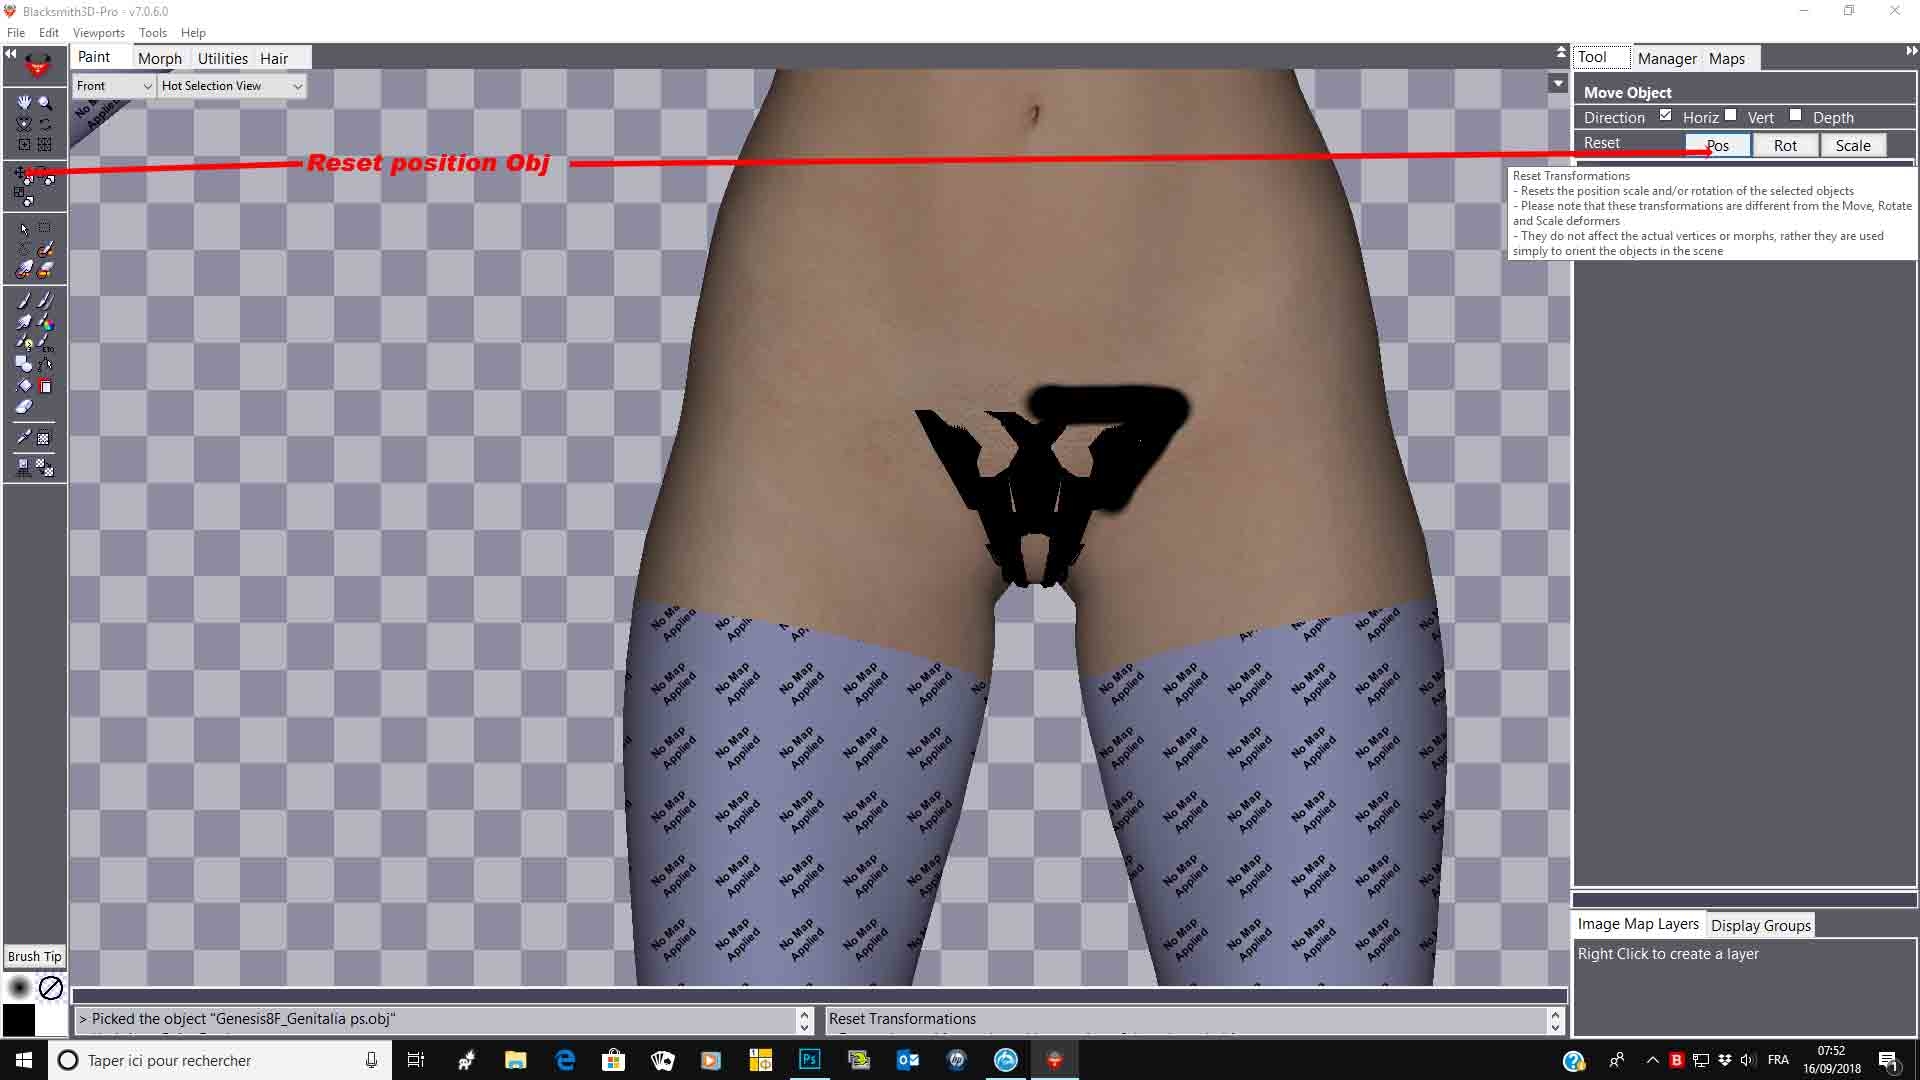
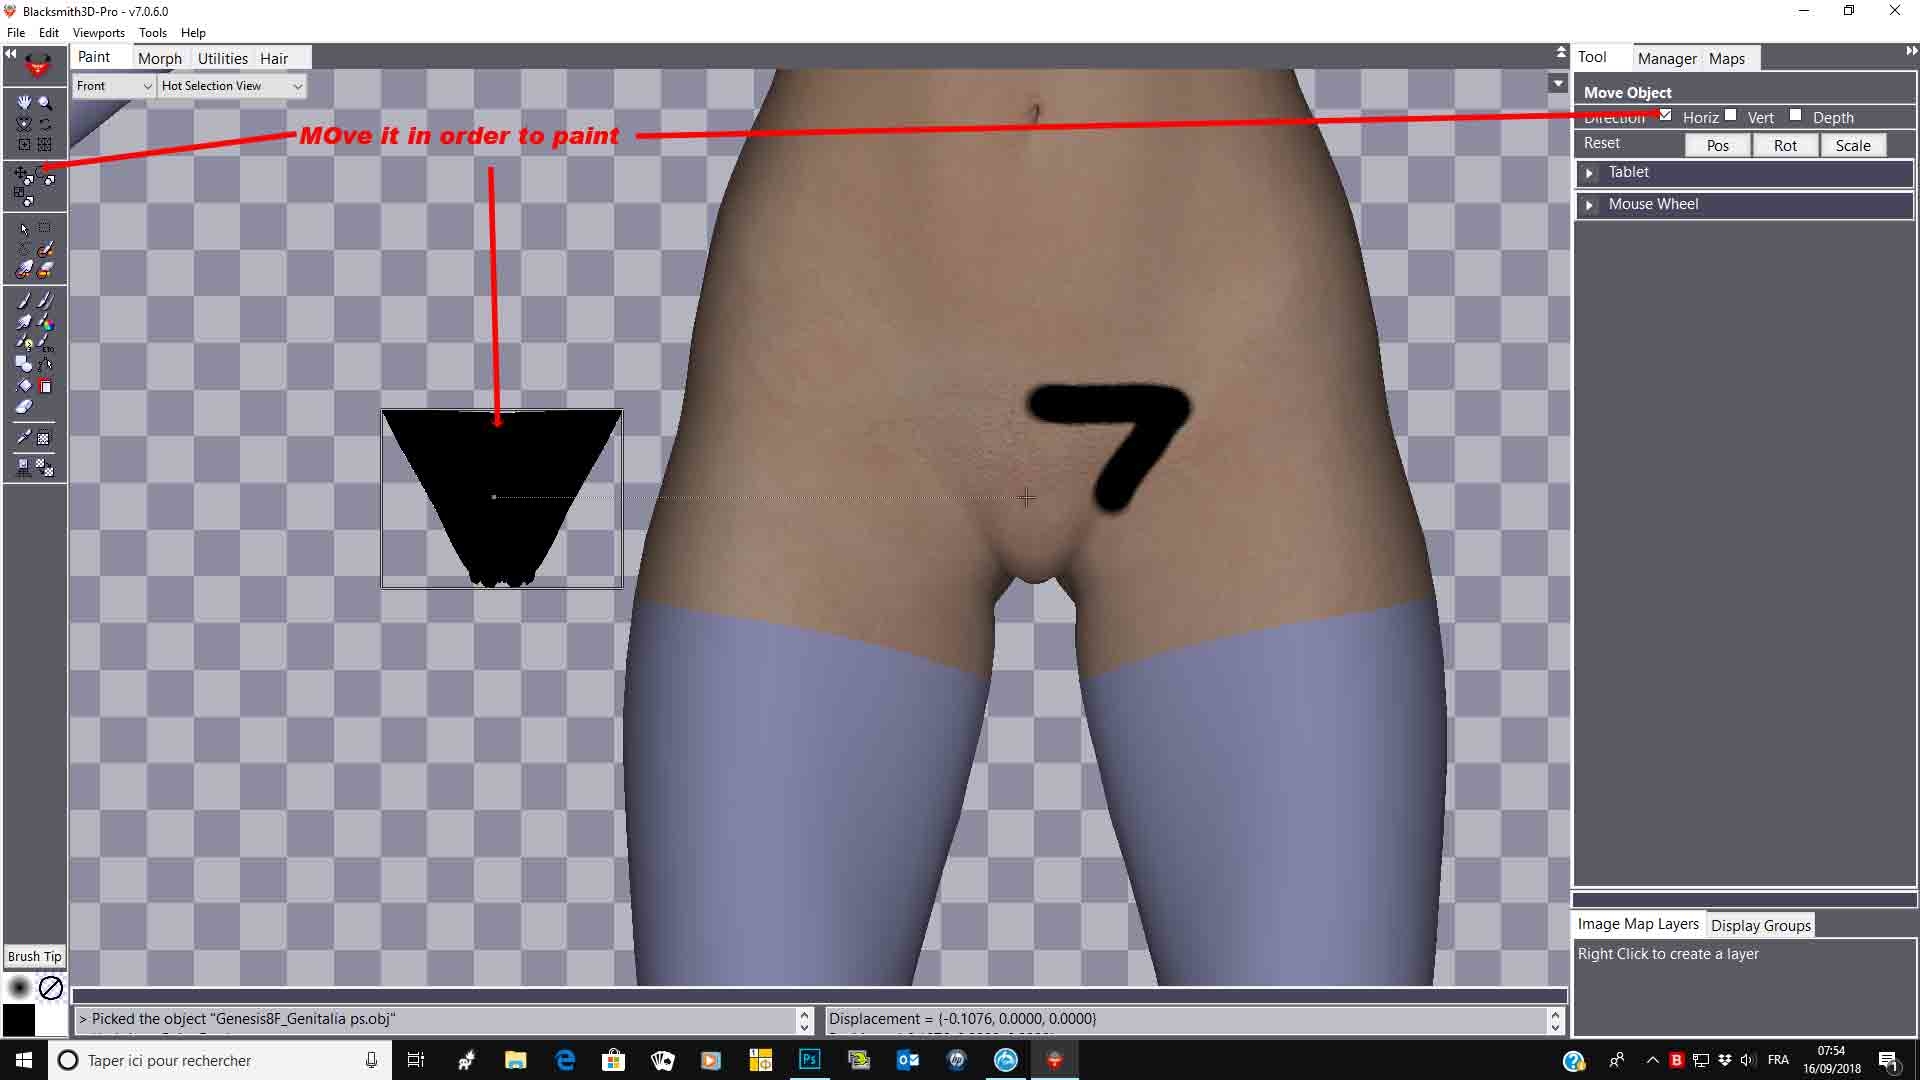
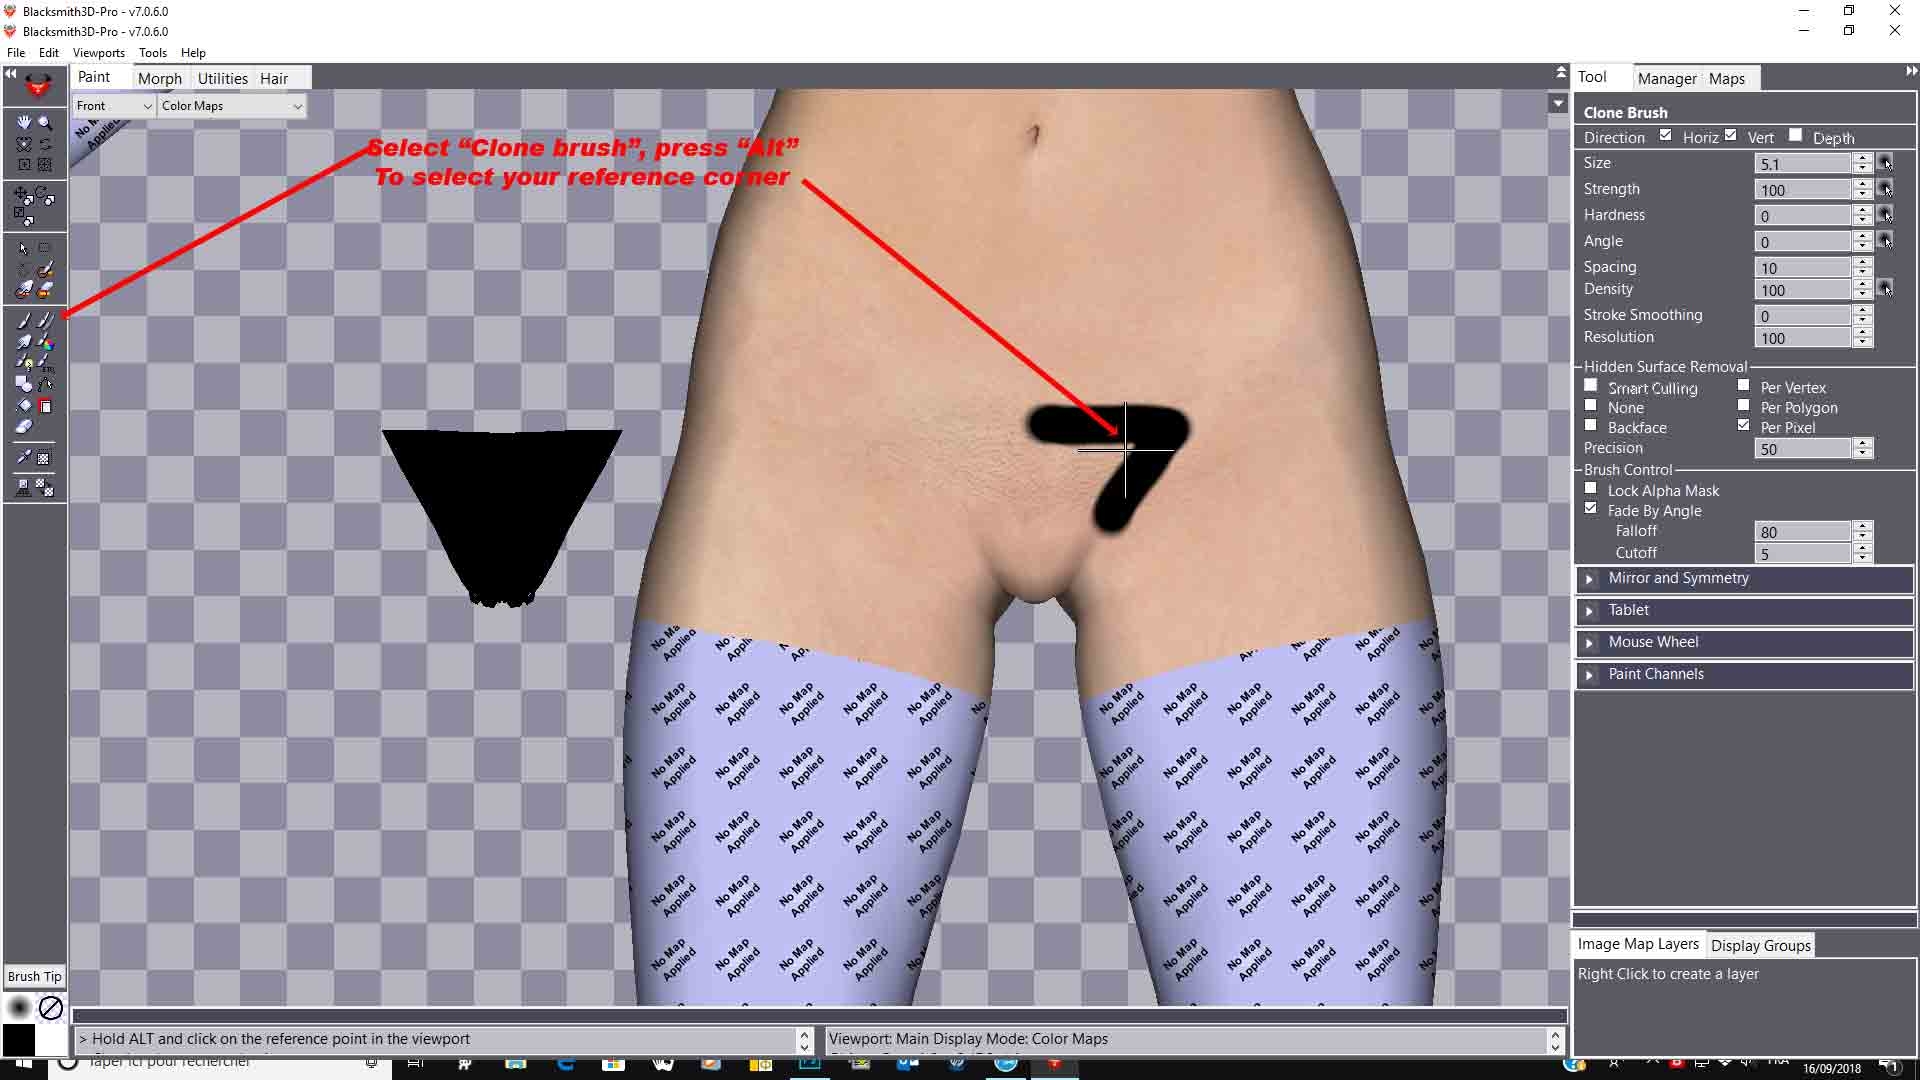
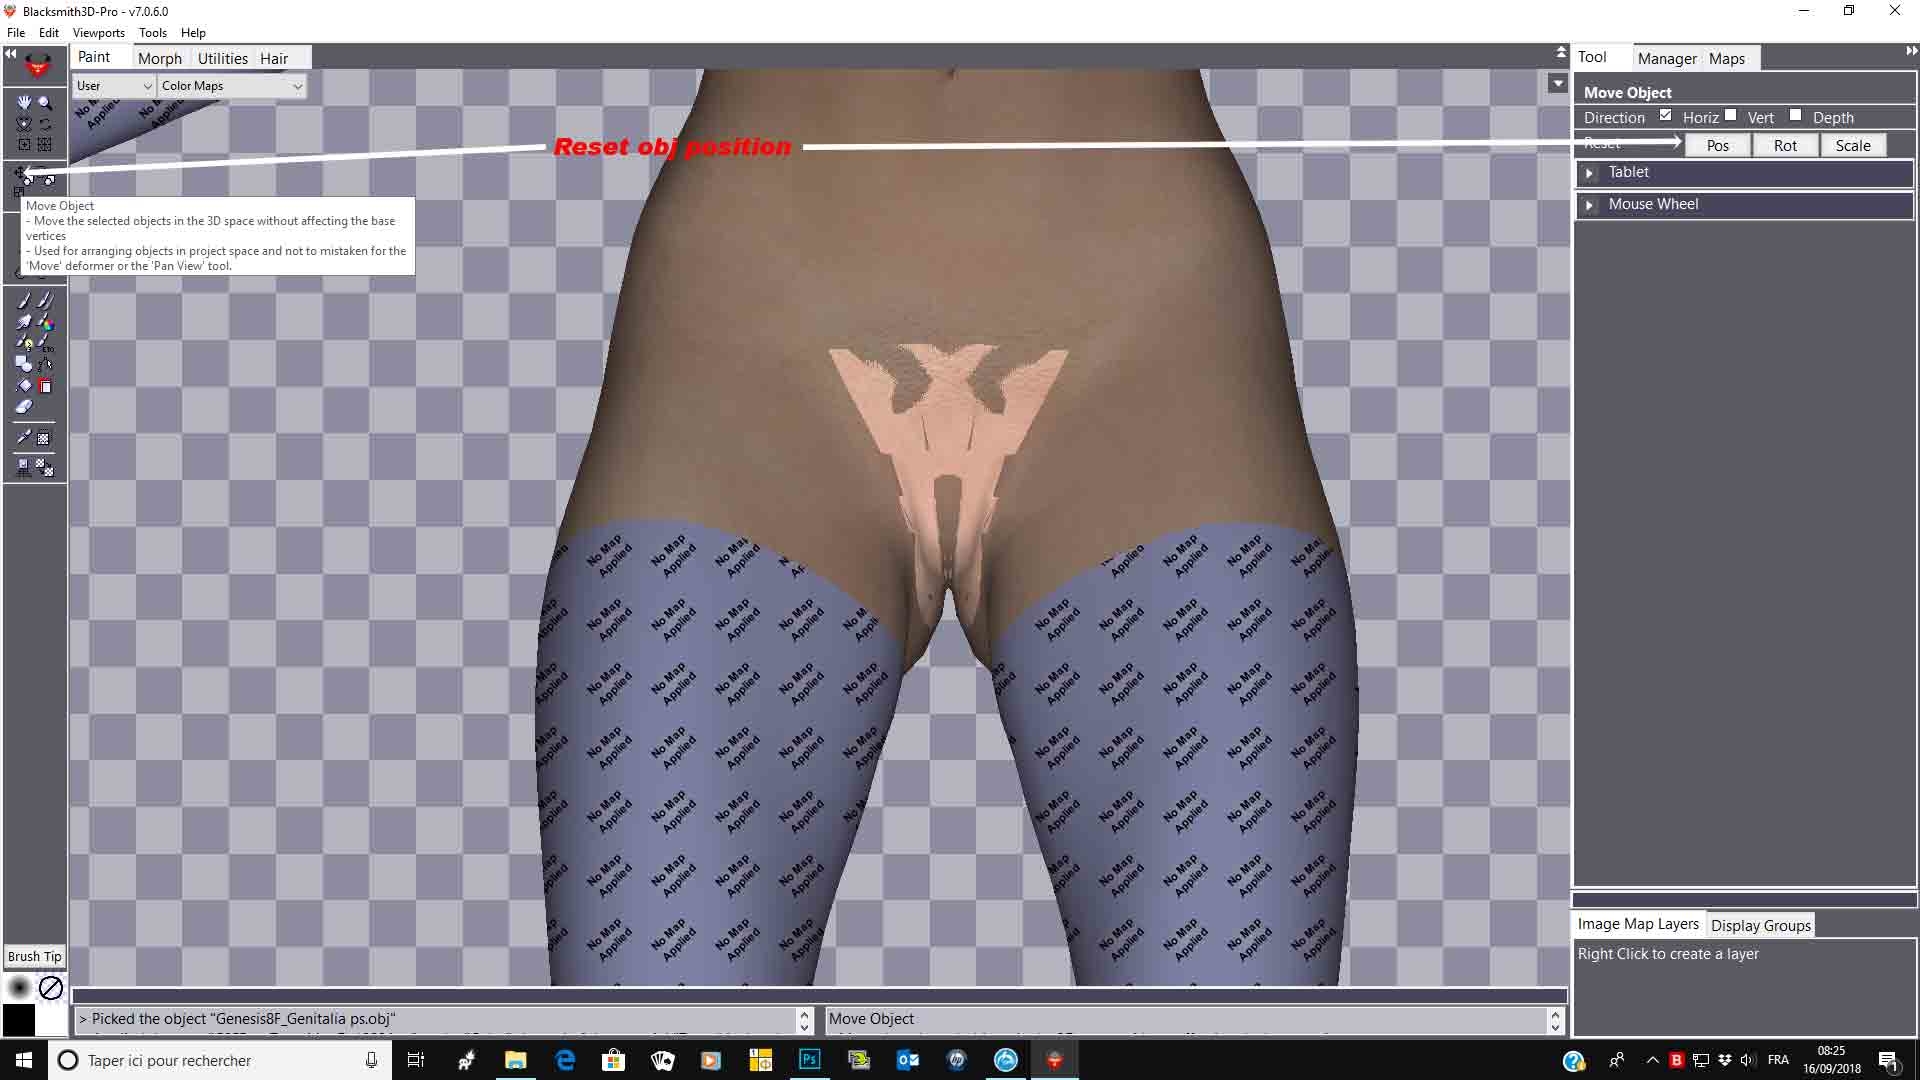
Select your genital obj and move it slightly horizontally. As you certainly want the same amount of details, use the clone brush from the g3f torso to your map applied on gen obj Once done, you can reset position of your gen obj to see if it match perfectly Now, in brush tile setup, load your reference image, align it and paint to add details.
Your diffuse map is now ready.
To get your base bump map, save your diffuse, re import in the map tad, right click and turn it to greyscale Create a new map in the map tab, affect it to the gen opacity channel, go in opacity wiew, fill it with black and invert in the map tab. Opacity is done Save and re import your bump map and use the blur tool to make your spec map.
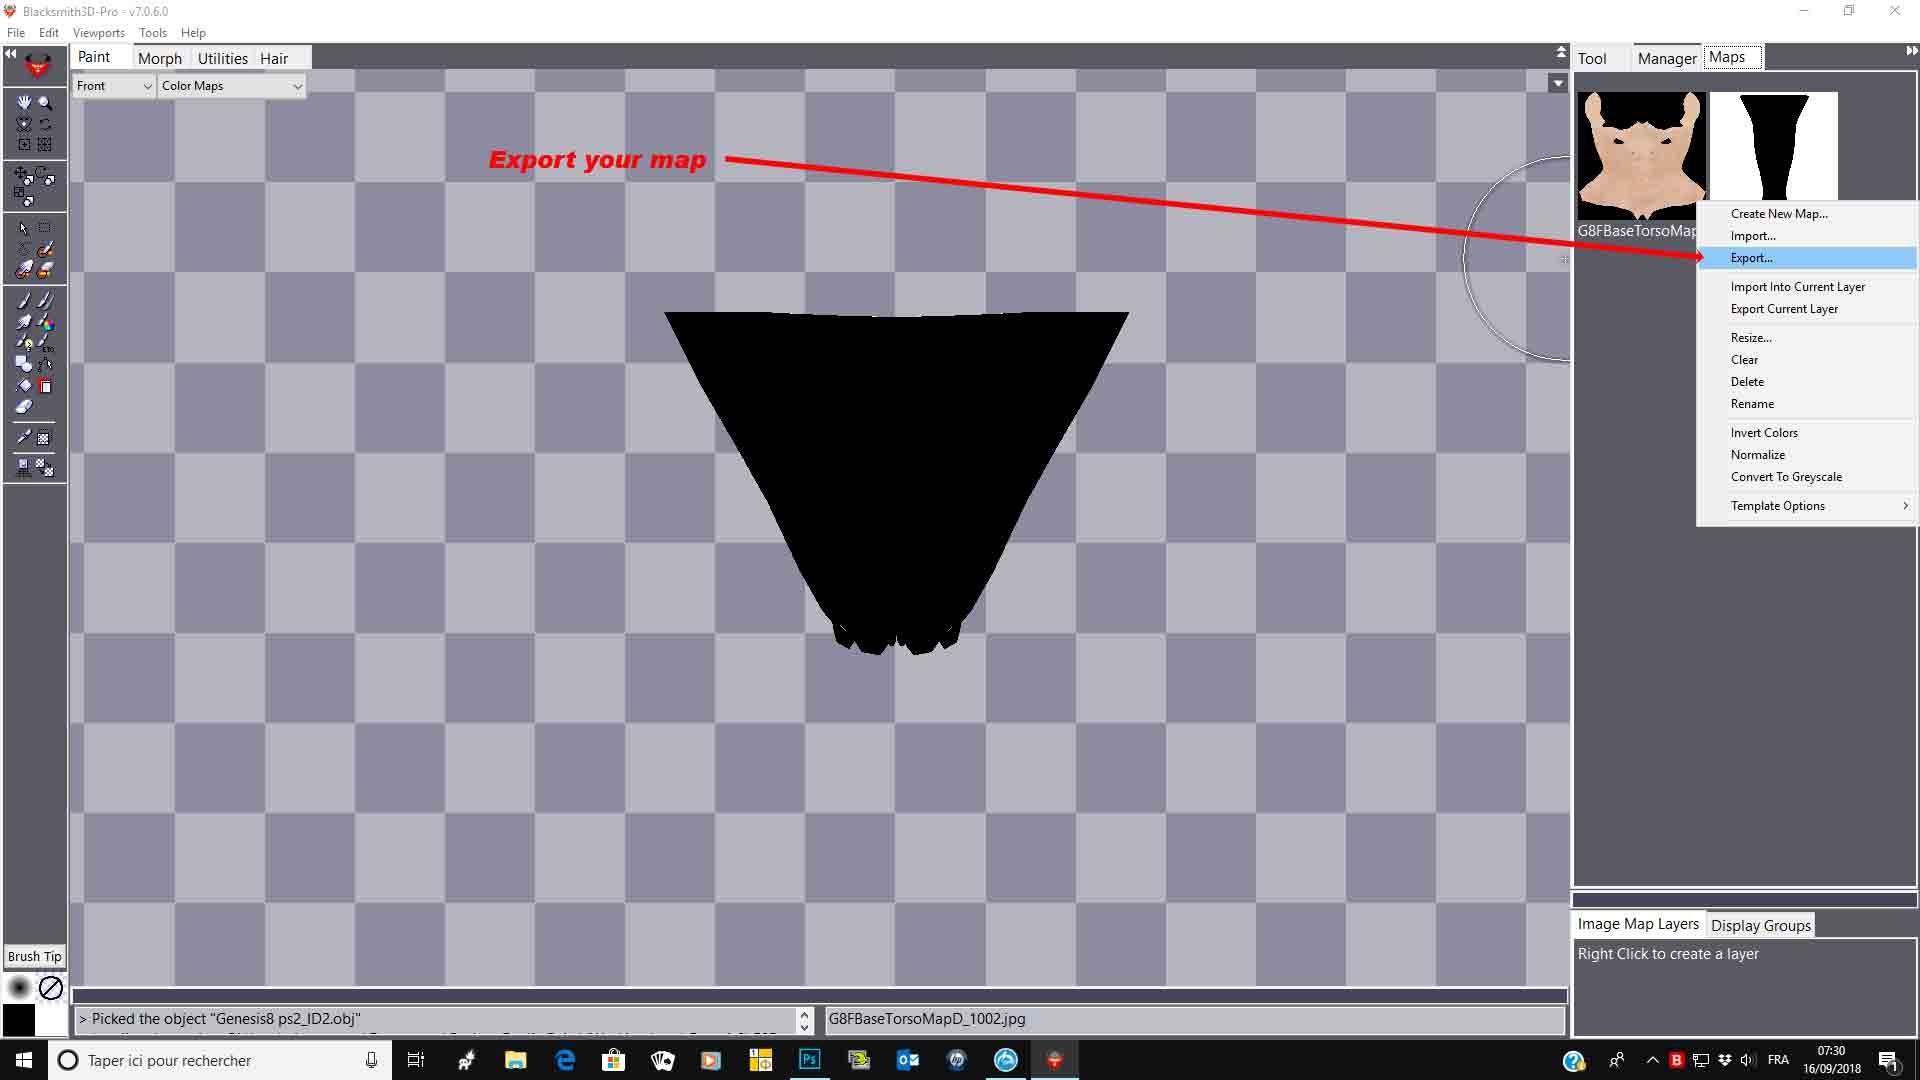
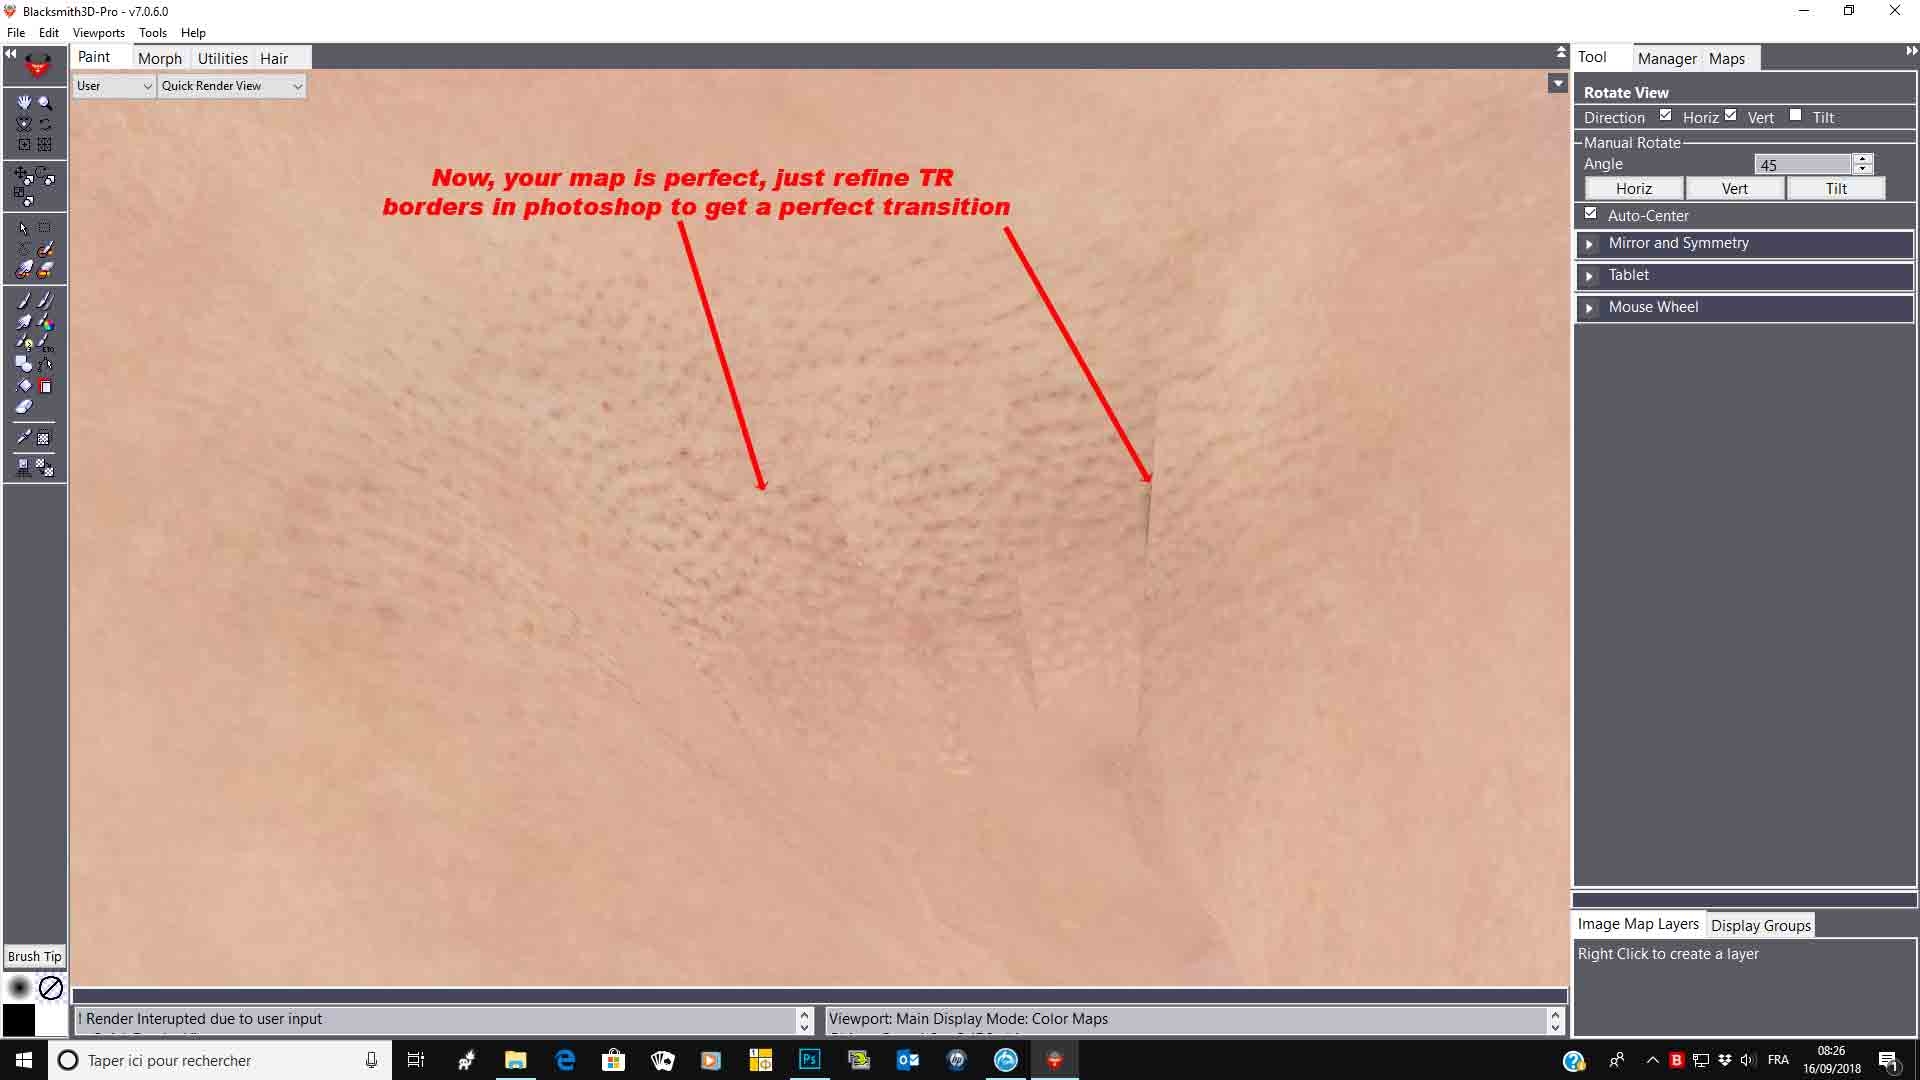
For all the maps, do not forget to do a "bleed UV seams" before saving. All the set is done now.
Hope it helps,
Best regards
Sorry, but I did not found time to check your solution earlier.
I think, I understood how to prepare: I load a G3 female as object into BS3D, apply to the torso the torso map, load a G3 female genitalia which is partly inside and partly outside of the torso. To this object I assign a blank map.
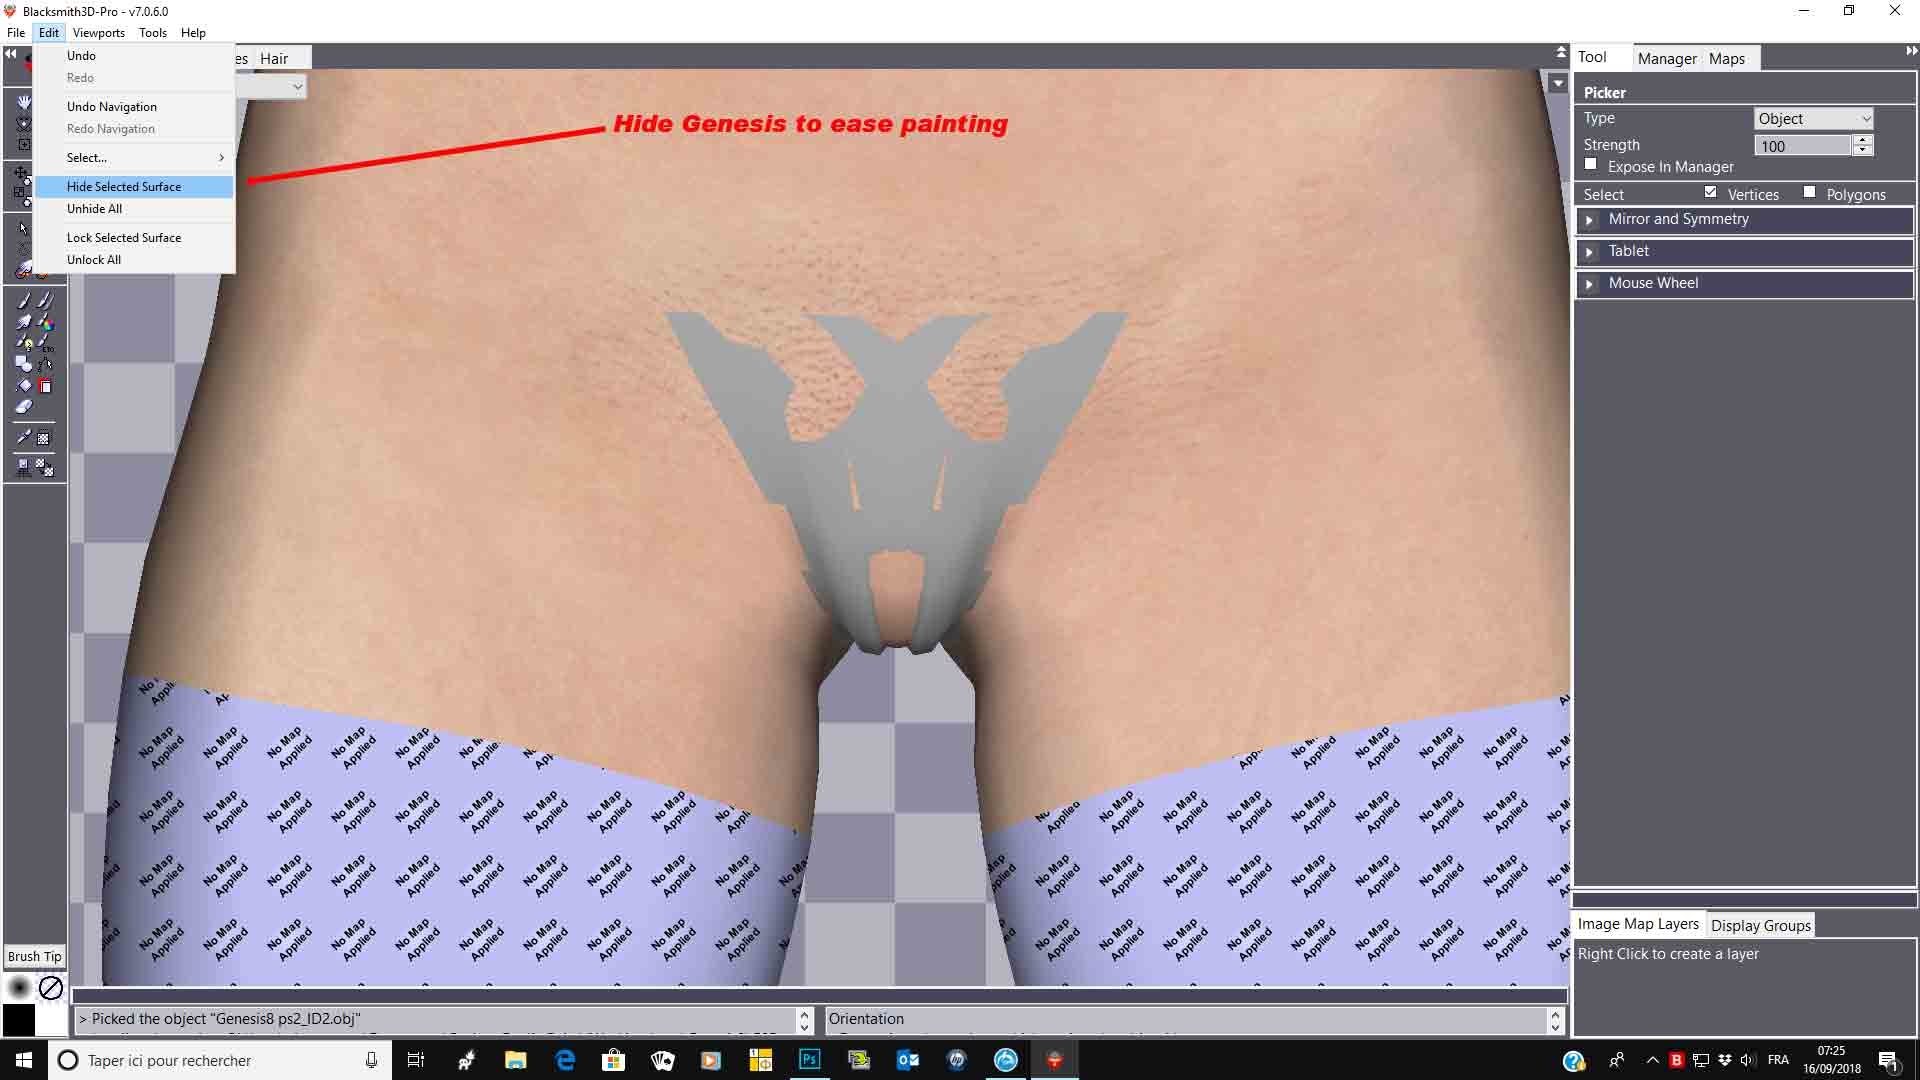
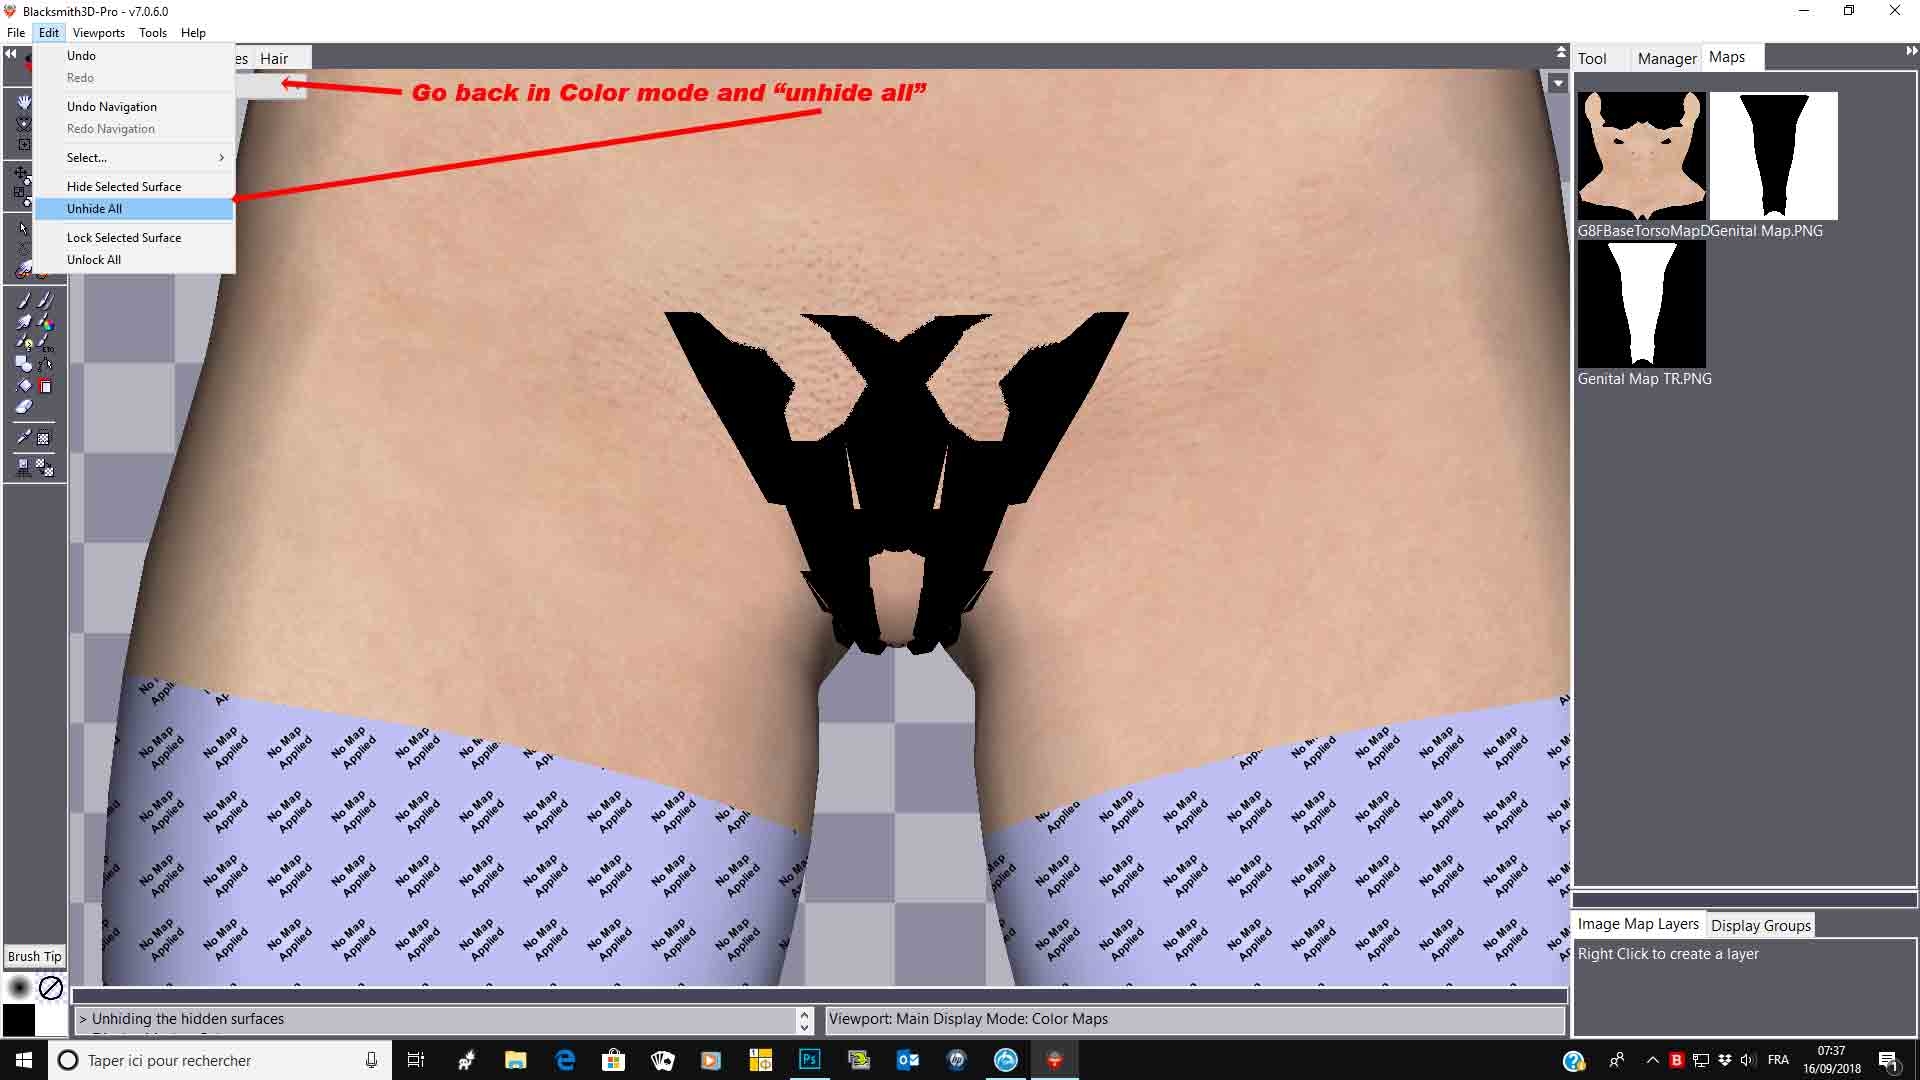
Then I shall 'Paint with a plain color around gen obj on g3f in order to get a guide for your painting'. Here I have the first problem: The Gen-Object is partly over and under the torso, so I do not see exactly where the gen starts. Is there an option to make the torso invisible to see the border of the genitalia? So I have no chance to mark an point outside the genitalia because I don't know, if the torso or the genitalia is currently on top.
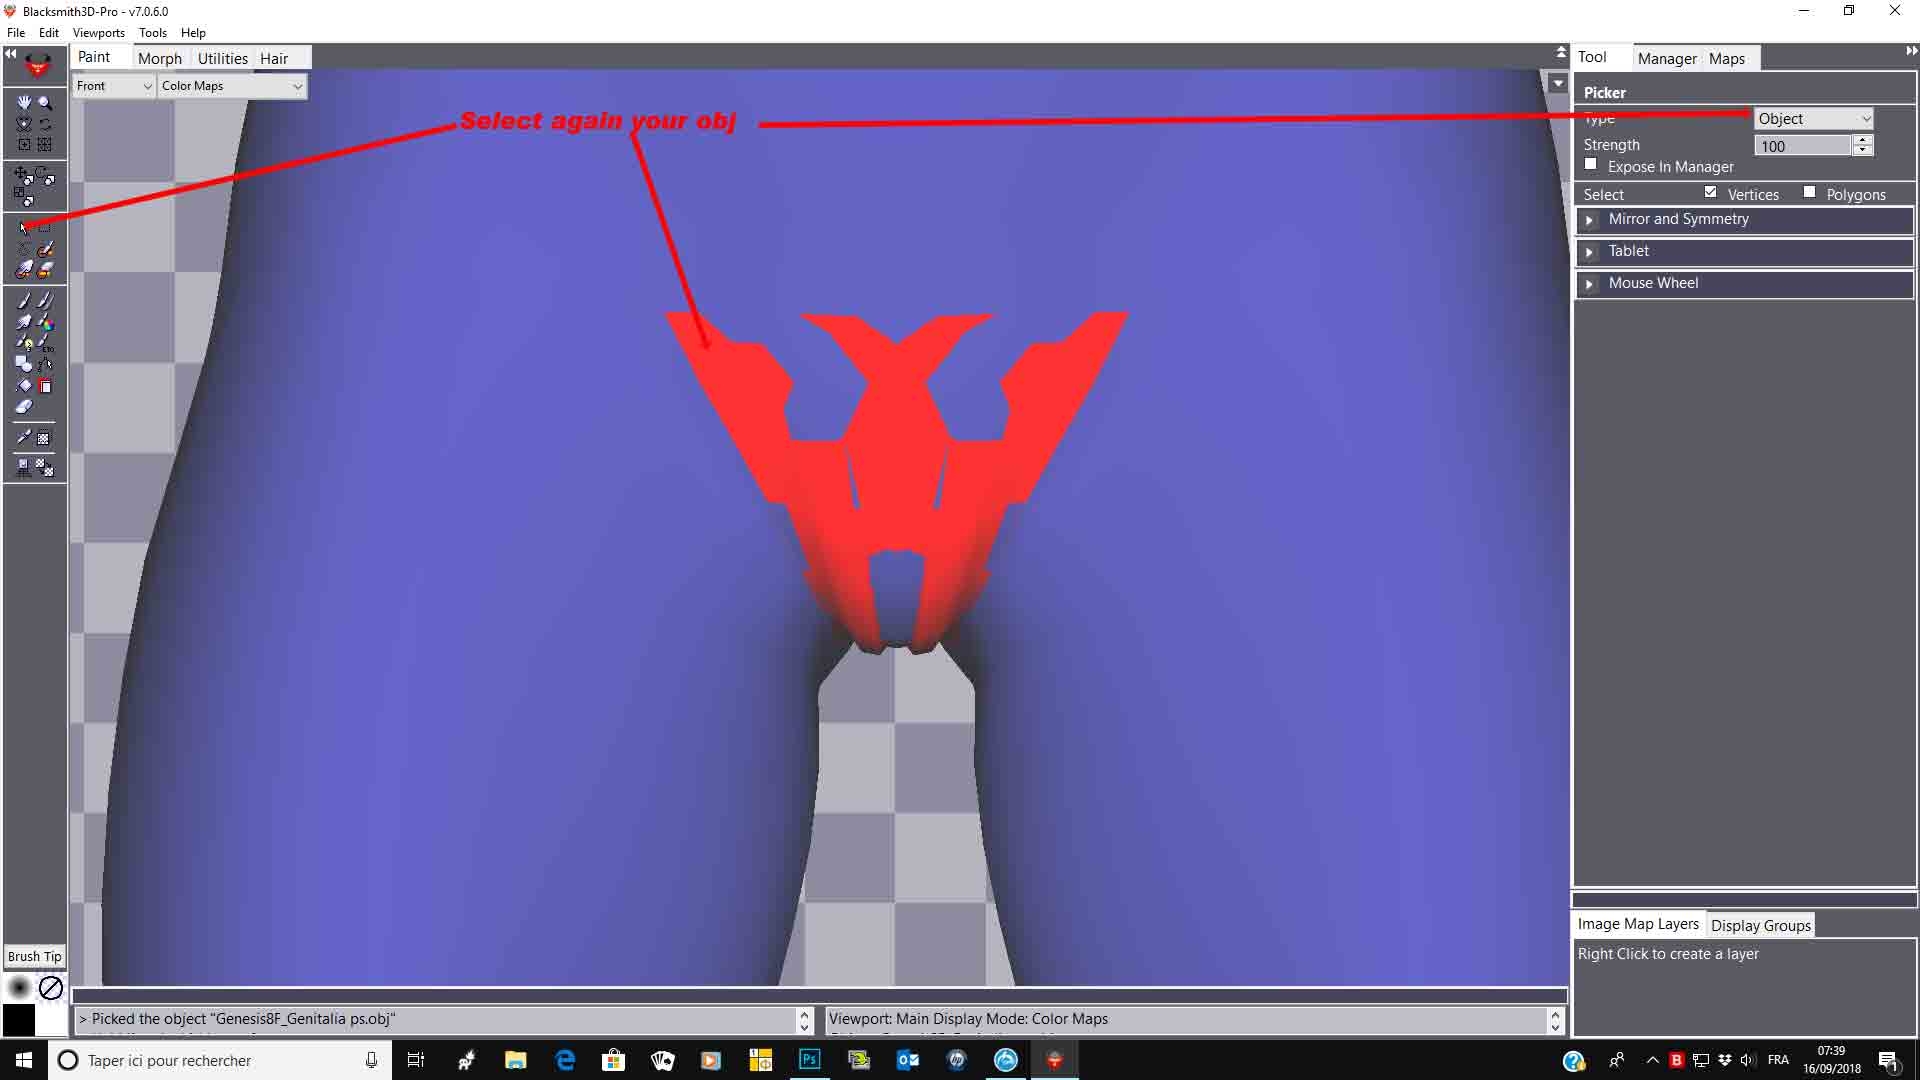
'Select your genital obj and move it slightly horizontally.' Does this 'slightly' means entirely outside of the torso? If I move it only slightly and use the clone brush to clone that area, the torso get white where the genitalia is on top and the genitalia get only a texture when it's on top. Isn't there a chance to set the torso as source 'layer' and the genitalia as destination 'layer', means, when I activated the genitalia layer, I only modify it no matter what is in foreground?
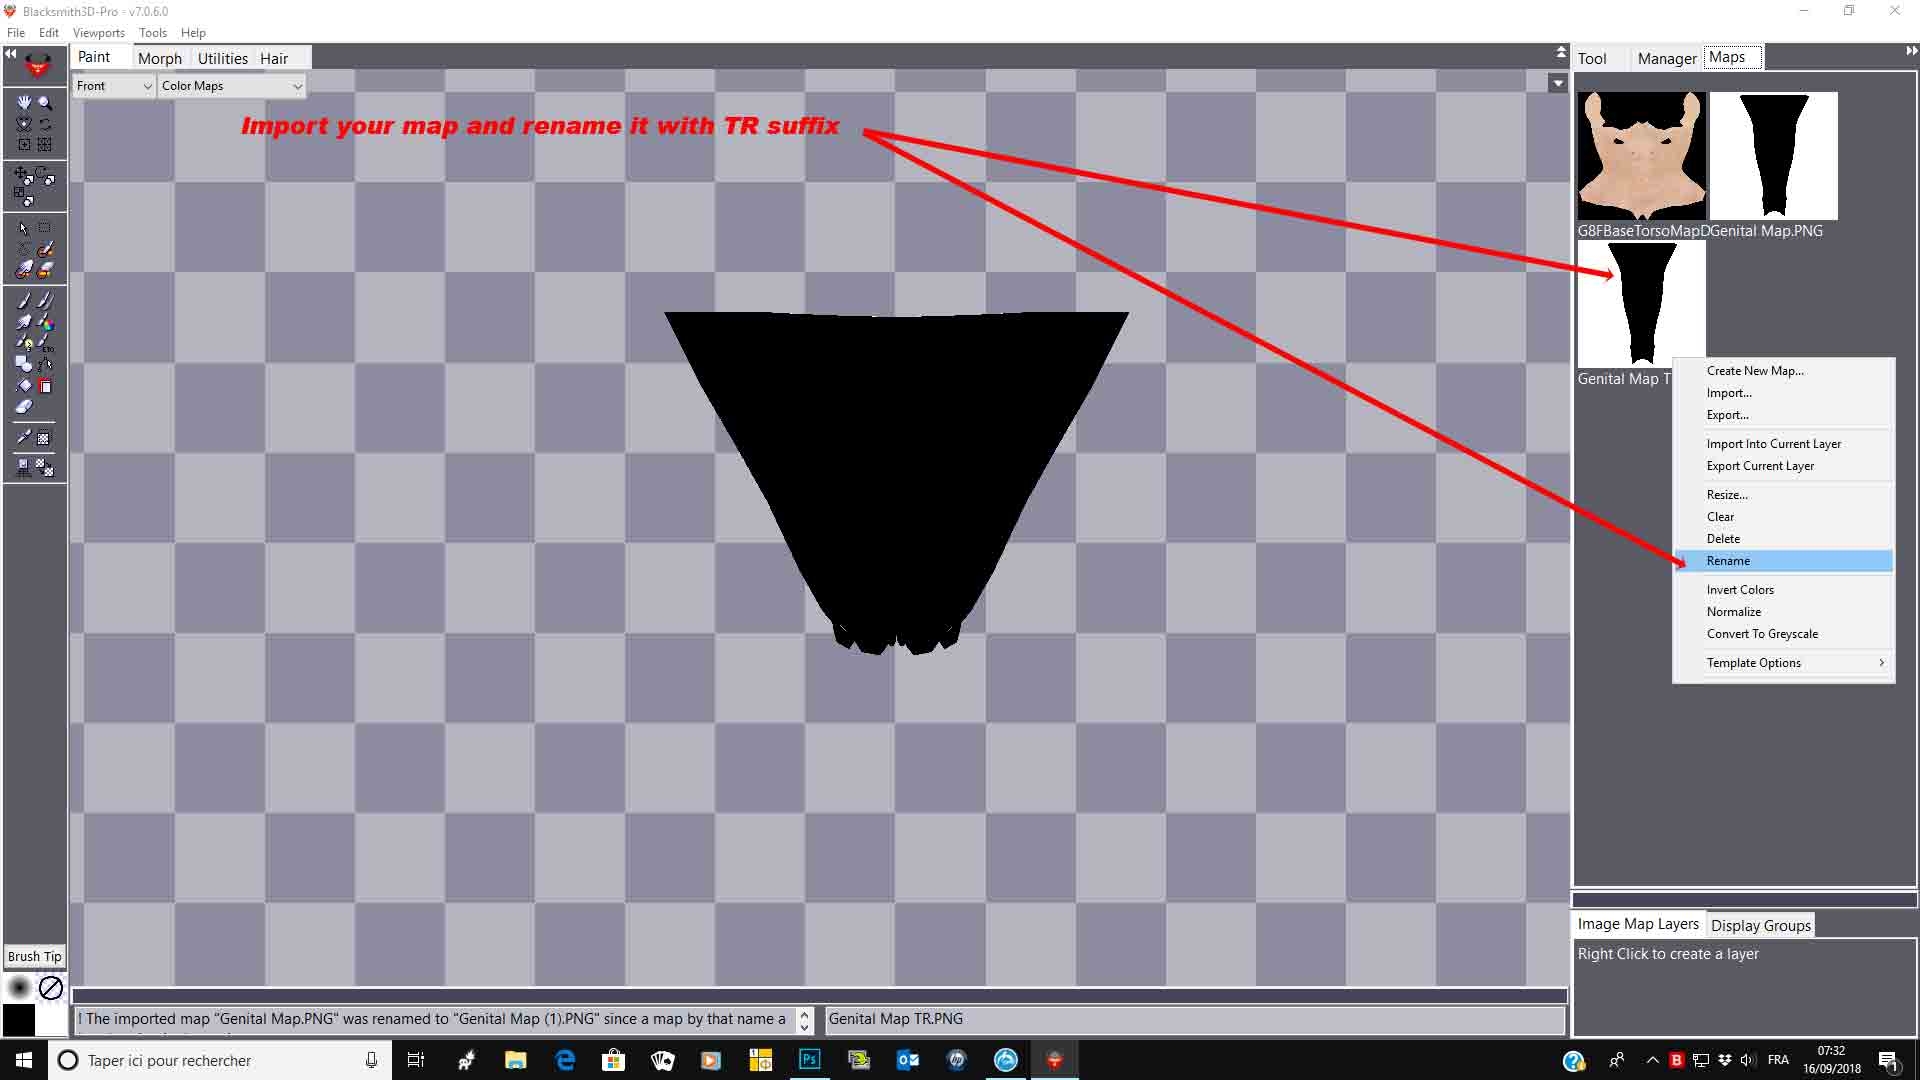


Due to TOS rules, I cannot push the demonstration to the full painting, but, here is the process to get a perfect matching Gen obj texture.
When creating your gen map (with black), do a bleed UV seams before exporting, then, when you will inverse it, your TR map will be perfect.
Hope it helps,
Best regards,
Hi,
Once again to less spare time to play with 3D!
I tried to follow your instructions and succeeded until you started to copy the colour from the torso to the genitalia. If I see it correct in your pictures, you painted the black marker on the torso and genitalia before you moved the genitalia to a free area. But when I use the clone brush, I always had a part of the genitalia black. Nevertheless your instructions brought me to an other idea:
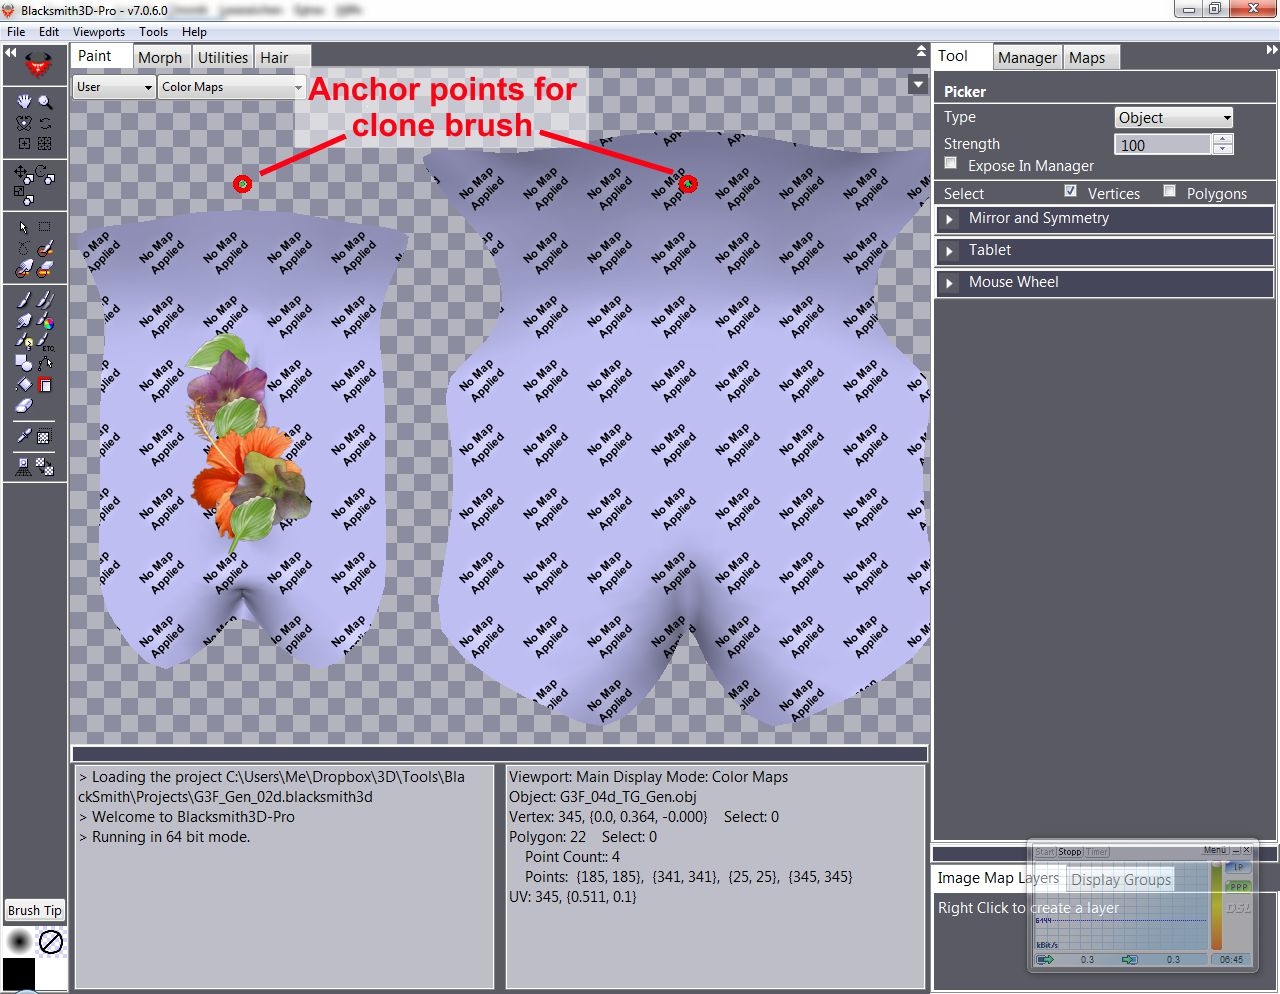
In DAZ I did the following: I created a standard G3F with a genitalia. Then I switched to Geometry Editor and hided (and finally deleted) all polygons around the area outside of the genitalia. Then I deleted the genitalia, and imported it again, but not into the remaining torso. This allowed me to move the genitalia to an exact distance left of the torso. Then I created a small sphere and changed the Z position that it's before the (remaining) torso and the Y-value that it's above the genitalia. I created a second one at the same y and z position, but used the x offset from the genitalia.
This Scene I exported as Obj-File and imported it into BS. Then I applied the torso map to the torso, a blank one to the genitalia, aligned the clone brush to the two spheres and copied the torso colour to the genitalia.
Since it's a little hard to get all areas that way I improved this by doing the following in DS: I spread the legs of the G3F to the maximum before I removed the superfluous polygons. To do the same spread on the genitalia I used a figure with genitalia it her spread the legs before I made it invisible.
In BS I rotated this object by 70° vertically and have now an environment like shown in the picture. Once setup the clone brush I can import all torso-files, copy them to the genitalia and export it then. This works really fine.
Then I tried to improve the entire stuff again and exported my DAZ-Scene in 3 different sub objects: One containing the anchors for the clone brush, one the torso and one the genitalia. I imported them together in one BS-Project. When I then applied the torso file to the torso I hadn't been asked anymore, if I want to use this texture for all objects. But: When I select the torso as active object the colour appears like in the torso file, when I select the genitalia, it becomes darker. As long as I press the mouse button the copied texture appears in the original torso colour, when I release the mouse button it becomes as dark as the torso. When I export the file it is also darker. When I use this texture file then on the figure, the colour does not match while with the other method it matches perfectly.

What do I wrong, that I can't copy the same colour from one object to a different one?
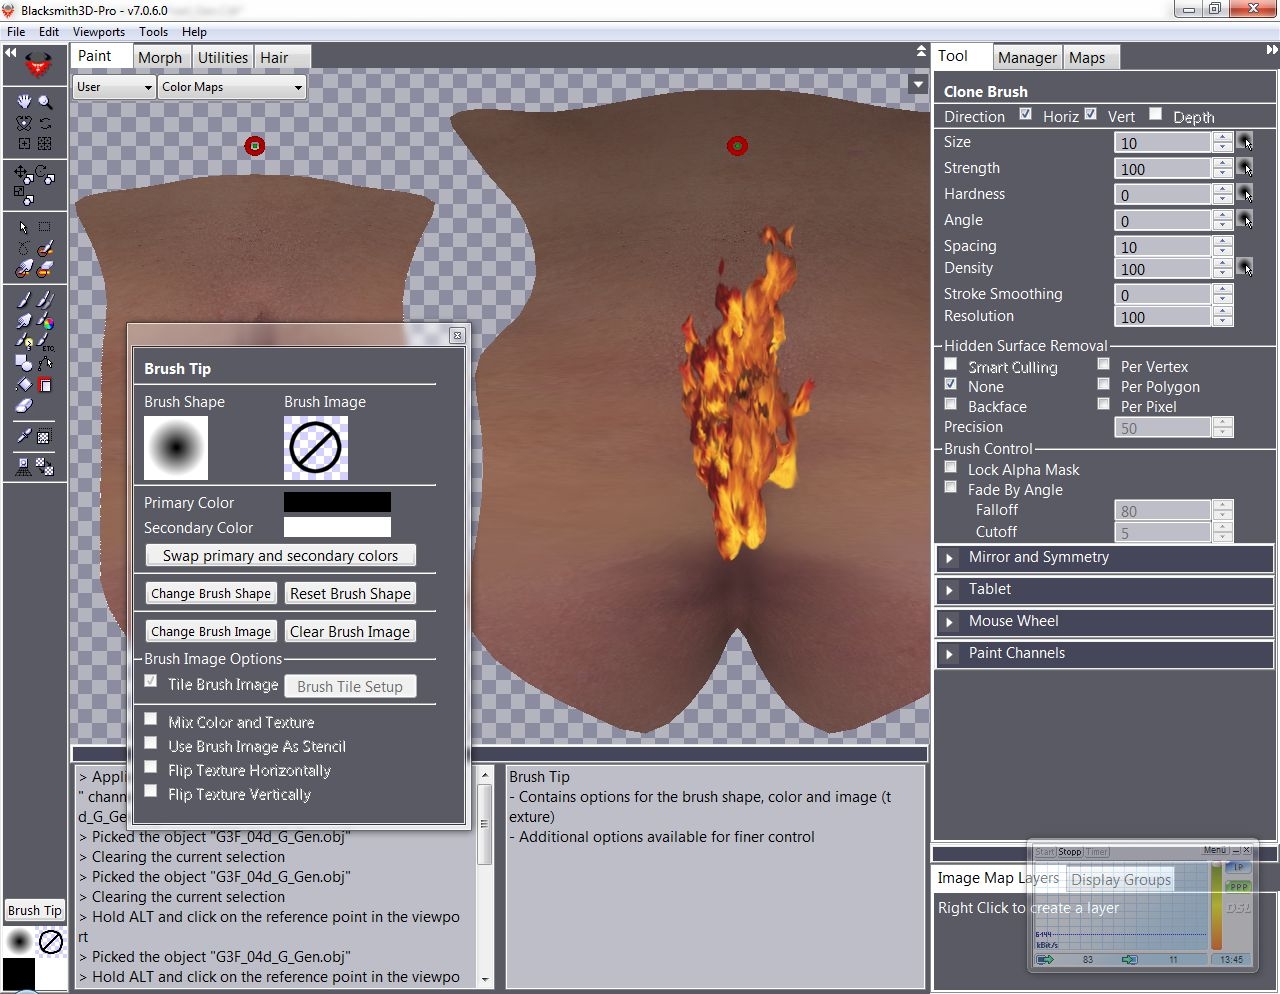 The 'Brush Tip' I hadn't changed before. It's the same as I use for the version with only one object
I think, I found by chance the reason for the wrong colour of the genitalia texture shown above: I have to activate the genitalia to draw on them. Blacksmith indicates the not active object(s) with greying them out. The clone brush takes the colour of the deactivated source object including the grey flavour. If I activate source and destination object, both objects appear in 'white' and the colour is matching.
If it's not a feature I do not understand, I consider it as an error, that BS uses the displayed (darker) colour for the clone brush instead of the original colour of the source.
The reason why I found out this is: I tried to create a tattoo over the pubic area so I used 'clear' maps. But clear here does not mean transparent, it means 'white'. I want to have it as ´transparent file to use as image layer over different textures. Is there a possibility to export a transparent PNG-file? The removal of the background with image editors has always some loosing of accuracy.
NudeFan6 posted at 2:28AM Sat, 05 January 2019 - #4343065
... Is there a possibility to export a transparent PNG-file? The removal of the background with image editors has always some loosing of accuracy.
Found it out: Load a transparent PNG-File and modify it. So I got a transparent PNG with only the tattoo back
Privacy Notice
This site uses cookies to deliver the best experience. Our own cookies make user accounts and other features possible. Third-party cookies are used to display relevant ads and to analyze how Renderosity is used. By using our site, you acknowledge that you have read and understood our Terms of Service, including our Cookie Policy and our Privacy Policy.
Is the following possible with BlackSmith:
I load a skin In DAZ on a G3F figure which does not come with anatomical elements. Nevertheless I add a genitalia to this figure, copy shader and surface from the torso to it and apply the 'Base Female Torso UV' to it to have the genitalia covered with the pubic hill of the torso. Is Blacksmith able to generate out of it a 4096x4096 large set of all material files (Diffuse, Bump, S, ...) which I can use later on a G3F Genitalia after I have copied the 'internal' part from another genitalia over the skin of the pubic hill?
If this is possible at all, can someone give me a short guide how to do this?