Renderosity Forums / Poser 11
Welcome to the Poser 11 Forum
Forum Moderators: nerd Forum Coordinators: Anim8dtoon, Digitell
Poser 11 F.A.Q (Last Updated: 2026 May 27 4:45 pm)

Welcome to the Poser Forums! Need help with these versions, advice on upgrading? Etc...you've arrived at the right place!
Looking for Poser Tutorials? Find those HERE

Subject: Advice on Clip Studio Paint PRO for creating 3D poses from 2D image?


So, it sounds like you want take a 2D photo of a pose, and convert it to a pose that can be dropped onto a Poser figure?
Theoretically it would be possible to have an AI do: 2D image -> OpenPose -> convert 2D points to 3D points -> generate a retargetted .BVH file suitable for dropping onto a standard Poser V4/M4 figure.
The first part of that is relatively trivial and already here, handled by ComfyUI and Openpose. And it sounds like that's also now integrated into even the basic version of Clip Studio. Then the Openpose converter part would probably have to be 'vibe coded' by something like Grok, after being fed documentation and some examples of the Poser-friendly Carnegie-Mellon .BVH files.
Learn the Secrets of Poser 11 and Line-art Filters.

I asked "Perplexity" about the Topic. Here is the answer:
There has been some discussion about using OpenPose and then generating BVH via AI scripts (e.g. Grok) to get poses into Poser. For single images, that’s honestly a lot more complex than it needs to be.
A few important points:
-
From a single OpenPose image you only get one static pose, not an animation.
-
BVH is primarily an animation / motion‑capture format (many frames), and Poser’s BVH importer is mainly intended for that use case.[posersoftware]
-
In practice, even when people import BVH into Poser, they usually go to one frame they like, tweak the figure, and then save a normal Poser pose (.pz2) into their library.renderosity+1
So instead of going “OpenPose → BVH → Poser → save pose”, it’s often simpler to go “OpenPose → small script → Poser pose file (.pz2)” directly.
Below is a minimal Python script that demonstrates the idea. It does not talk to OpenPose itself; it expects you to supply joint rotations per bone. But once you’ve mapped your OpenPose data to bone angles, this script will:
-
Take a dictionary of bone rotations.
-
Write a standard Poser pose file (
.pz2) that you can drop into your Runtime and use like any other pose.
This example is deliberately generic and uses common bone names for Poser figures like La Femme / La Femme 2 (hips, abdomen, chest, shoulders, forearms, thighs, shins). You can easily adapt the bone names if you target Michael 4 or others.
How to use:
Save the script as
openpose_to_poser_pose.py.Edit the
pose_datadictionary at the bottom:
Keys = bone names as they appear in your Poser figure (e.g.
hip,abdomen,chest,lShldr,rShldr,lForeArm,rForeArm, etc.).Values =
(rx_deg, ry_deg, rz_deg)rotations (in degrees) for that bone.Run it with Python (outside Poser is fine).
It will create
openpose_pose.pz2.Put that file into
Runtime\Libraries\Pose\YourFolder\and refresh the library in Poser.[posersoftware]Apply it to your figure like any other pose.
Obviously, a “real” OpenPose integration would convert keypoints to joint angles automatically, but that’s a separate math problem. This script is the final step: turn a list of joint angles into a Poser‑ready pose file without needing BVH or Grok.
PYTHON"""
Simple example: create a Poser .pz2 pose file from a set of joint rotations.
- Assumes a figure with standard bone names (e.g. La Femme / La Femme 2 style).
- You provide rotations in degrees for each bone you want to pose.
- Output is a text-based .pz2 that Poser can load as a pose.
Usage:
python openpose_to_poser_pose.py
"""
from pathlib import Path
def write_poser_pose(pose_data, output_path, pose_name="OpenPose_Pose"):
"""
pose_data: dict mapping bone_name -> (rx_deg, ry_deg, rz_deg)
Rotations in degrees, XYZ order for simplicity.
output_path: path to .pz2 file (string or Path)
pose_name: comment header inside the file
"""
lines = []
lines.append(f'// {pose_name}')
lines.append('')
lines.append('{')
lines.append('\tversion 4')
lines.append('\tactor BODY:1')
lines.append('\t{')
lines.append('\t\tchannels { }')
lines.append('\t}')
lines.append('')
for bone, (rx, ry, rz) in pose_data.items():
# Each "actor" corresponds to one bone of the figure
lines.append(f'\tactor {bone}:1')
lines.append('\t{')
lines.append('\t\tchannels')
lines.append('\t\t{')
# X rotation
lines.append('\t\t\tchannel rX')
lines.append('\t\t\t{')
lines.append('\t\t\t\tkeys')
lines.append('\t\t\t\t{')
lines.append(f'\t\t\t\t\tstatic {float(rx):.4f}')
lines.append('\t\t\t\t}')
lines.append('\t\t\t}')
# Y rotation
lines.append('\t\t\tchannel rY')
lines.append('\t\t\t{')
lines.append('\t\t\t\tkeys')
lines.append('\t\t\t\t{')
lines.append(f'\t\t\t\t\tstatic {float(ry):.4f}')
lines.append('\t\t\t\t}')
lines.append('\t\t\t}')
# Z rotation
lines.append('\t\t\tchannel rZ')
lines.append('\t\t\t{')
lines.append('\t\t\t\tkeys')
lines.append('\t\t\t\t{')
lines.append(f'\t\t\t\t\tstatic {float(rz):.4f}')
lines.append('\t\t\t\t}')
lines.append('\t\t\t}')
lines.append('\t\t}')
lines.append('\t}')
lines.append('')
lines.append('}')
output_path = Path(output_path)
output_path.write_text("\n".join(lines), encoding="utf-8")
print(f"Wrote pose to {output_path.resolve()}")
if __name__ == "__main__":
# ------------------------------------------------------------------
# Example rotations for a simple pose.
# Replace these with angles derived from your OpenPose pipeline.
#
# Bone names here are typical for Poser figures like La Femme:
# "hip", "abdomen", "chest", "lShldr", "lForeArm", "rShldr", "rForeArm",
# "lThigh", "lShin", "rThigh", "rShin", etc.
# Check the actual hierarchy in Poser if your figure uses different names.
# ------------------------------------------------------------------
pose_data = {
# torso
"hip": (0.0, 0.0, 0.0),
"abdomen": (5.0, 0.0, 0.0),
"chest": (10.0, 0.0, 0.0),
# left arm
"lShldr": (0.0, 30.0, 0.0),
"lForeArm": (0.0, 60.0, 0.0),
# right arm
"rShldr": (0.0, -30.0, 0.0),
"rForeArm": (0.0, -60.0, 0.0),
# left leg
"lThigh": (0.0, 20.0, 0.0),
"lShin": (0.0, -40.0, 0.0),
# right leg
"rThigh": (0.0, 20.0, 0.0),
"rShin": (0.0, -40.0, 0.0),
}
# Output file name (relative to where you run the script)
output_file = "openpose_pose.pz2"
write_poser_pose(pose_data, output_file, pose_name="OpenPose_Demo_Pose")
You can extend this with more bones (hands, fingers, neck, head, toes, etc.) as long as you know the bone names and rotation directions for your specific figure. For La Femme / La Femme 2, the body part names are documented and
You can extend this with more bones (hands, fingers, neck, head, toes, etc.) as long as you know the bone names and rotation directions for your specific figure. For La Femme / La Femme 2, the body part names are documented and consistent, which makes thi
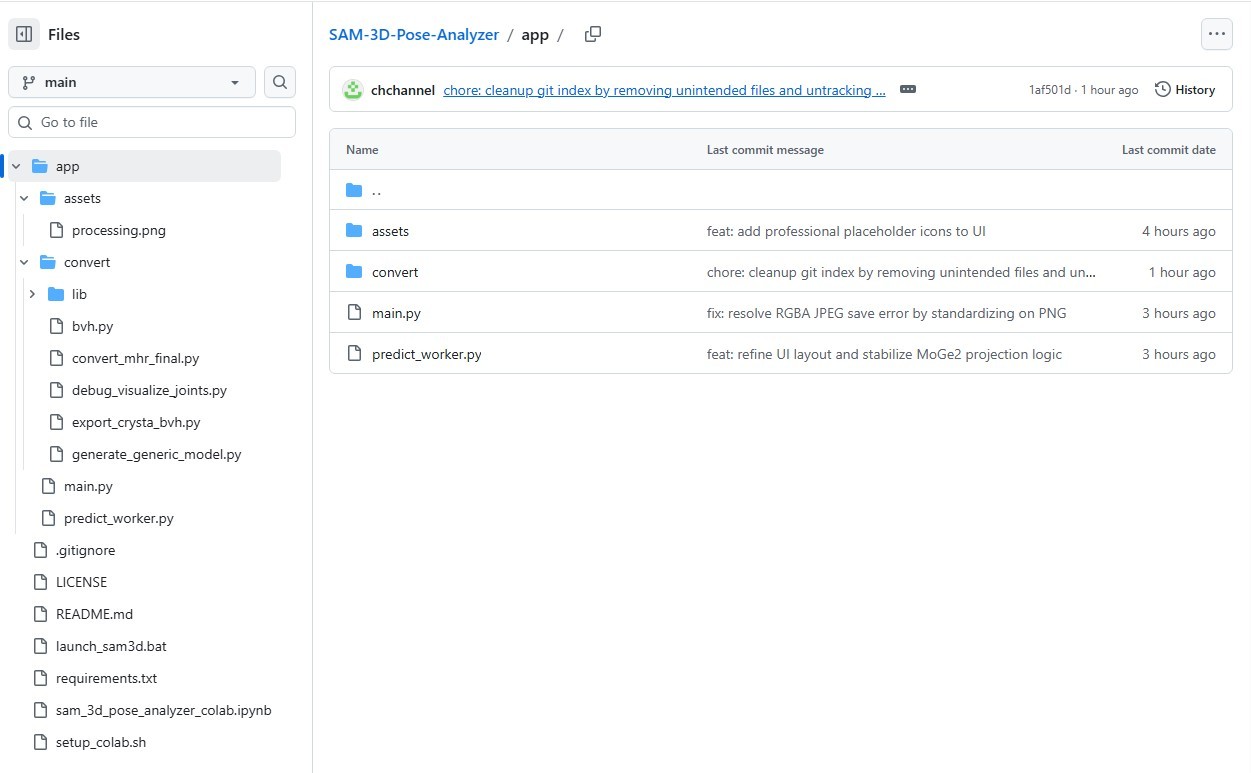
New on Github, "SAM-3D-Pose-Analyzer". Input a 2D posed image, output a .BVH pose that can be drag-dropped to pose a Clip Studio 3D figure. Can be run locally (Python), apparently only takes 60 seconds. Not tried it yet, but looks very promising. Could presumably be re-targeted for Poser?
https://github.com/chchannel/SAM-3D-Pose-Analyzer
Learn the Secrets of Poser 11 and Line-art Filters.
New on Github, "SAM-3D-Pose-Analyzer". Input a 2D posed image, output a .BVH pose that can be drag-dropped to pose a Clip Studio 3D figure. Can be run locally (Python), apparently only takes 60 seconds. Not tried it yet, but looks very promising. Could presumably be re-targeted for Poser?
https://github.com/chchannel/SAM-3D-Pose-Analyzer
which is the actual Python Script?
BTW, I tried "Playground" Live demo, and it looks fascinating (see 2nd image)! The only issue being the file type is .glb(!!!)... How do we change the file type to .pz2?

> "which is the actual Python Script?"
It's a Python software, not a Python script for Poser or Clip Studio. Needs Python installed locally first. Then you do a 'git clone' to download it, then you install the requirements.txt to your Python install, then you launch/run it locally from the supplied .bat file.
It can also output .BVH and .FBX, according to the readme.
Learn the Secrets of Poser 11 and Line-art Filters.
Privacy Notice
This site uses cookies to deliver the best experience. Our own cookies make user accounts and other features possible. Third-party cookies are used to display relevant ads and to analyze how Renderosity is used. By using our site, you acknowledge that you have read and understood our Terms of Service, including our Cookie Policy and our Privacy Policy.
ok, so I checked a few AI sources relating to Clip Studio Paint PRO and am getting conflicting answers!
What I am trying to do is to use Clip Studio Paint PRO, import a jpeg file (illustrating a pose), which then the program's AI translates into 3D type pose (skeleton type pose). The object is then exported from CSP PRO as .OBJ and imported into Poser Pro that could then be used to create a pose?
Some AI's state that this is possible, others contradict.... Personally I don't think it would be possible since the .obj would have unrigged mesh.... Hence the note to the community.
Any advice in achieving my need, would be greatly appreciated.
Cheers,
vxg139