Renderosity Forums / Carrara
Welcome to the Carrara Forum
Forum Coordinators: Kalypso, Anim8dtoon
Carrara F.A.Q (Last Updated: 2026 Jun 30 12:55 pm)
Visit the Carrara Gallery here.

Subject: Aligning Spokes on a wheel


holy crap Kixum that's pretty darn close.. !!! ya moving them has worked, but somethings goes screwy when I copy rotate... moved the center point to the center of the hub but it still doesn't go around the thing correctly.. probably something I'm doing wrong as usual :unsure:
Hexagon, Carrara, Sculptris, and recently Sketchup.
I actually wrote a magazine article on how to make this tire. It only takes about 10 minutes after you get the modeling done.
Build the rim.
Build the central ring.
Build one spoke.
Get one spoke setup the way you want it.
Regroup that one spoke. This will put a new coordinate system around the spoke which is aligned with the world again.
Move that new groups hot point to the center of the wheel.
Then duplicate and rotate.
-Kix
Quote - I actually wrote a magazine article on how to make this tire. It only takes about 10 minutes after you get the modeling done. Build the rim. Build the central ring. Build one spoke. Get one spoke setup the way you want it. Regroup that one spoke. This will put a new coordinate system around the spoke which is aligned with the world again. Move that new groups hot point to the center of the wheel. Then duplicate and rotate.
got a copy of the demo somewhere? :) My problem is I want to do it as a true 3 cross "laced" wheel instead of a radial but when I pitch it out proper when I go to copy/rotate it doesn't go around the hub.. :/
Hexagon, Carrara, Sculptris, and recently Sketchup.
Ok,
I actually found the original article. I am posting the text here. The only image I made for this article is a black and white version of what I've already posted in this thread.
Here's the article.
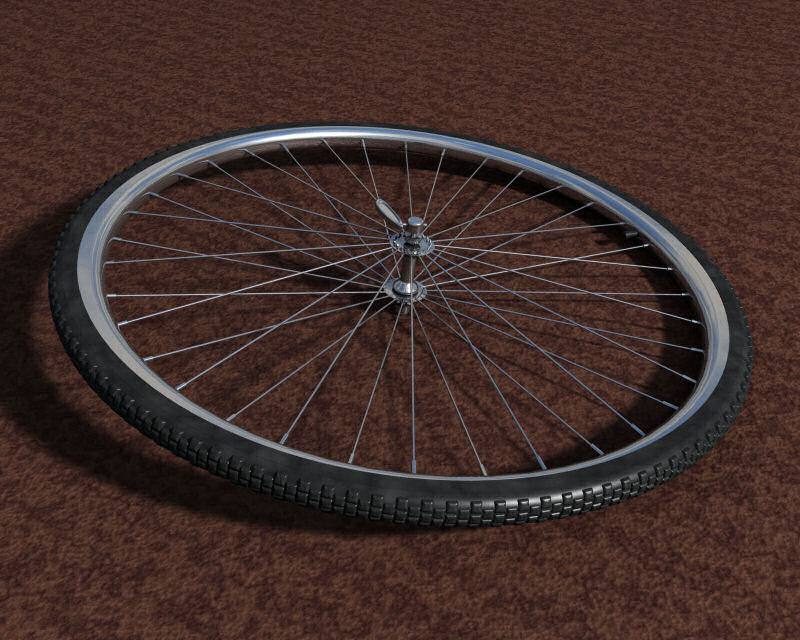
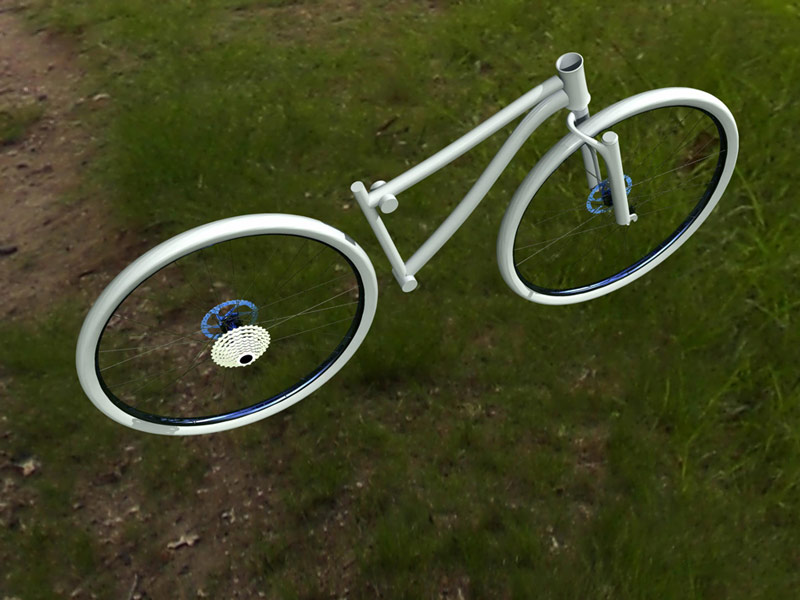
This months article will be discussing duplication specifically applied to Carrara. The example of a bycicle wheel will be used.
A high level of detail for a specific piece can typically be achieved in two ways. One way is to include the detail in the texture or to hide or break up meshes using the transparency channel. An example would be a chain. It's possible to use a square tube and apply a shader to the tube in such a manner that it will look like a long string of chain links rather effectively. However, Some challenges may occur when the model is brought close up to the camera and rendered in a way that the texture becomes obvious.
The second method of adding detail can be to simply model it. This can be significantly cumbersome for many things but not when the detailed components are to be established in a repetitive pattern. Duplication becomes a very important capability.
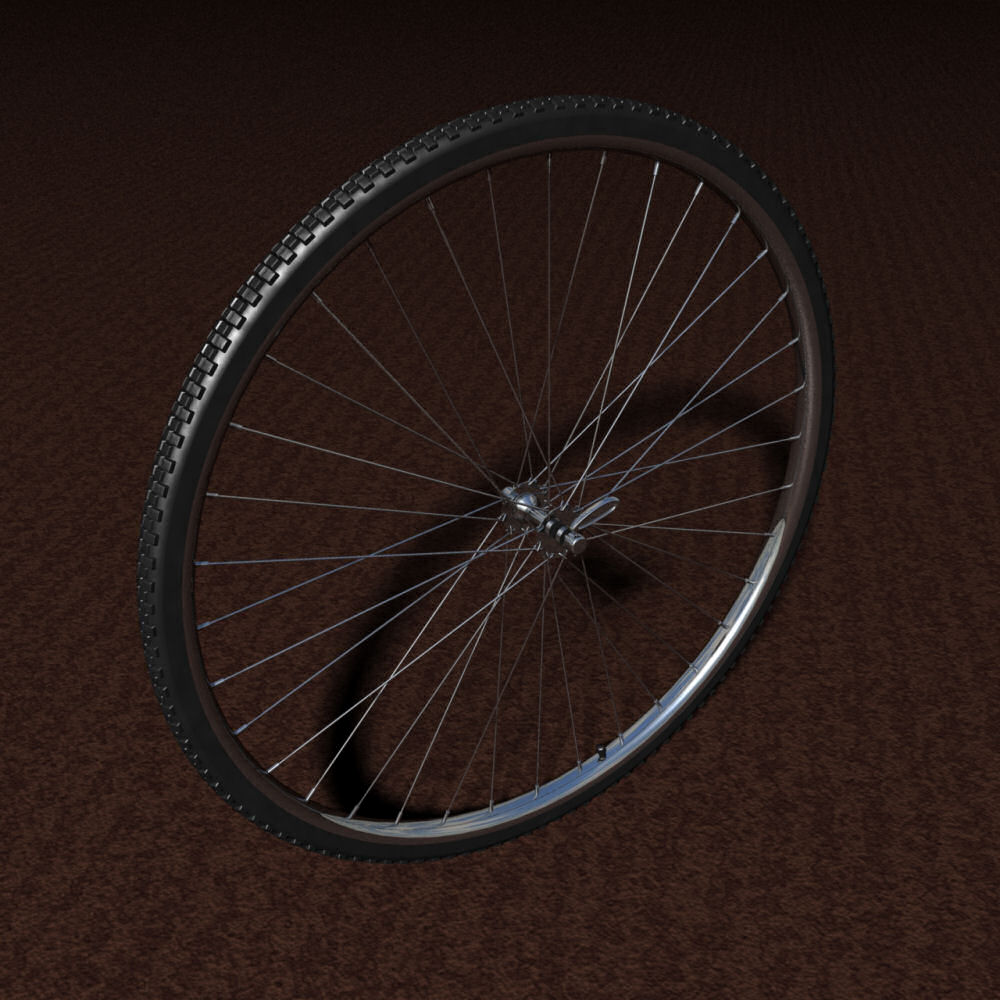
The bycicle wheel shown in the image has many components which have been duplicated. The nubs on the tires and the spokes are all actual separate meshes stacked together into the pattern seen. The result is much more realistic than a texture and will stand up to rendering viewpoints which are close up.
Carrara has a neat method for duplicating lots of things over and over again. If the user performs one single duplication on a single object or group, the duplication can be repeated and all geometrical positions and scalings are ALSO duplicated again. This will continue until the user performs any kind of task other than duplication.
An example would be creating a line of boxes which are two units apart. The first box would be put into the scene. The box would be duplicated and moved two units in the positive X direction. When that second box is duplicated to create a third box, the third box will automatically be set two more units farther along the X direction. This will continue for as long as the user continues the duplication. It will end when the user performs any other task.
There's a trick that's good to know when duplicating components which have compound angles. The perfect example is the spokes in the wheel.
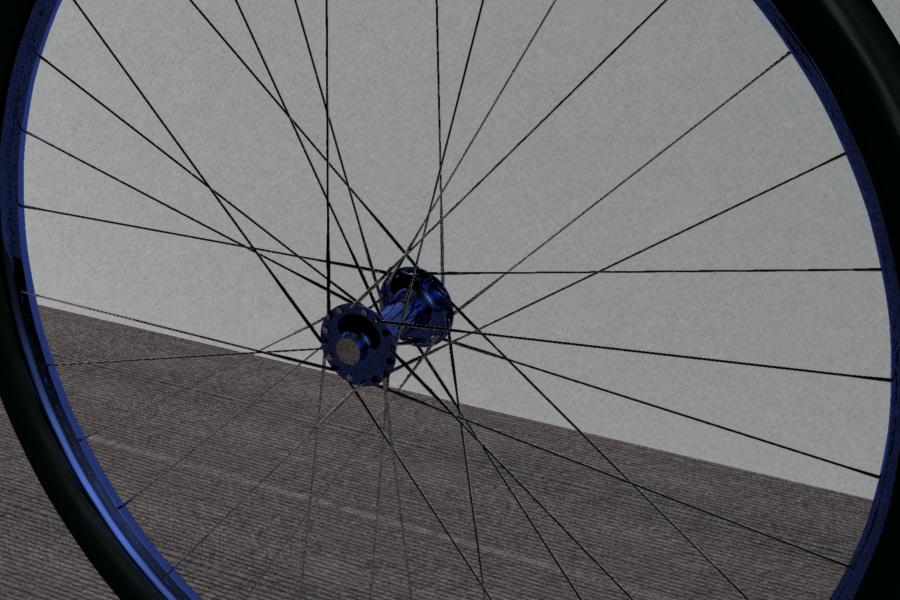
The original model of the spokes is a simple tube which makes the corner at the end for the loop around the center of the hub and the small expansion at the wheel rim. These spokes are tilted at a slight angle along the X axis so they will connect from the hub to the centerline of the wheel. If one single spoke were then duplicated and rotated along the Z axis into the new position, the spoke would have two rotational angles (compound). When the second spoke is duplicated, the resulting rotation will be goofed up and will not produce the proper result.
The way to fix this is to group the first spoke after it has been set in place the first time. It may seem odd to only have one object in a group but the result is a whole new frame of reference that can be rotated independently of the object inside the group. The hotpoint for the new group should be the center of the wheel hub. Rotating the grouped spoke along the Z axis only incurs one angle on the object. The grouped spoke can now be duplicated with the single rotation as many times as necessary with perfect results.
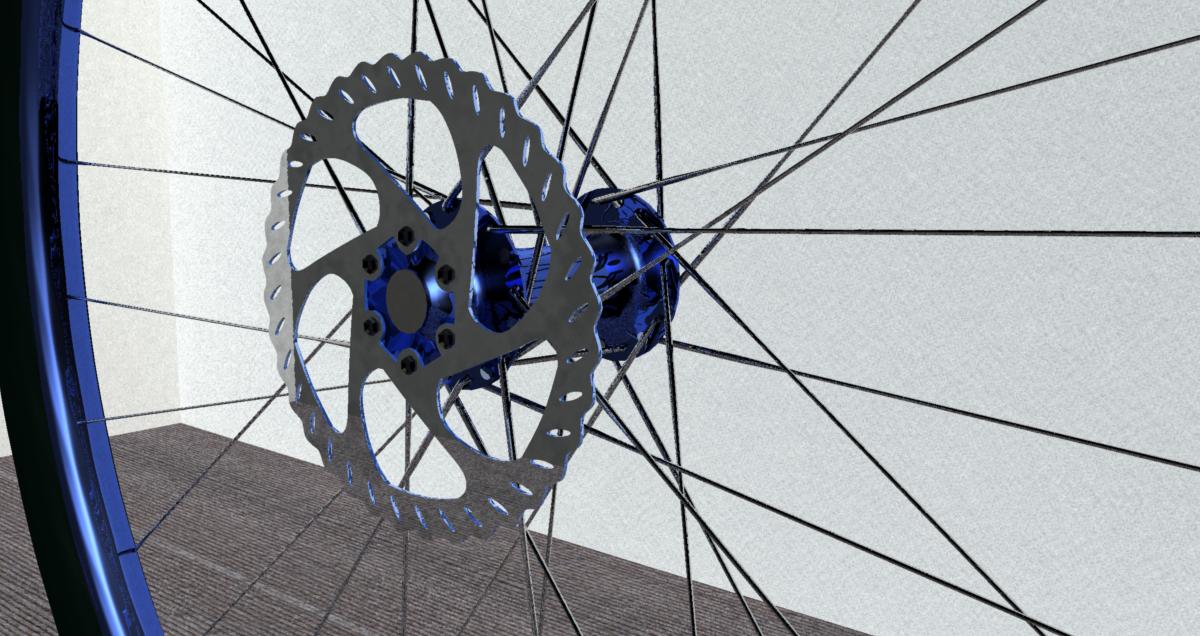
For the example presented, one corner (the first quarter) of the spokes were generated and then grouped again. The hotpoint for the new group was again placed at the center of the wheel hub and the quarter spokes group was rotated 90 degrees. Two more duplications later and all the spokes for one side of the wheel were completed.
All four corner groups were then grouped and the hotpoint was again set at the center of the wheel. This whole group was duplicated and rotated in the plane of the wheel (not the axis of the wheel) and the opposite side of spokes was generated.
The result is many many objects which are positioned and aligned perfectly producing excellent detail and a great render from any perspective.
The nubs on the wheel were generated in only a few minutes even though there are several hundred of them.
-Kix
It's in the free stuff. Go and get it!
-Kix
hehehe you're getting there!!! that's a style of 2 cross lacing pattern... more what's used on crusier and comfort bikes than on MT bikes..
I wont go into the whole techie wheel building as it'll probably bore the crap out of you... :blink:
but just that 3 cross spokes are the norm for most bikes (spoke crosses first time at hub flange, once about and inch or so out from the flange and once more about 1/2 way to the rim.) the pattern of spoke lacing makes the wheel a LOT stronger as you can put a mess more tension on the spoke because the spoke pulls sideways across the hub flange not out on the flange. pulling across the side keeps the spoke from just ripping through and out of the flange :)
Hexagon, Carrara, Sculptris, and recently Sketchup.
What's most important is that you can see what I did to help get what you need done.
It was a good exercise for me and a good thread for all sorts of duplication stuff. I've used that regroup technique on lots of different things to make gobs of weirdly aligned stuff.
For this model, all I had to do was align two spokes (an inside and an outside). The rest of them I did in about two minutes (literally) and they all lign up perfect.
-Kix
Privacy Notice
This site uses cookies to deliver the best experience. Our own cookies make user accounts and other features possible. Third-party cookies are used to display relevant ads and to analyze how Renderosity is used. By using our site, you acknowledge that you have read and understood our Terms of Service, including our Cookie Policy and our Privacy Policy.
OK,.. going nuts here and I know there is a semi-simple way to go about it.
trying to make a reasonably accurate bike wheel with all the components as close to the real thing as possible...
my issue is algining the spokes correctly to the hub and rim on the wheel.. isn't there a way I can set one edge and move the other around. So if I line the head of the spoke on the hub proper then go out to the edge of the rim and move that into place.. just having a wicked hard time getting them all placed. If I can get 4 place right I should be able to just copy paste then rotate into position but man I can't get them to sit right.. any ideas?
Hexagon, Carrara, Sculptris, and recently Sketchup.