














It's great when a plan comes together... by fireangel
Close
Hover over top left image to zoom.
Click anywhere to exit.
Members remain the original copyright holder in all their materials here at Renderosity. Use of any of their material inconsistent with the terms and conditions set forth is prohibited and is considered an infringement of the copyrights of the respective holders unless specially stated otherwise.
No AI - This artwork was created entirely by hand or with traditional digital tools.
Description
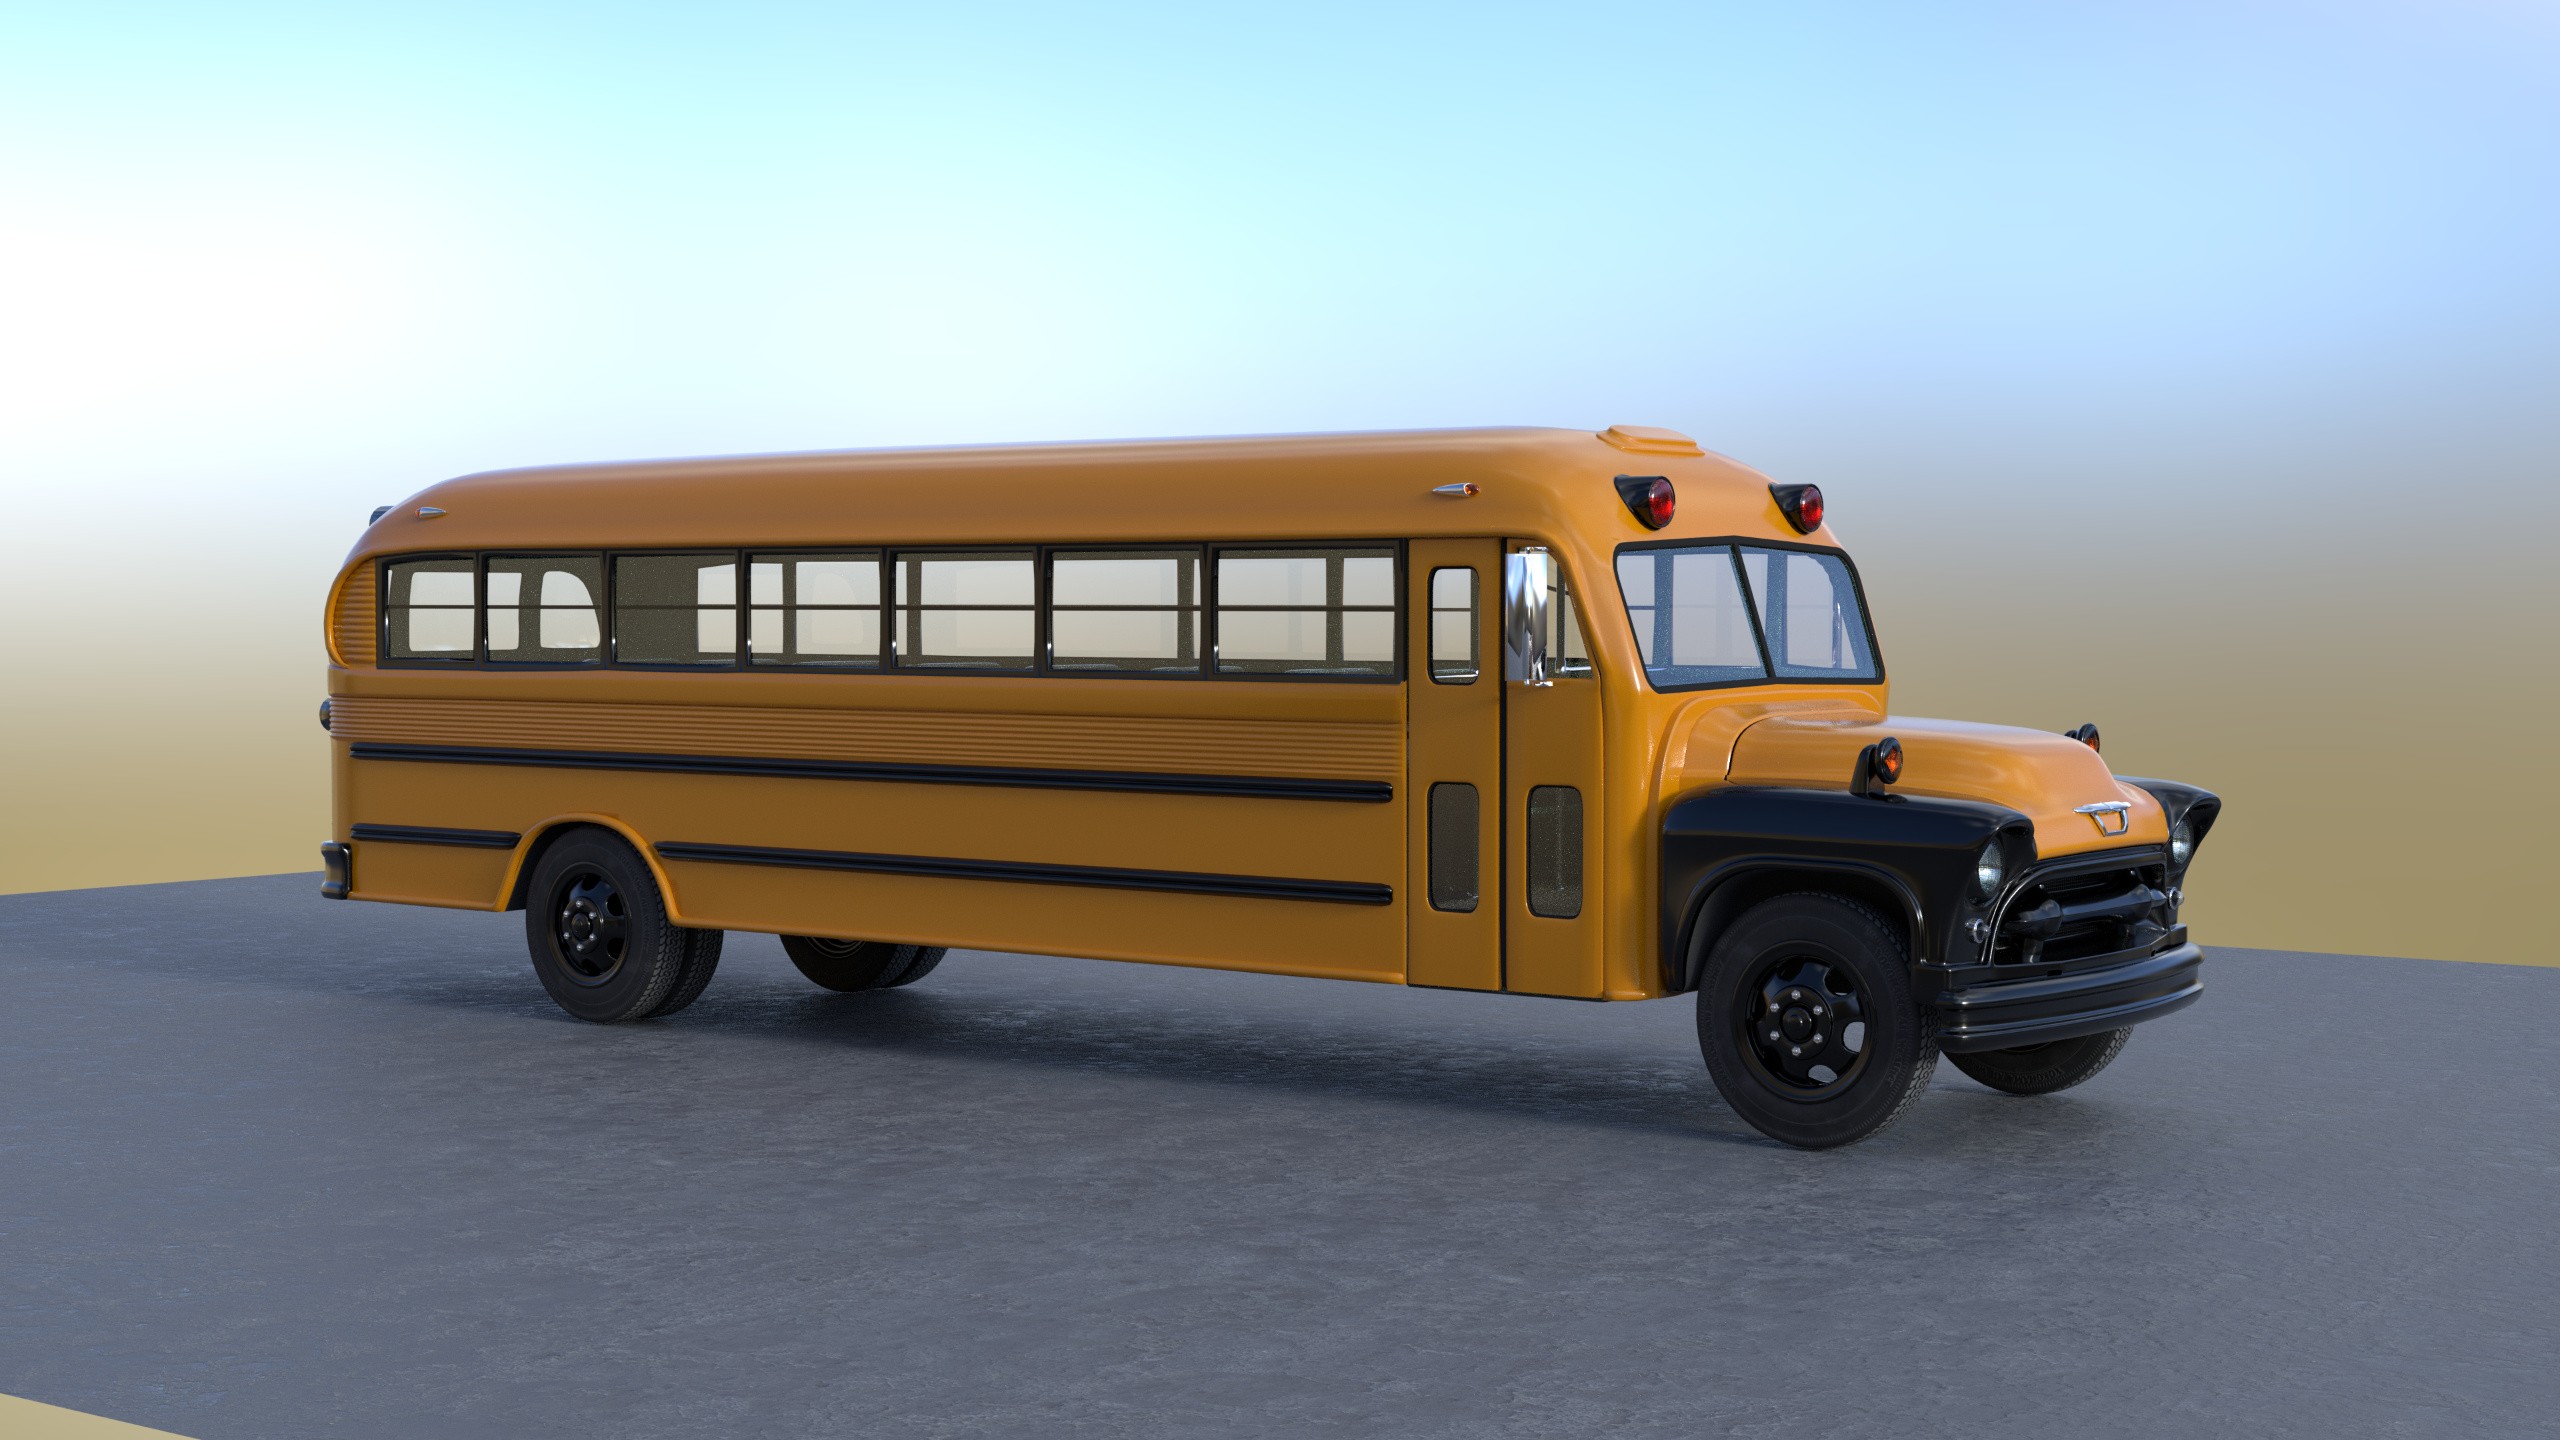
A 1957 Chevrolet Superior school bus — yes this model really was called the Chevrolet Superior. This is my latest Blender project; updating a cheap 3D model I bought to make it more detailed for rendering in Blender. The seller actually put warnings on the product page informing buyers about the limitations of the model, and it was selling very cheaply so I decided to get it anyway. The only other period appropriate bus I could find was over $50 and this one was $5.60, so I decided to do the work.
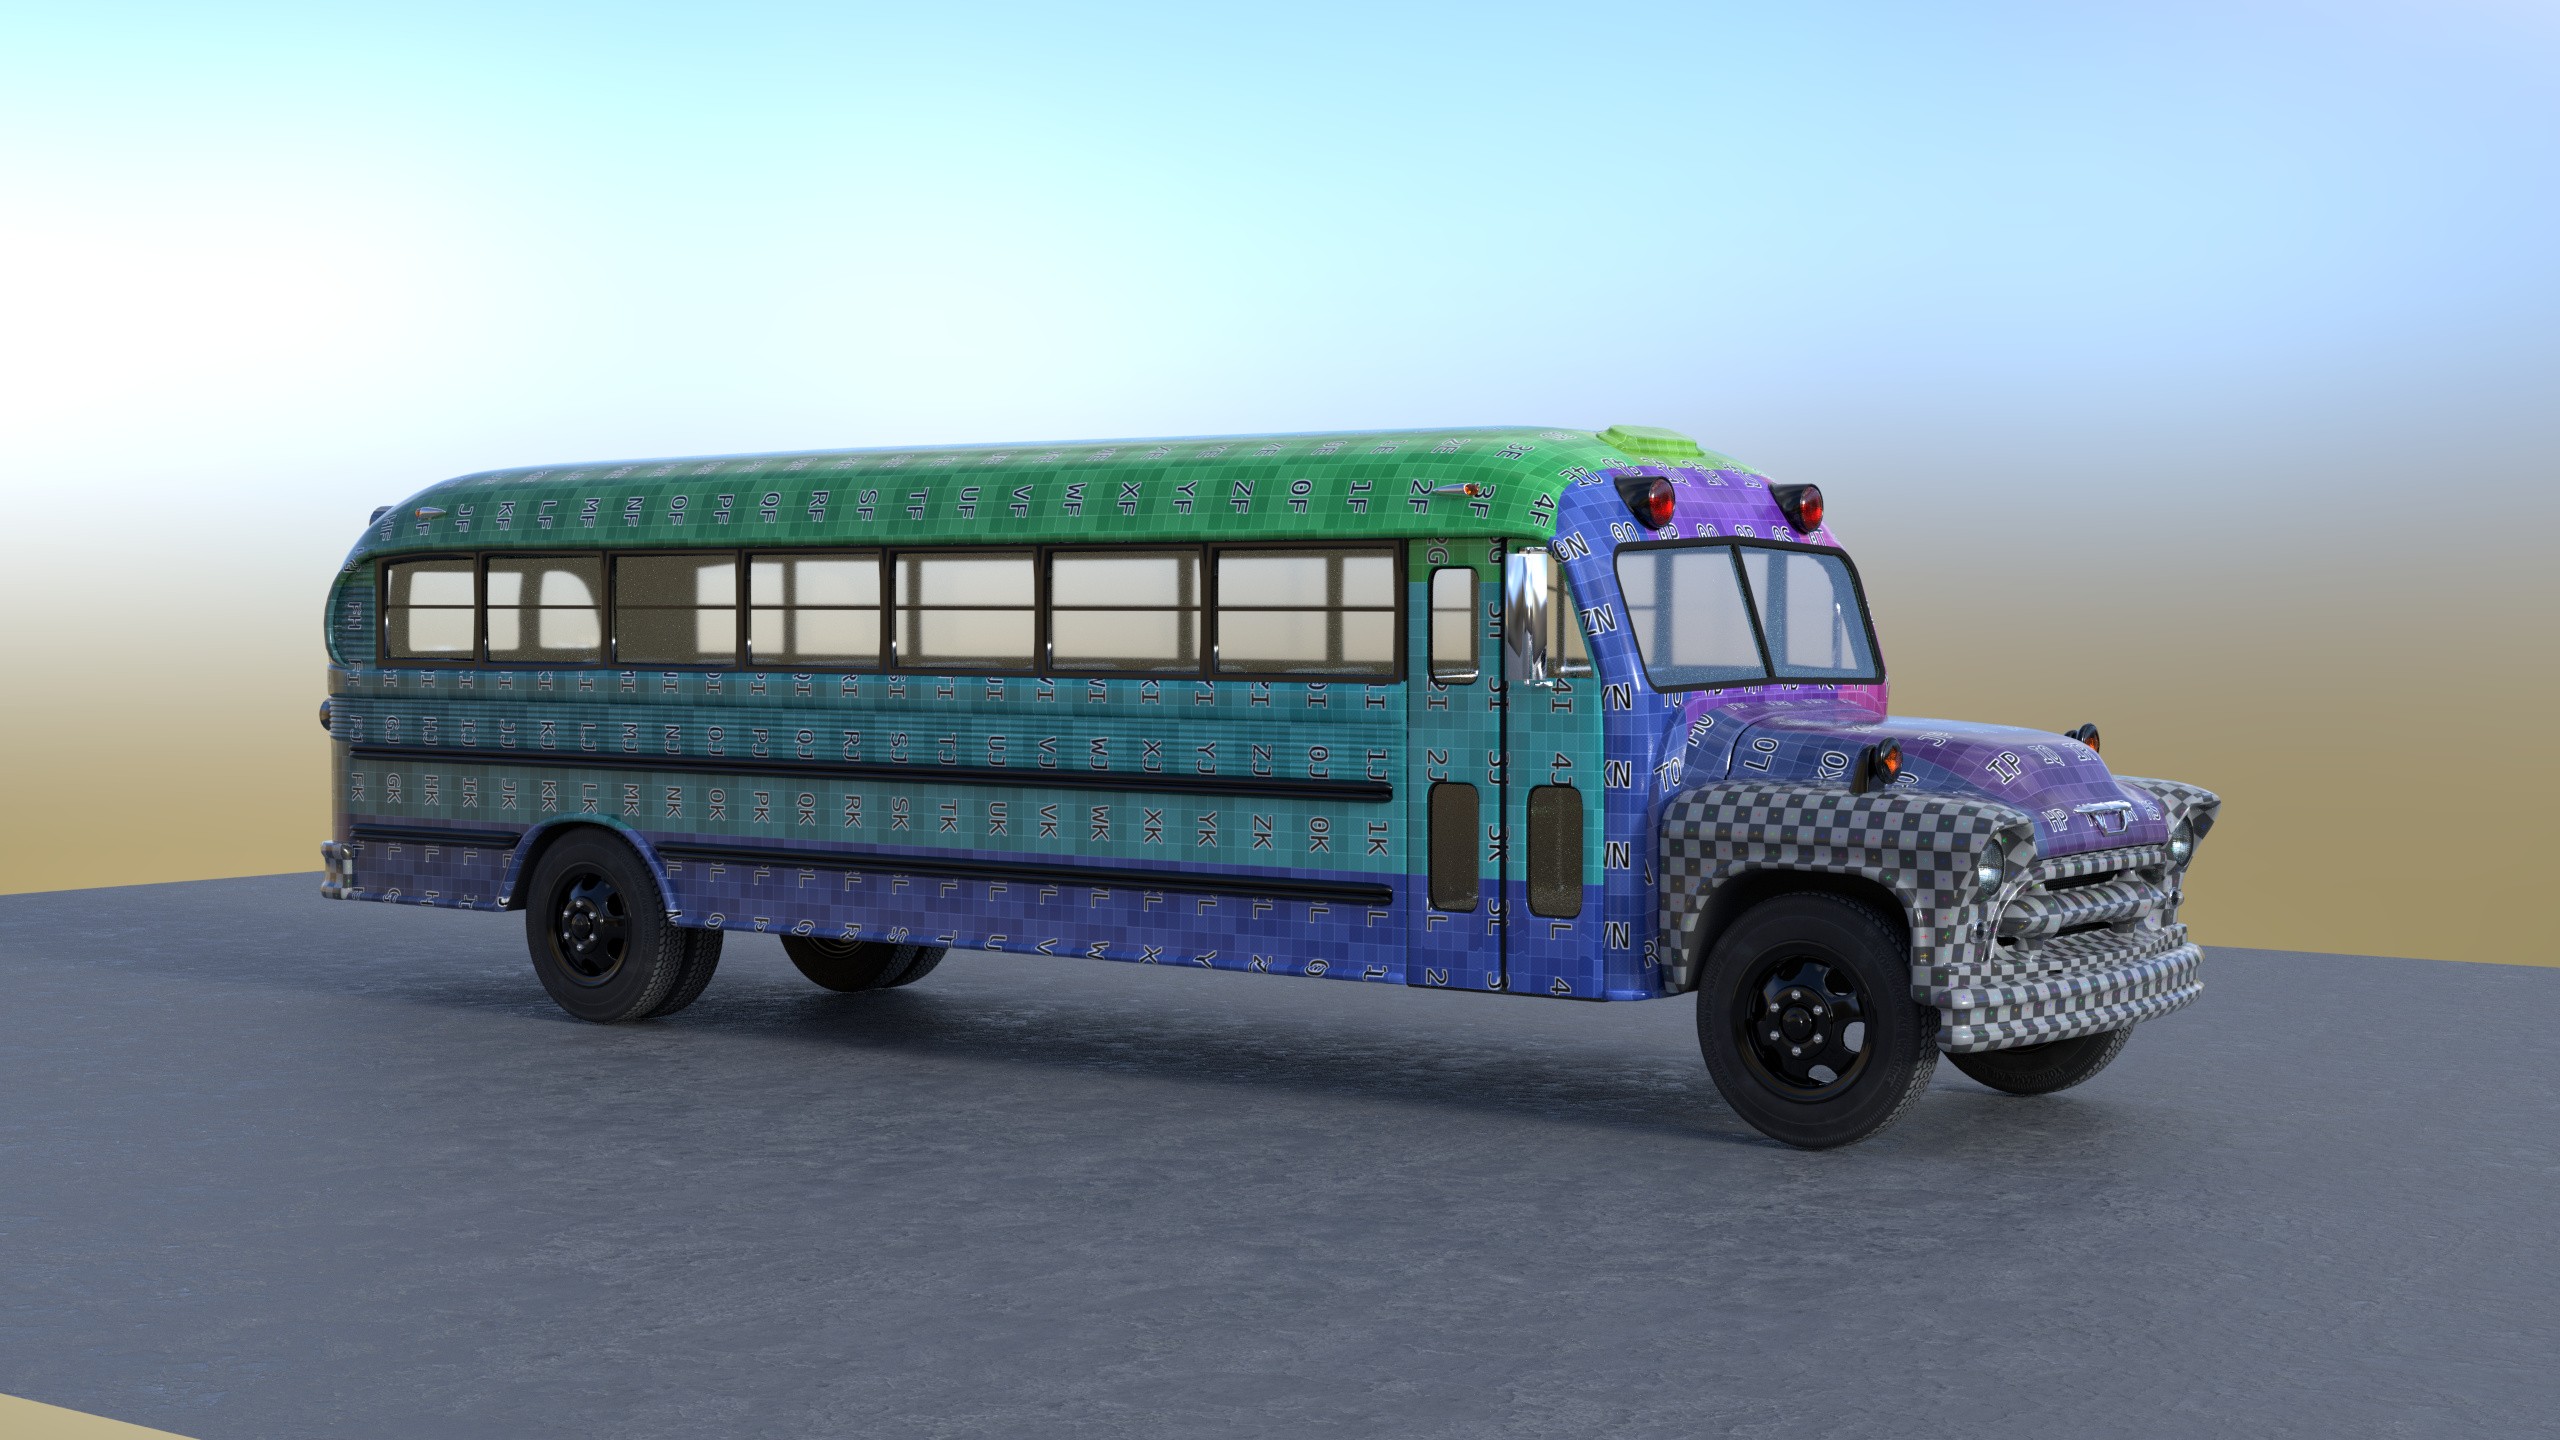
It wasn't UV-mapped, so the test grids are there to check that I have unwrapped it properly. The flat sides and rear were not difficult but all those compound curved surfaces at the front were more work. So far I have:
⬤ Made a manual polygon reduction pass to take about sixty thousand polygons off the original total without any reduction in visual quality.
⬤ Afterwards added extra polygons in some of the curved areas to remove visible facets.
⬤ Reworked all of the window glass and the glass in the lights so it was properly double sided. This allows a proper PBR glass material with refraction.
⬤ UV mapped the bodywork.
⬤ Reworked all the materials and remapped the glass in the lights so a bump map could go on the inner surfaces but leave the outer surfaces smooth, like real vehicle lights.
⬤ Remapped and textured the tyre sidewalls. I left the tread as it was since it was well enough done.
⬤ Removed the original wheel nuts and substituted better ones that look more detailed but have a third of the polygon count.
⬤ Reworked the geometry of the doors to improve their curved window corners — they looked faceted before instead of smooth.
Yep, a lot of work for a Sunday. Still to do:
⬤ Add a fuel filler cap or filler cap door. I probably won't bother making it open.
⬤ Now the bodywork is properly UV mapped I will texture it — twice.
⬤ Add front wheel hubs and brake details. These buses came with front disk brakes even way back in 1957 and there is no sign of them, you can see straight through the wheel vents to the road beneath the bus.
⬤ Add 1965 Arizona license plates front and rear.
⬤ Add Blender lights in all of the appropriate places.
⬤ Add wipers.
⬤ Add a swing-out stop sign.
⬤ Rig the model to provide controls for steering, the doors and the lights. The script I have rigs the steering and wheels automatically in a fraction of a second, but the doors and lights have to be done manually.
Well I may think of other stuff to do, but so far that's the plan and it's going well. Blender is mighty, and makes this hobby a lot of fun. In the old days when I bought models I couldn't do much about any defects they had, but now with a reasonable amount of Blender experience I can fix most issues pretty quickly.

Comments (3)
quite the paintwork on this cool bus.
Thanks, it's just Blender shaders at the moment but I am working on textures for it and will post the first one very shortly.
Excellent work!
Thank you! I should stress that I didn't make the original model, I am just updating it to make it better suited to my use case.
You've done a great renovation job on this bus. It looks a little psychedelic with the test grids - I like. :-)
Ha ha, yes, the test grids can make things look odd but they really make it clear when the UV mapping is right and when it isn't. They look particularly weird on people. Thank you for the comment.