














Guide: lets pimp V2 - Universal Skin Shader by midinick
Close
Hover over top left image to zoom.
Click anywhere to exit.
Members remain the original copyright holder in all their materials here at Renderosity. Use of any of their material inconsistent with the terms and conditions set forth is prohibited and is considered an infringement of the copyrights of the respective holders unless specially stated otherwise.
No AI - This artwork was created entirely by hand or with traditional digital tools.
Description
Here is a little step-by-step guide. I hope it helps. 😊
The Skin Shader is a single-material shader. This means it isn't tied to a specific figure and can be used on almost any character, or prop.
Because of that, you'll need to reconnect your own textures after applying the shader.
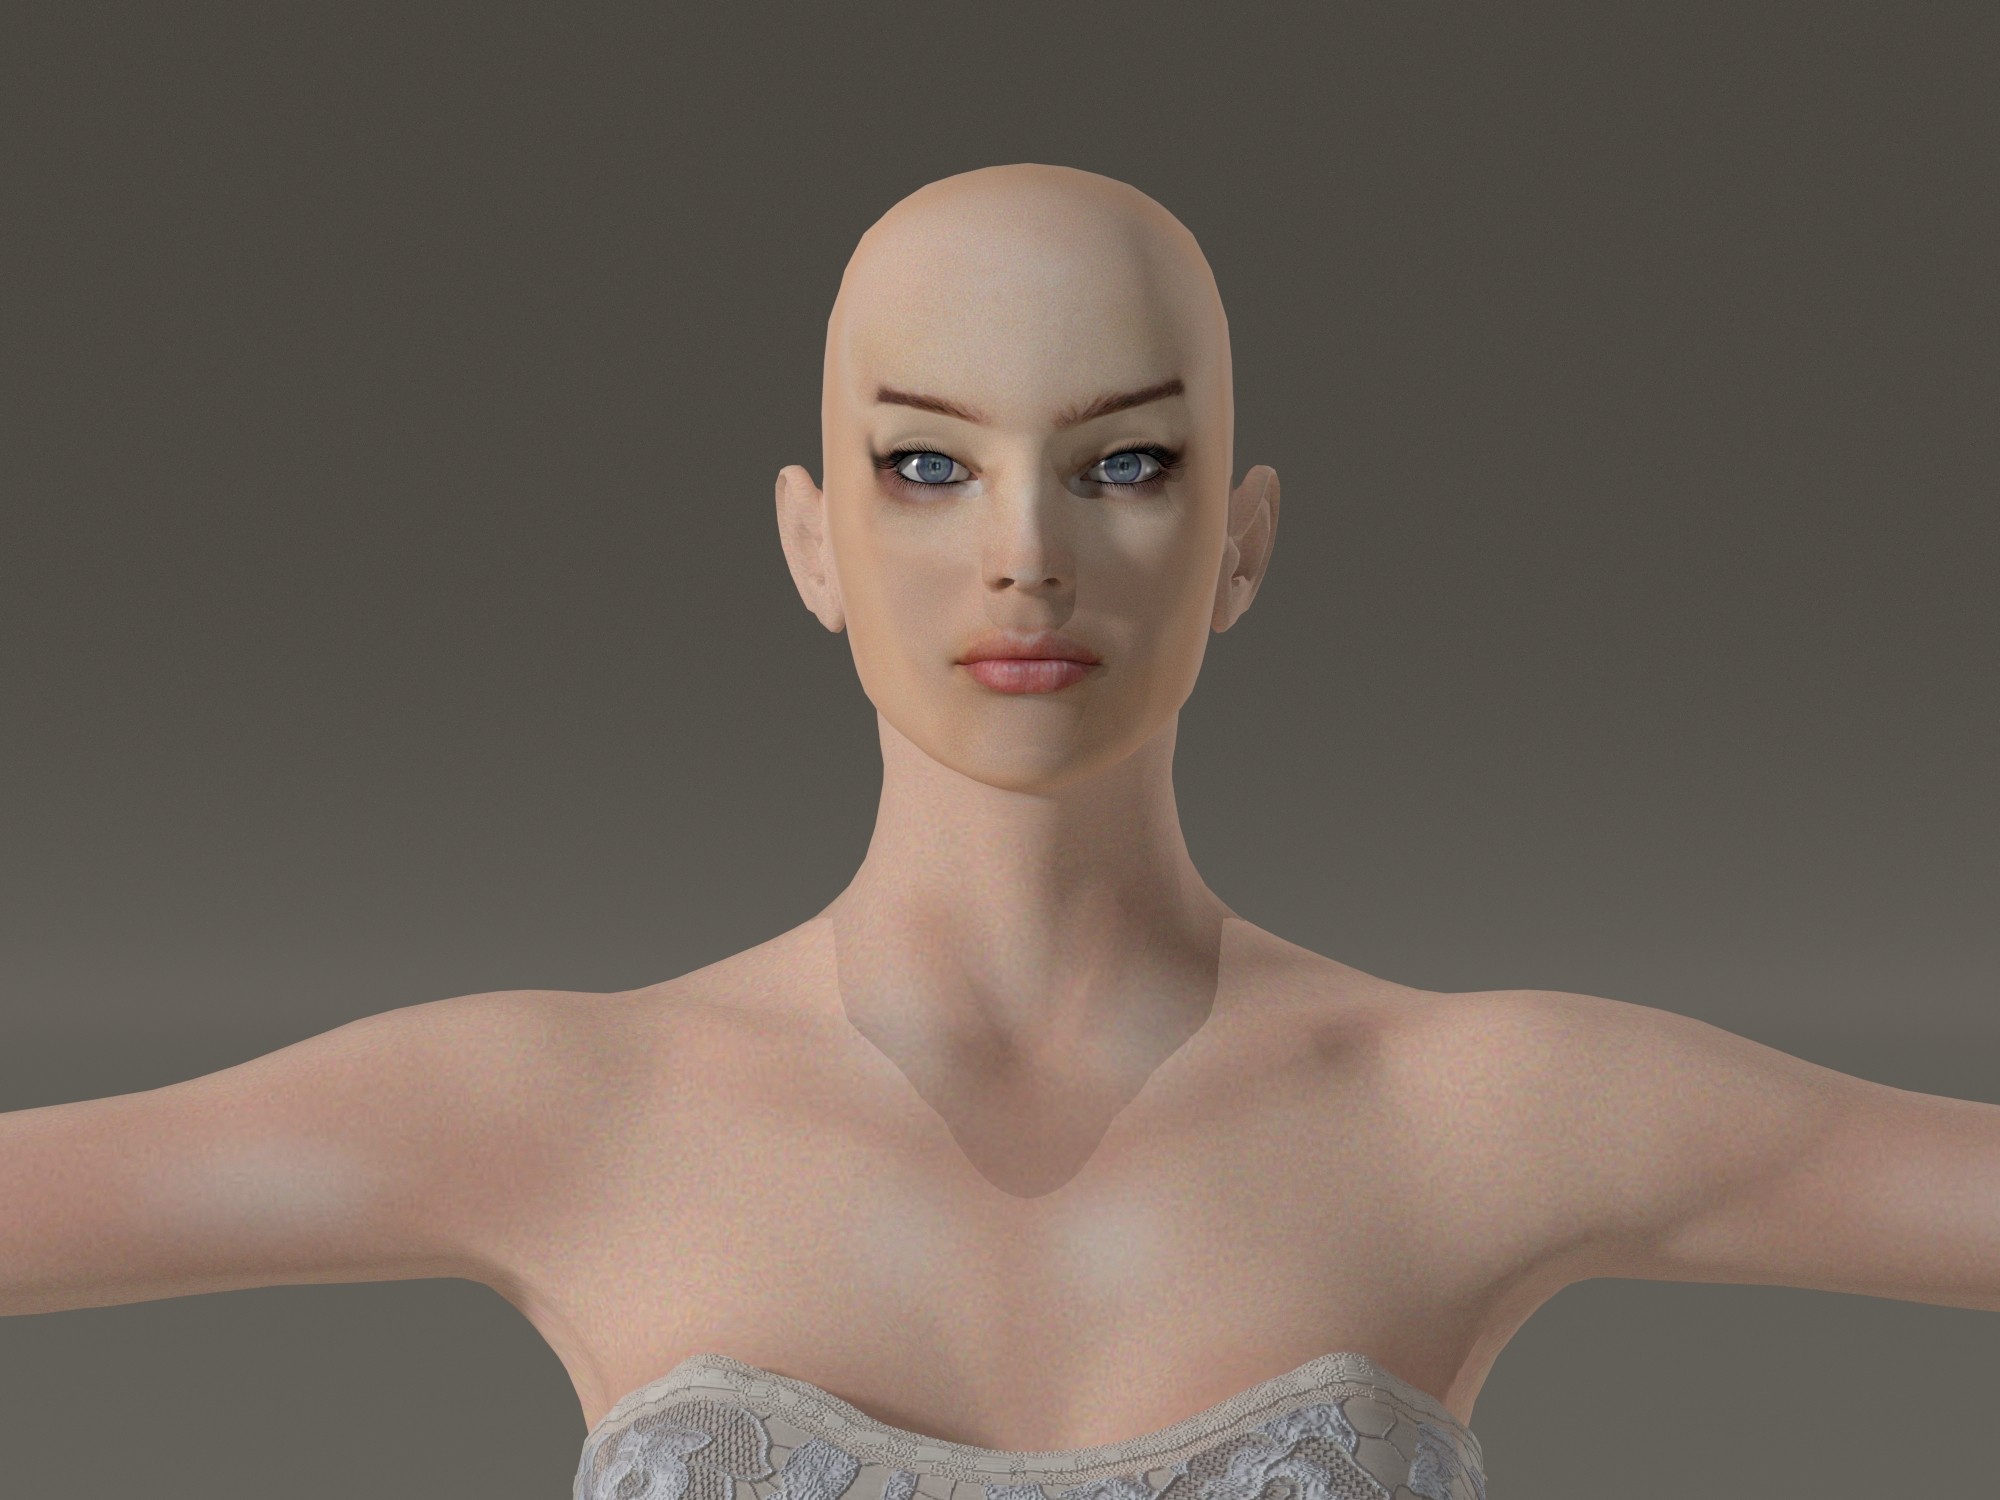
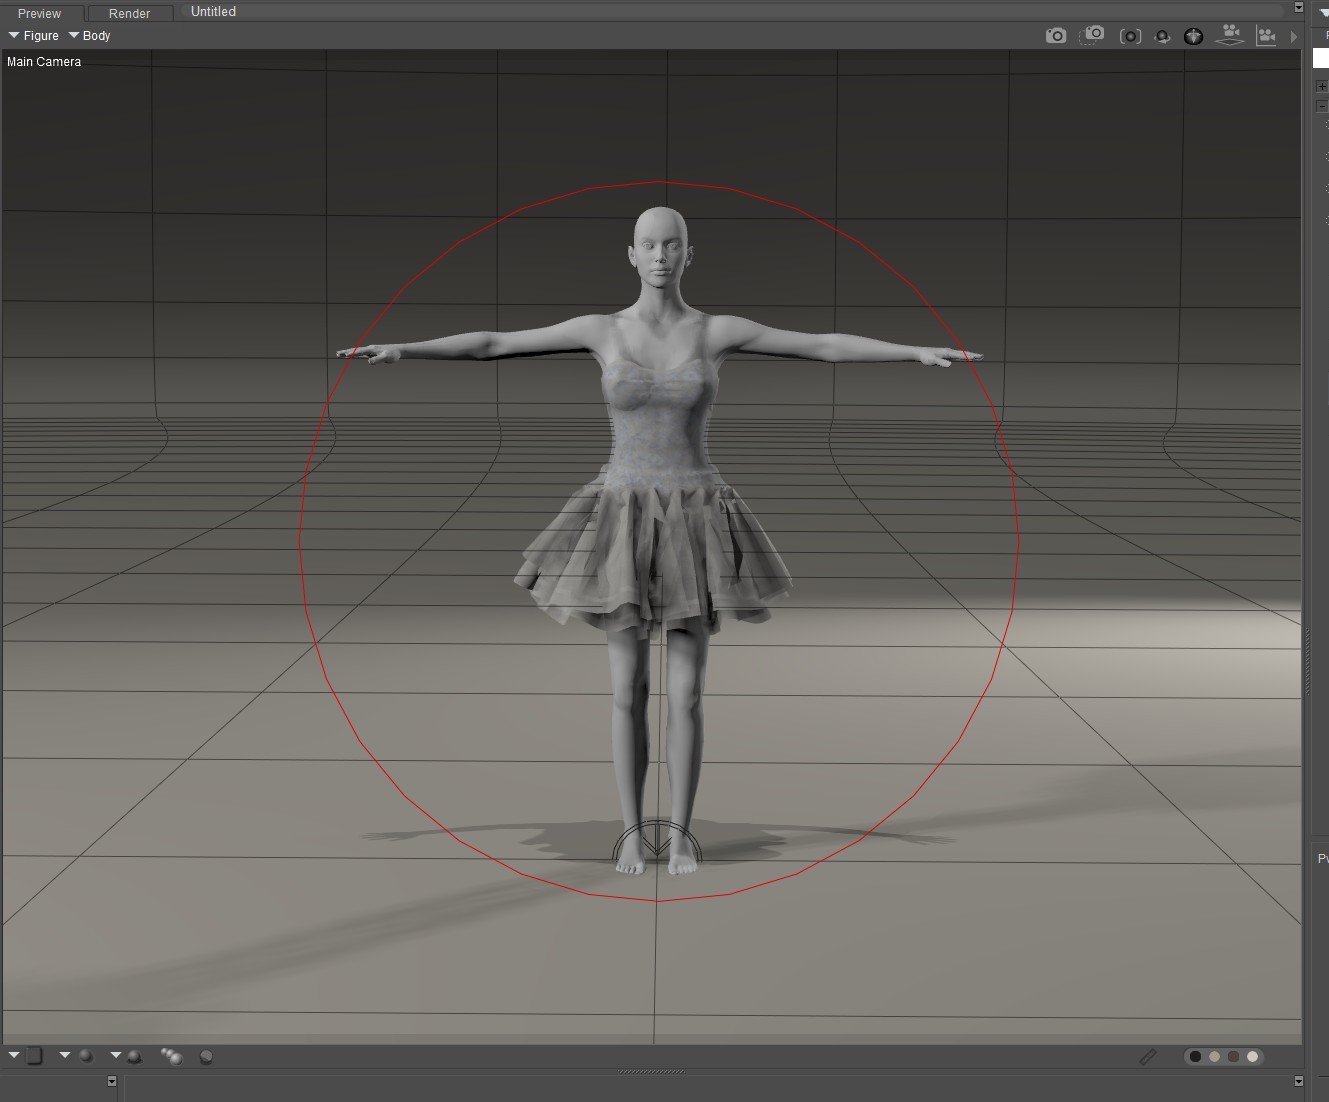
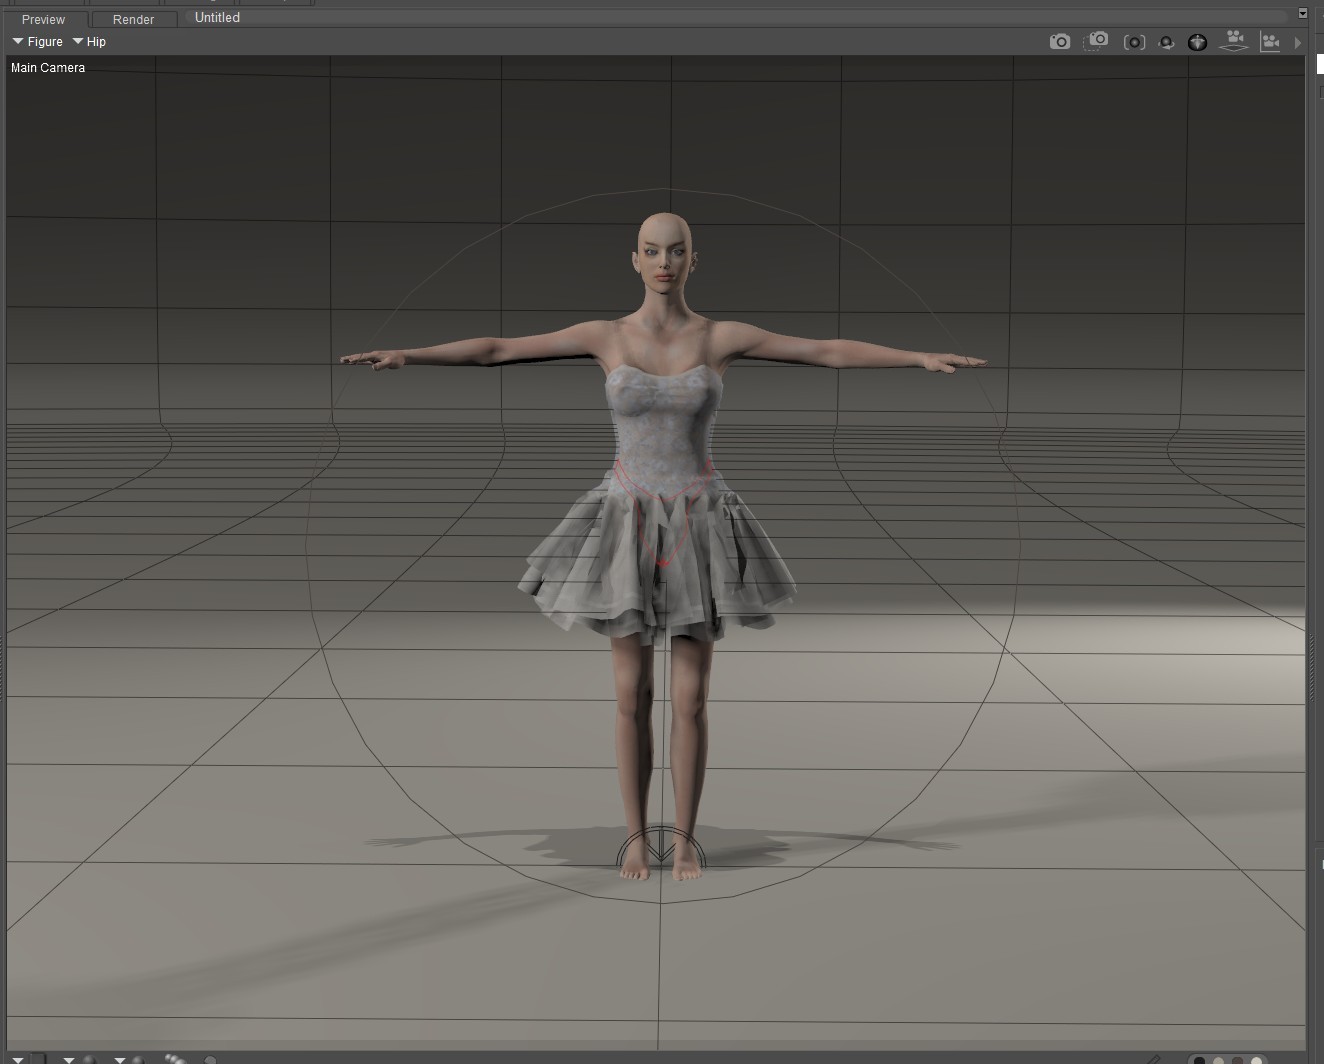
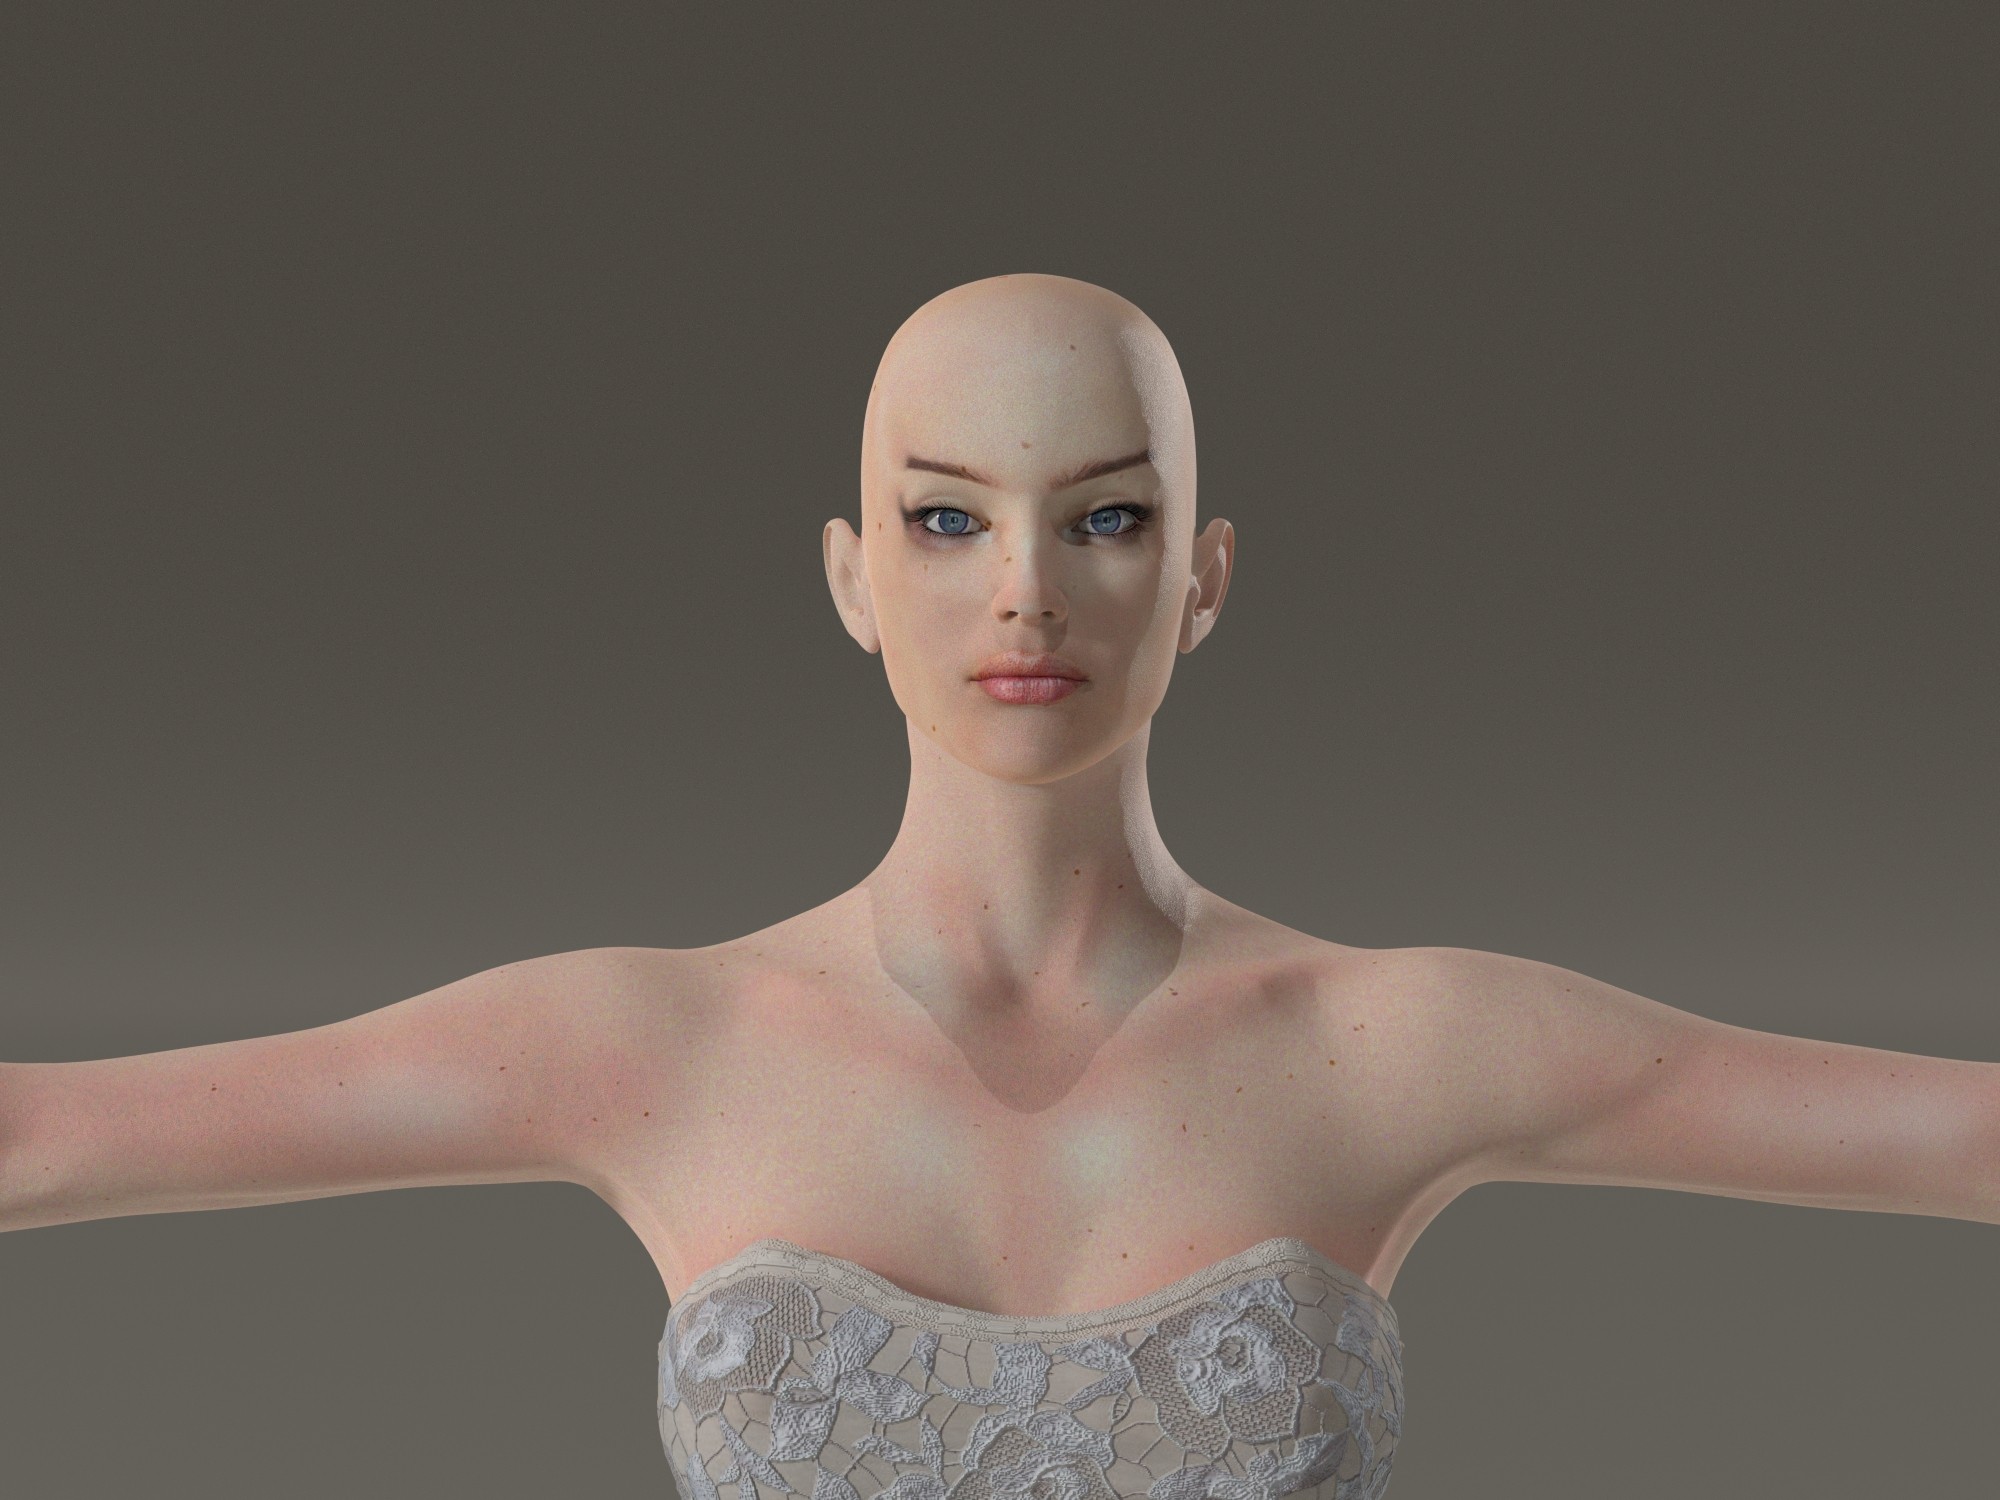
For this example, I'm using Victoria 2 with a free texture set. (And yes... I dressed her first so I wouldn't have to mark the gallery as nudity. XD)
Step 1 (Image 2) – Load your figure.
Step 2 (Image 3) – Apply your character's textures.
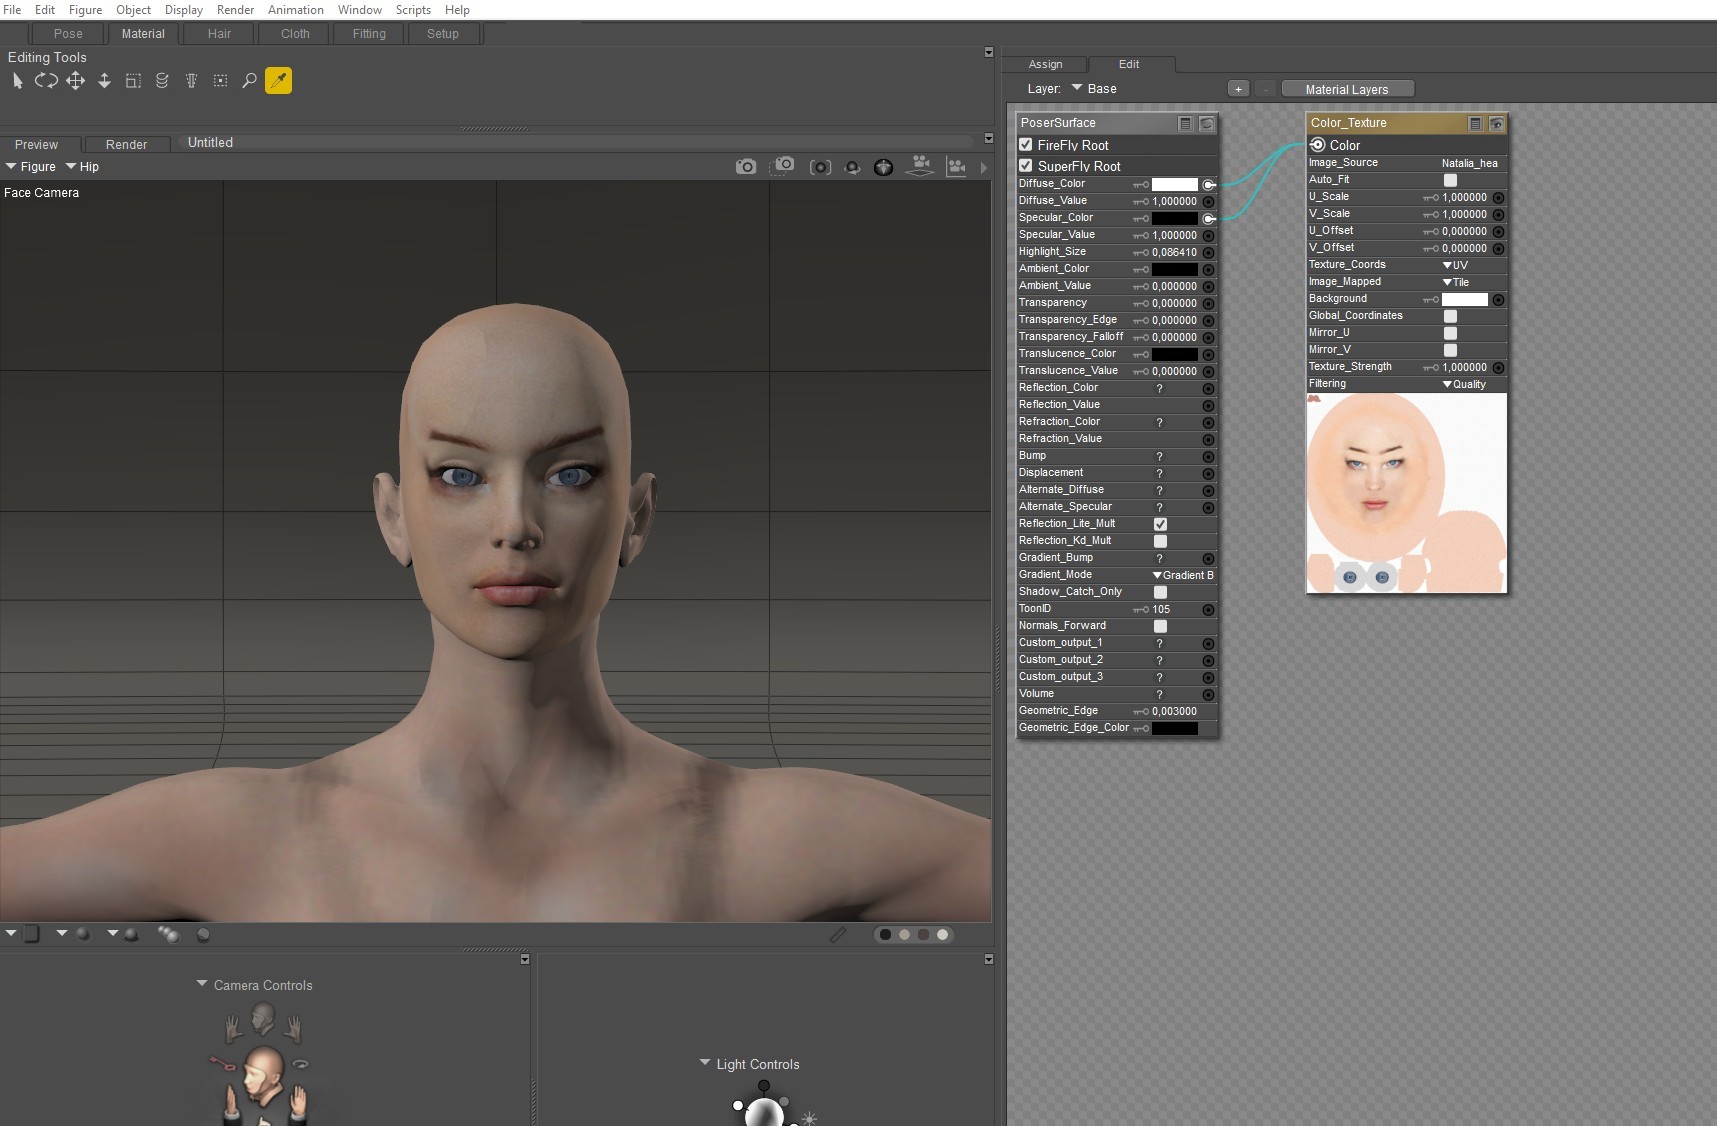
Step 3 (Image 4) – Open the Material Room and select a skin material zone. I usually start with the head.
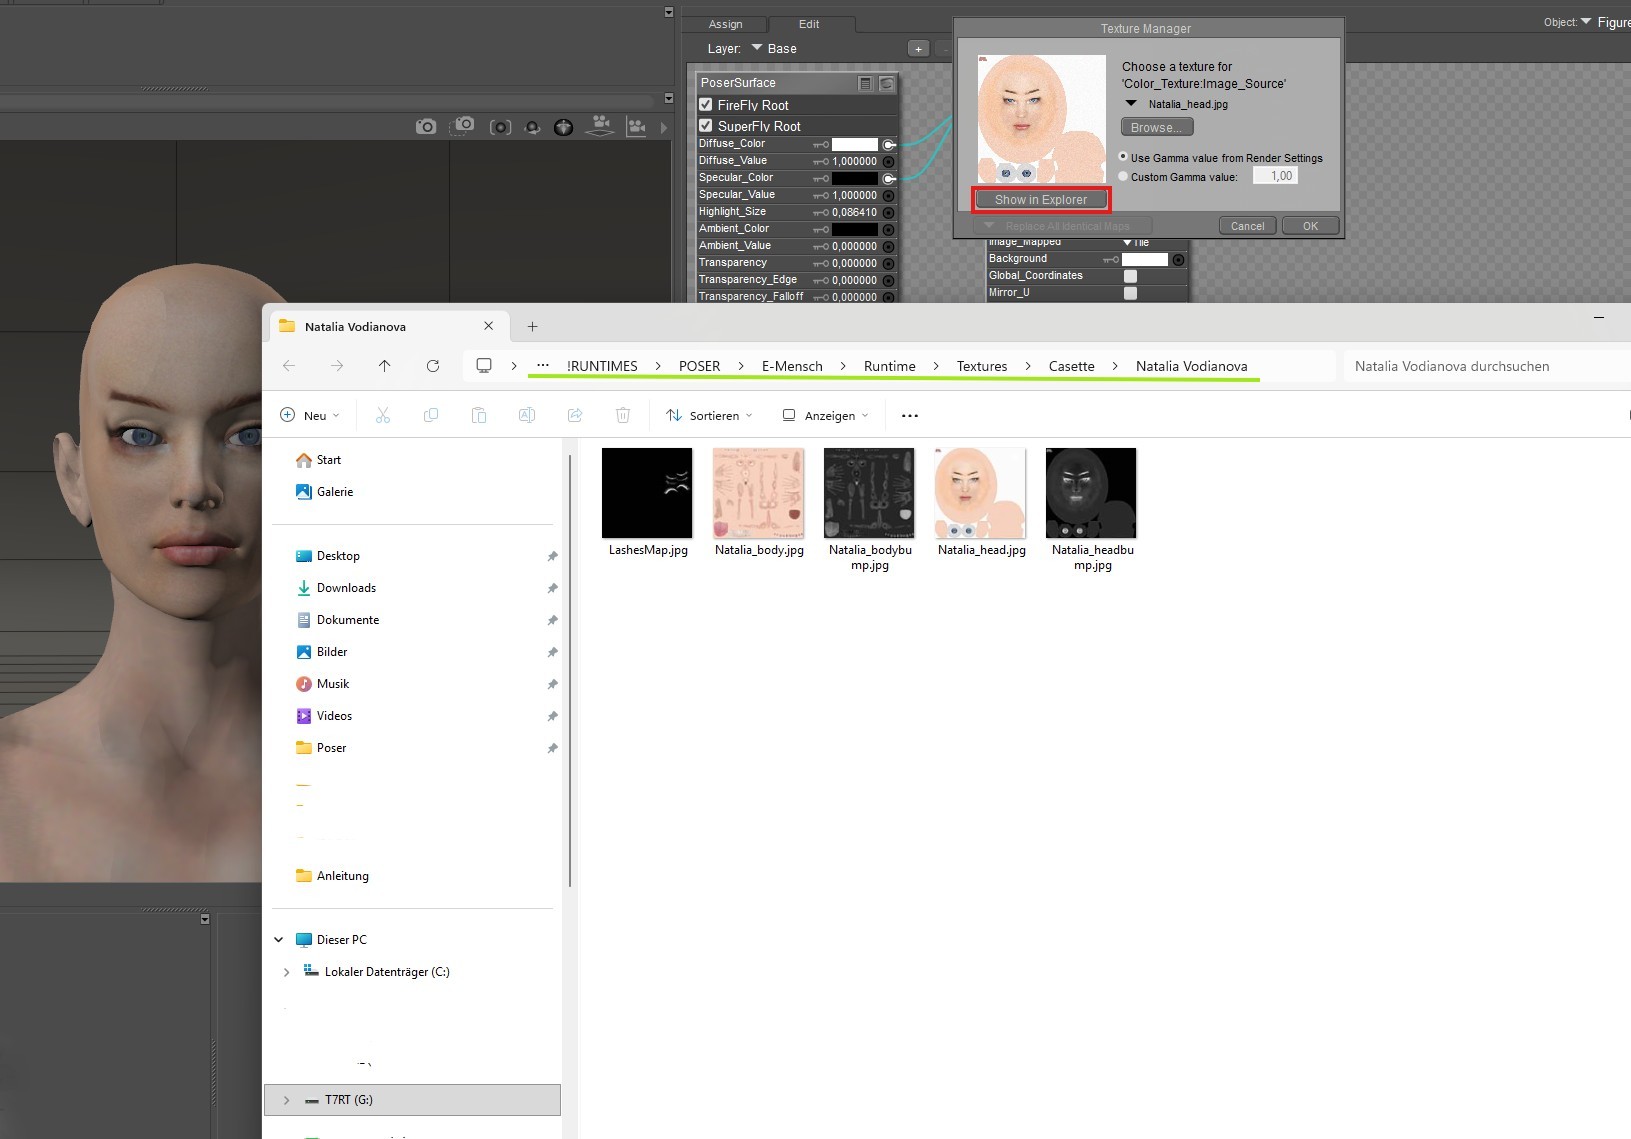
Step 4 (Image 5) – Locate one of the skin textures. Right-click it and choose Copy Path (or simply remember the folder where the textures are stored).
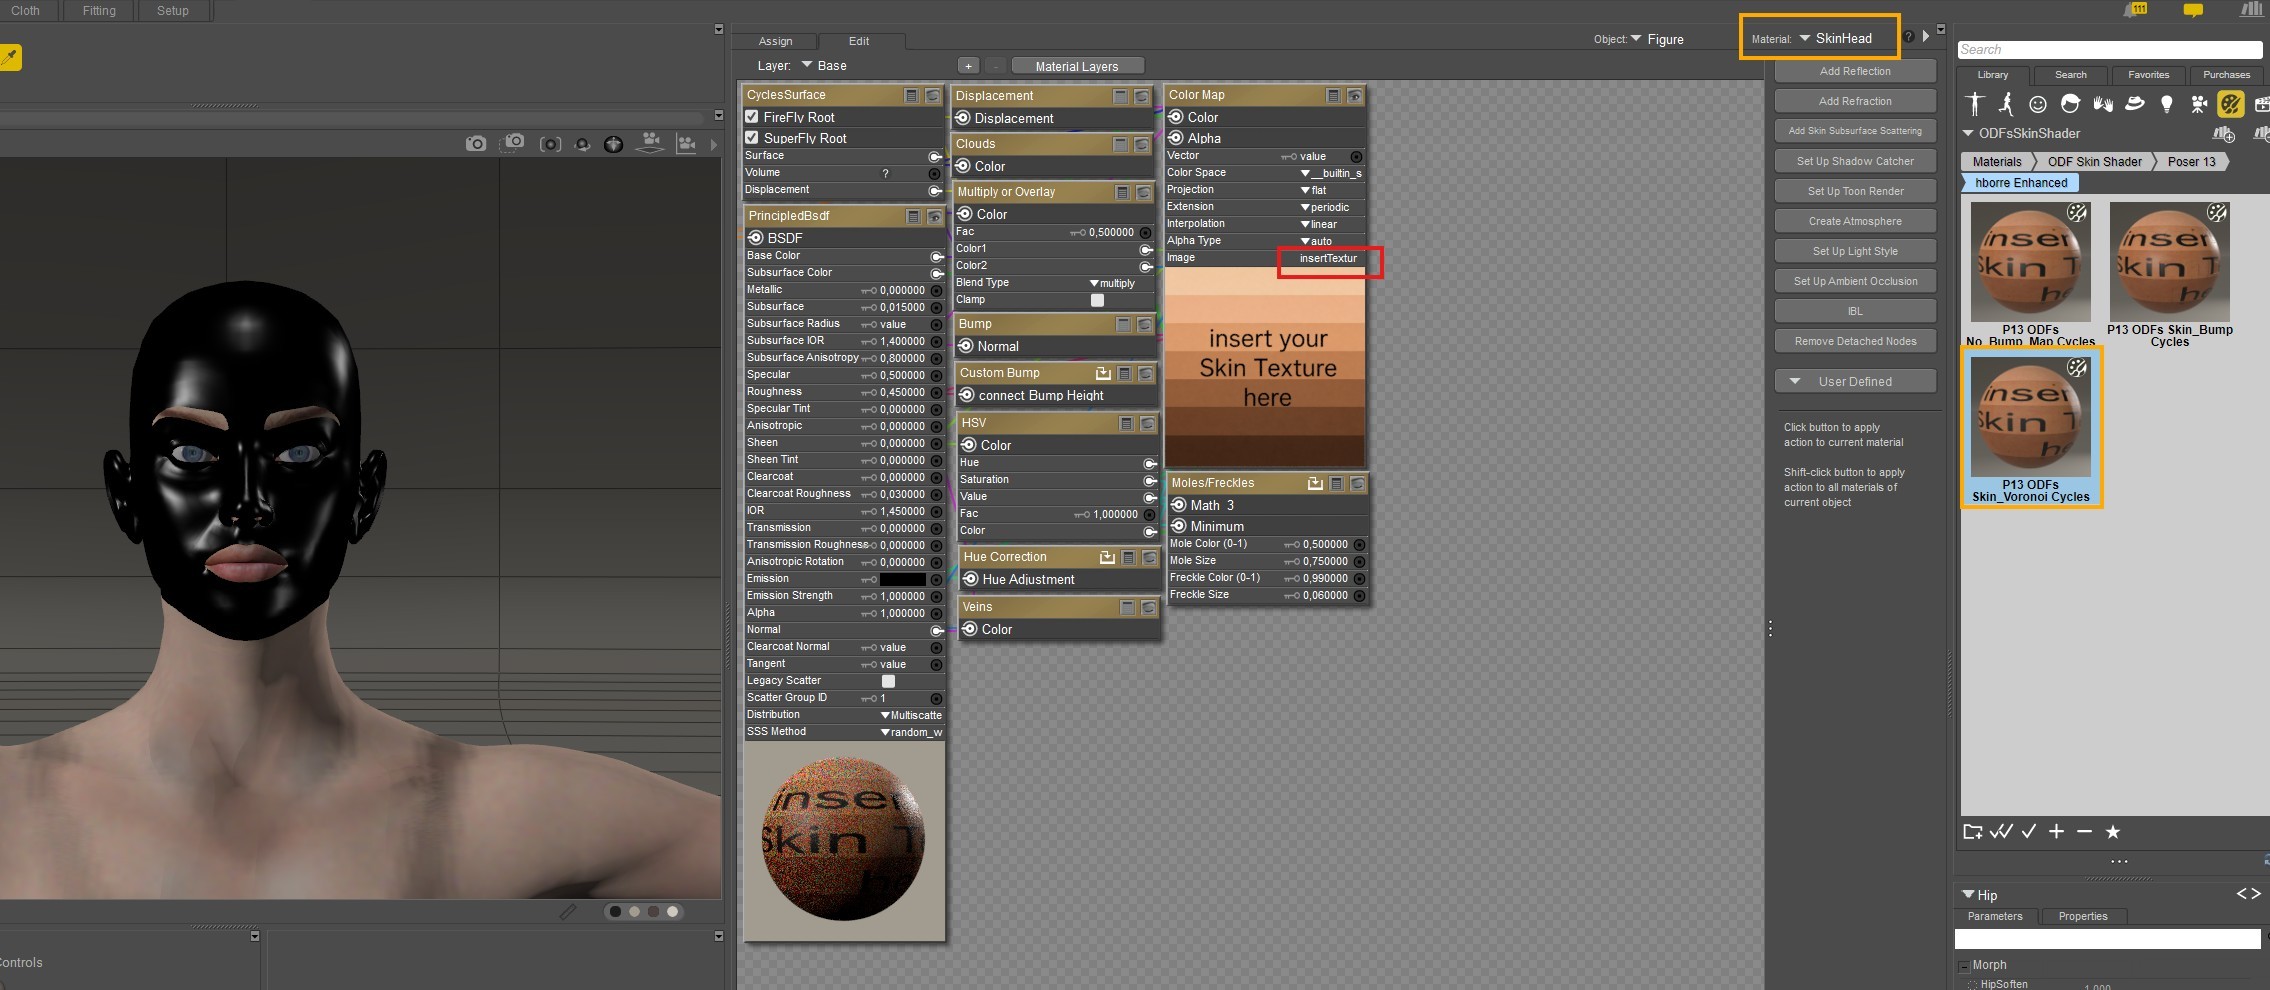
Step 5 (Image 6) – Apply the Shader. (I usually starts at the face/head)
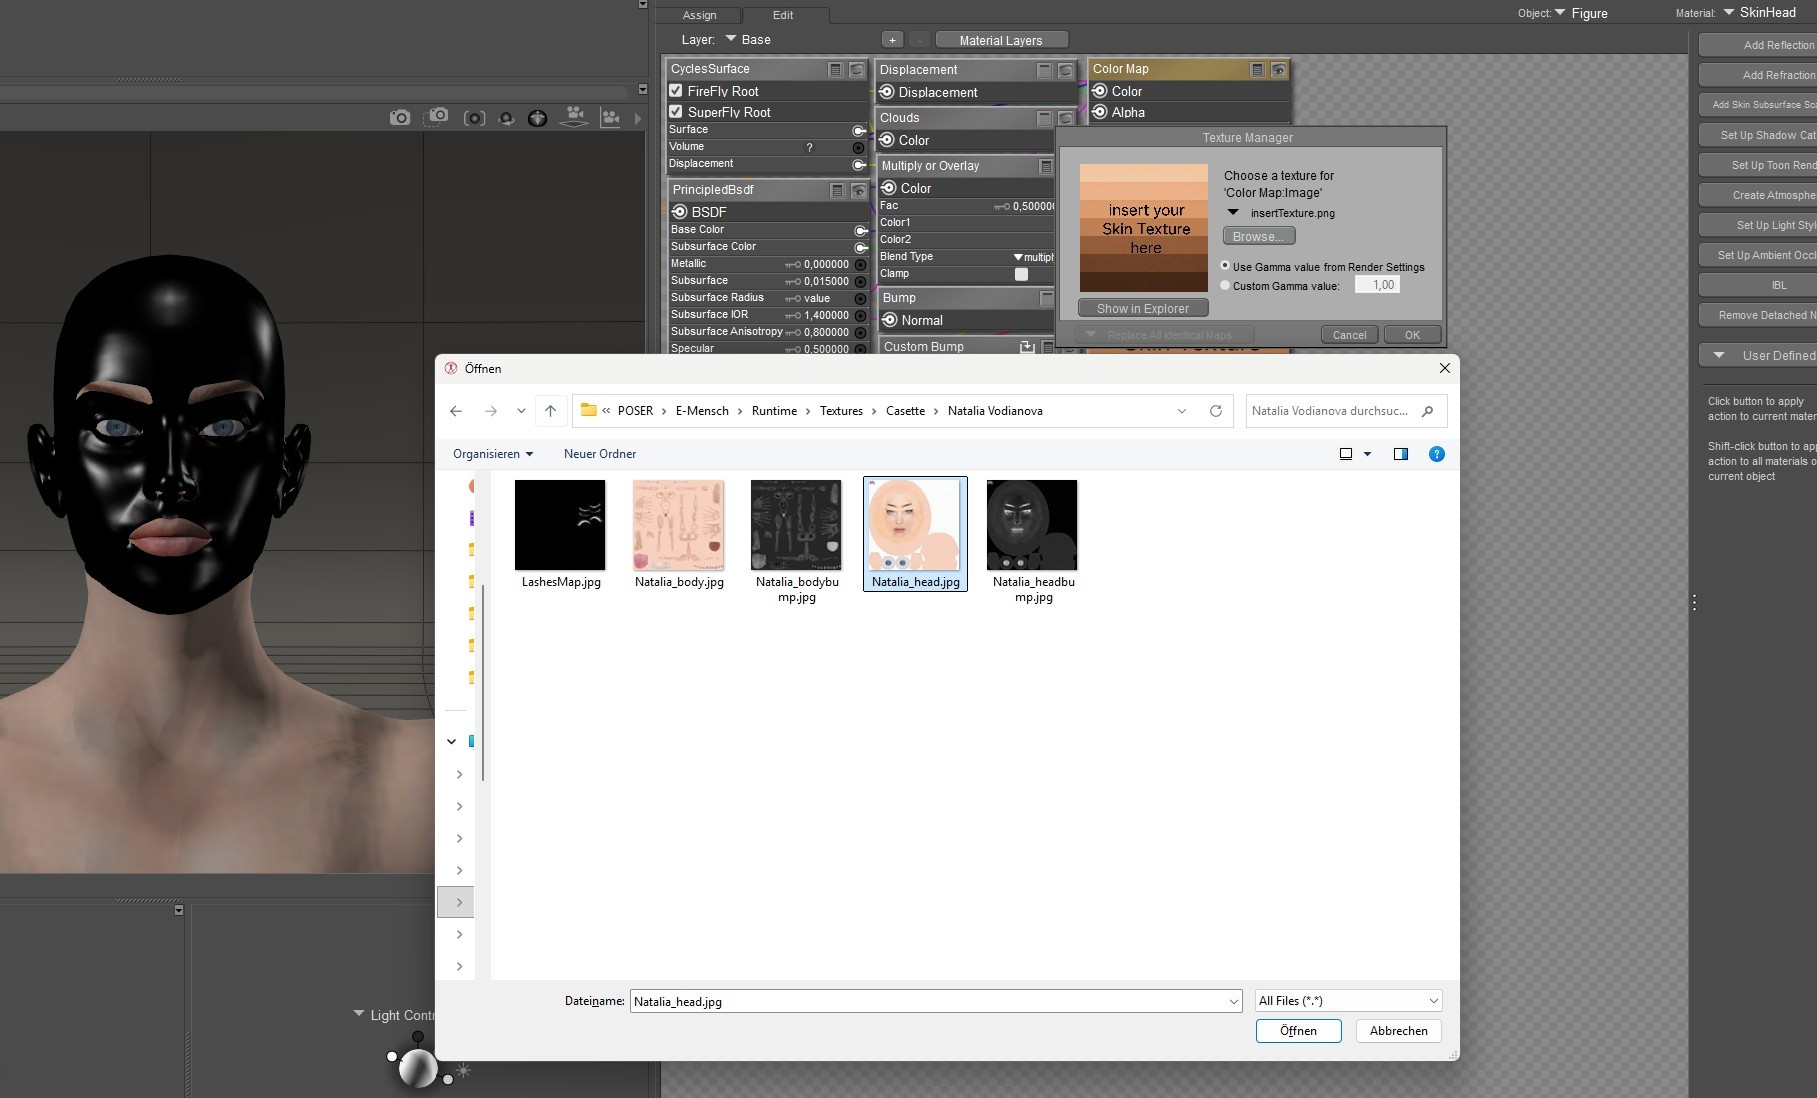
Step 6 (Image 7) – Replace the placeholder textures with your own textures by loading them from the same folder.
Step 7 – Repeat this for all skin material zones. If several zones share the same textures, you can save time by copying and pasting the material.
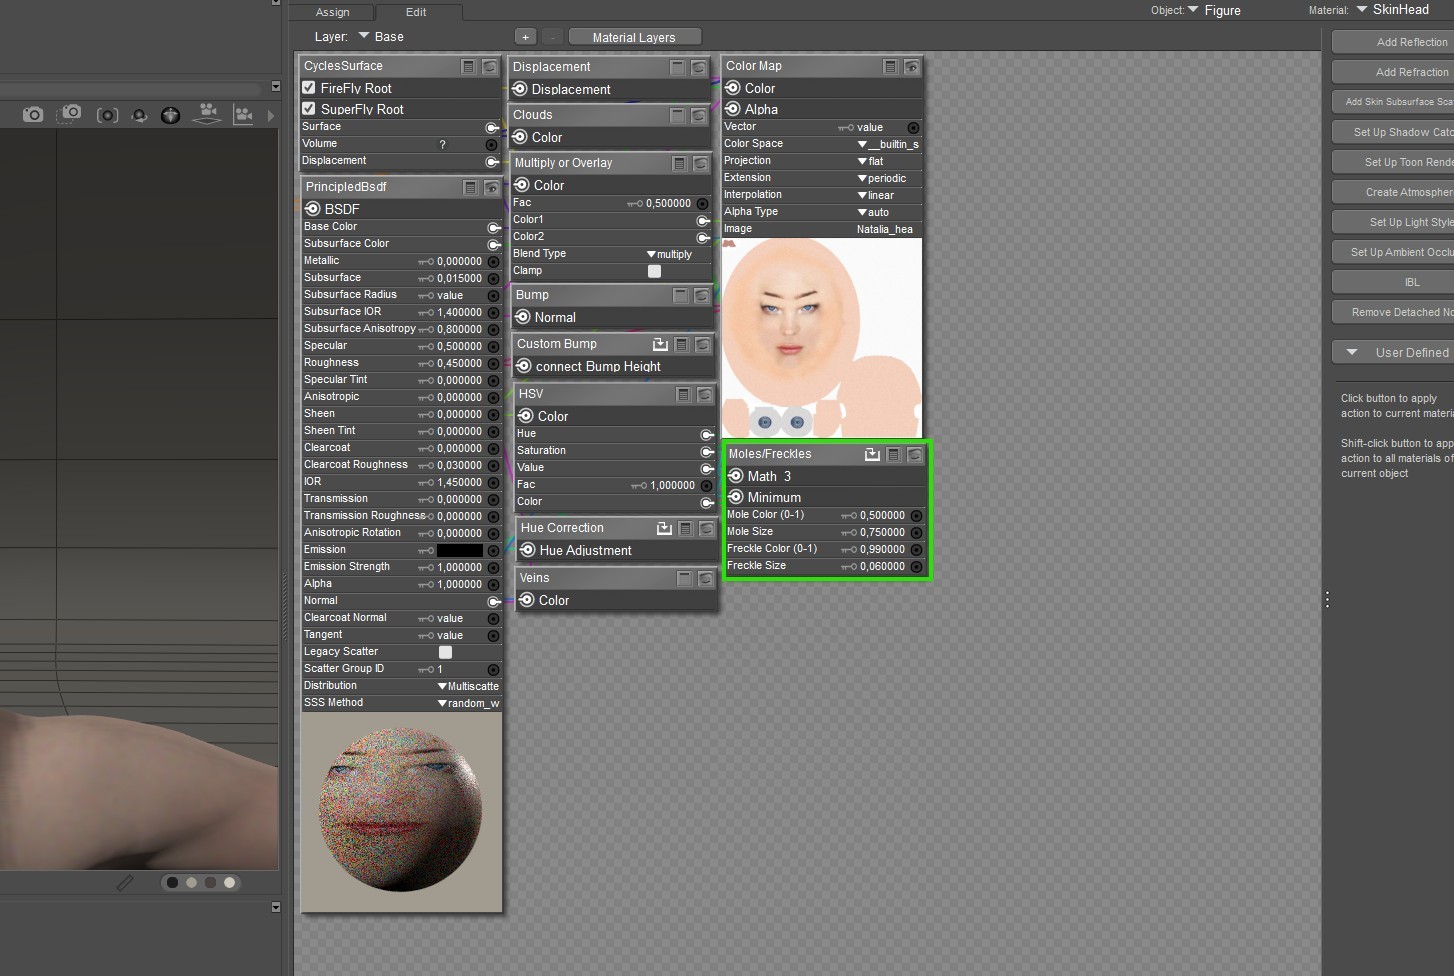
Image 8 - Optional: If you don't want freckles or moles, adjust the settings:
hborre Enhanced: Size = 0 // Color 0 = black
ODF Original: Set the lower color to white in the node Freckles/Moles
My personal preference:
Head & torso → Voronoi
Lips → Bump Map
No bump map available → No Bump Map version
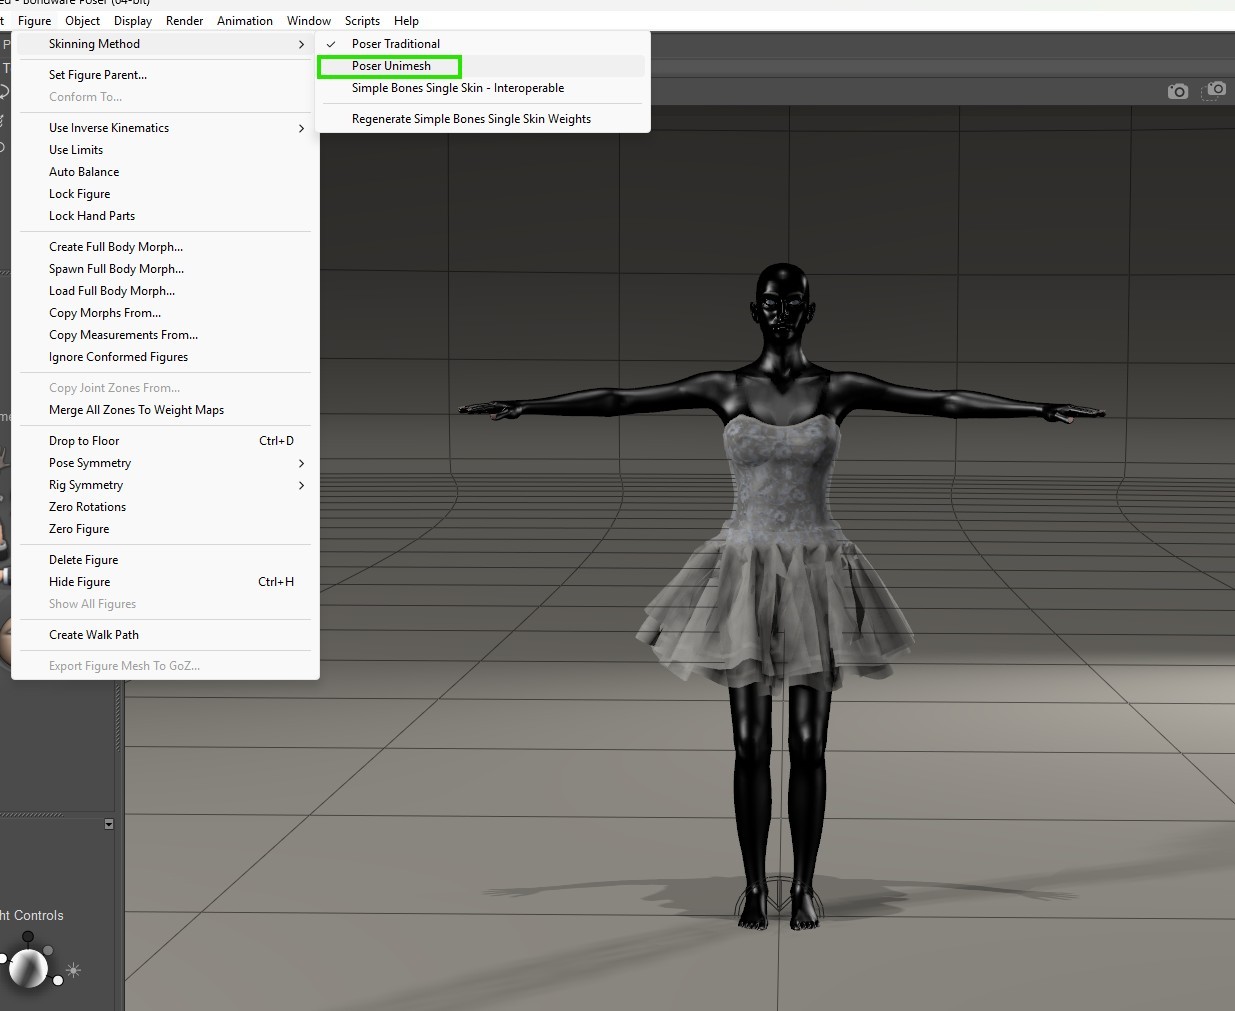
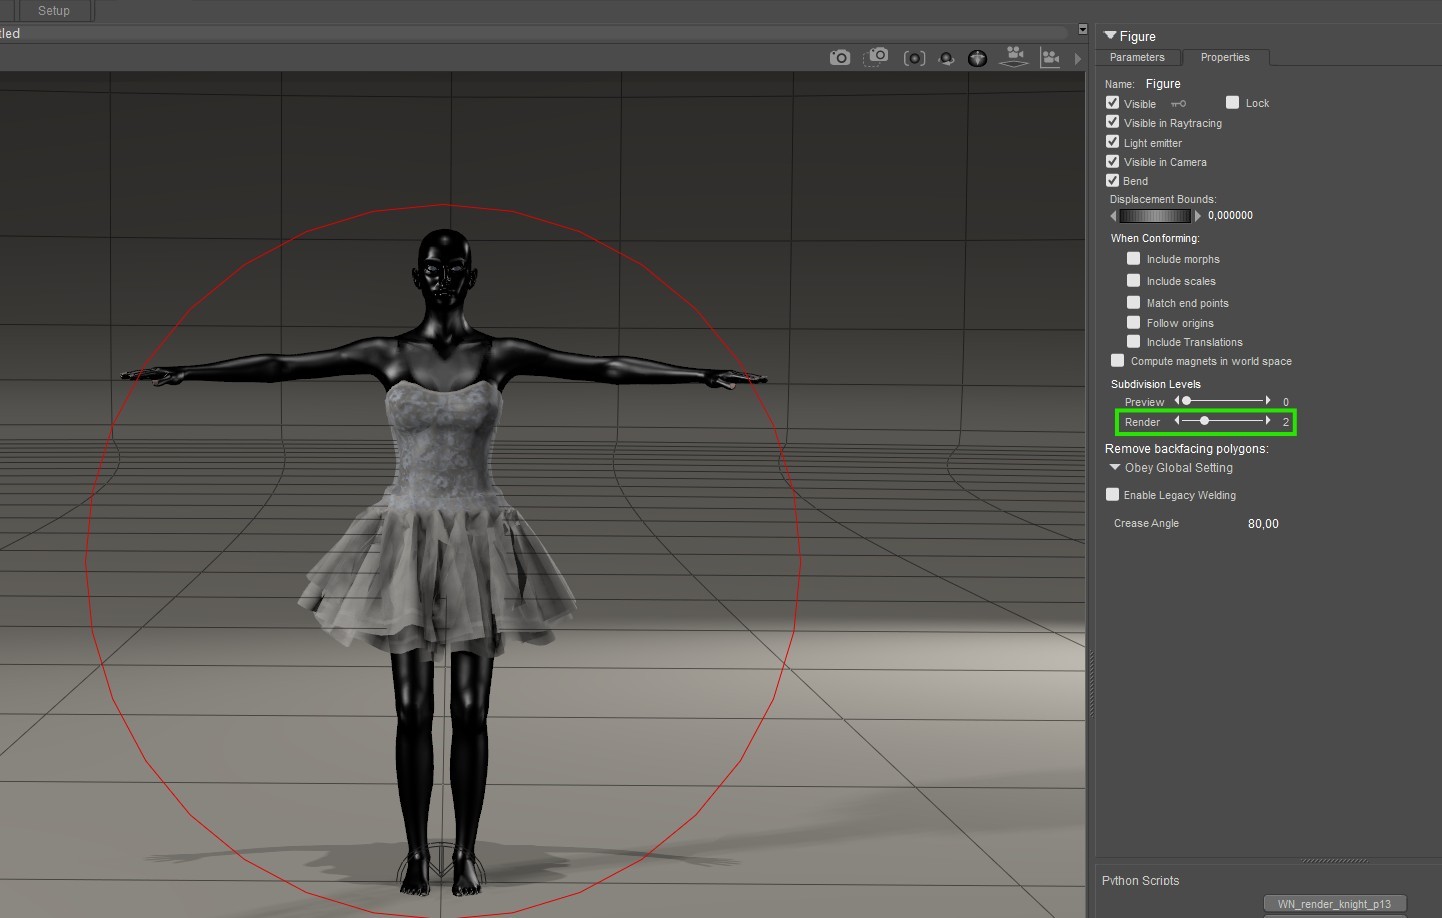
If you're using an older figure, you can also enable Poser Unimesh and Subdivision to get a smoother result.
Select the figure.
Image 9 - Click Figure → Skinning Method → Poser Unimesh.
Image 10 - Then go to Figure → Properties. Set Subdivision Levels (Render) to 1 or 2.
That's all there is to it. 😊



Comments (3)
Thank you very much.
I hope it helps a bit :)
Merci beaucoup; midinick pour ces explications
J'espère que cela aide un peu :)
Thank you so much for making this tutorial. I appreciate all the time you've put into this project :)
My Pleasure ^^ I hope it is helping a bit.