
Patrick_210 opened this issue on Feb 12, 2006 · 25 posts
Patrick_210 posted Sun, 12 February 2006 at 6:23 PM
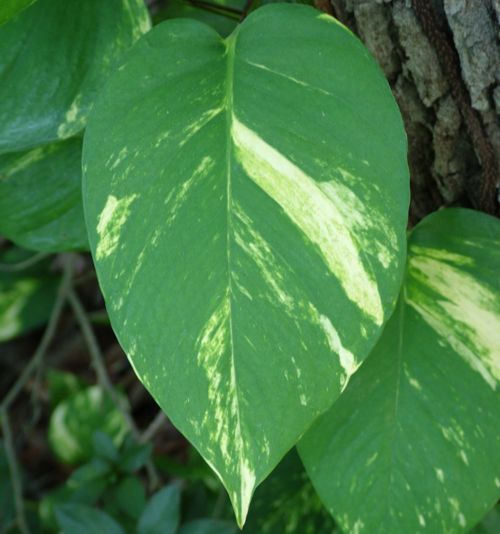
Patrick_210 posted Sun, 12 February 2006 at 6:24 PM

Patrick_210 posted Sun, 12 February 2006 at 6:25 PM

Message edited on: 02/12/2006 18:36
Patrick_210 posted Sun, 12 February 2006 at 6:26 PM

Patrick_210 posted Sun, 12 February 2006 at 6:27 PM

Patrick_210 posted Sun, 12 February 2006 at 6:27 PM

Patrick_210 posted Sun, 12 February 2006 at 6:28 PM

Patrick_210 posted Sun, 12 February 2006 at 6:29 PM

Patrick_210 posted Sun, 12 February 2006 at 6:30 PM

Message edited on: 02/12/2006 18:40
Patrick_210 posted Sun, 12 February 2006 at 6:31 PM

Patrick_210 posted Sun, 12 February 2006 at 6:34 PM
In step 3, it shows the image in the "left" view, you have to change that view to "right" or your UV map will be flipped.

steama posted Sun, 12 February 2006 at 7:03 PM
Thanks Patrick

ren_mem posted Sun, 12 February 2006 at 7:17 PM
Ditto!
No need to think outside the box....
Just make it
invisible.
Patrick_210 posted Sun, 12 February 2006 at 7:19 PM
No problem, I forgot to add that sometimes it is necessary to lengthen the stem in the vertex modeler after you have UV mapped the image. This obviously lets you make leaves for plants with longer stems.

bluetone posted Sun, 12 February 2006 at 11:33 PM
Outstanding Patrick! Thanx! :D

JasenJ1 posted Mon, 13 February 2006 at 6:22 AM
Interesting. I've used almost the same technique in a project I'm working on; except I used the spline modeler rather than the vertex modeler. My technique: Use Photoshop's selection tools (magic wand, etc.) to outline your object. Convert the selection to a path. Clean up the path in Photoshop as desired. Export path as an Illustrator file. In Carrara, import the Illustrator path into the spline modeler. Use flat mapping to apply the original image as a texture map. Go to the transform tab and scale and move the texture map around as needed. I'm going to guess that your technique is more flexible. The UV Editor probably lets you morph the texture map more flexibly, and it is likely easier to make certain types of changes to the object. - Jasen.

dlk30341 posted Mon, 13 February 2006 at 9:11 AM
Superb! Thank you very much!
Patrick_210 posted Mon, 13 February 2006 at 9:17 AM
One more correction, in step 10 it should say put the image in the translucency channel.

Moonglow posted Mon, 13 February 2006 at 11:45 AM
Thanks Patrick. Great tut. :)

Kixum posted Mon, 13 February 2006 at 8:03 PM
Thanks! I'm going to list this thread in the currently mentioned learning link! -Kix
-Kix
ren_mem posted Mon, 13 February 2006 at 10:13 PM
I would be curious how well a large scale environment w/ the replicator performs using this much uvmapping or even in animation. Any examples w/ stats anybody?
No need to think outside the box....
Just make it
invisible.
Patrick_210 posted Mon, 13 February 2006 at 11:34 PM
These leaves render very fast because the geometry is simple. The texture map could also be a lot lower in resolution if not seen very close. i've had very good render times with tens of thousands of replicated plants. Raytraced soft shadows will significantly increase render times, without them - fairly fast.
woodboat posted Wed, 15 February 2006 at 8:38 AM
Thanks for this great tutorial. Has helped me get my understanding around several Carrara concepts I had not figured out yet. regards, wb
CarltonMartin posted Thu, 16 February 2006 at 12:06 PM
As for the Mac answer to part 7, put the leaf file inside the Carrara 5 application package. Right-click the Carrara 5 program icon, choose open package contents, then find your way to the plants folder inside the data folder, thus: Carrara 5.app/Contents/MacOS/Data/Plants/
Patrick_210 posted Thu, 16 February 2006 at 3:28 PM
Thanks for the input!