Forum: Carrara
Subject: Spline Modeling?
Angelouscuitry opened this issue on Feb 11, 2007 · 7 posts
Angelouscuitry posted Sun, 11 February 2007 at 12:27 AM

Spline modeling looks like a great way to create objects, because you can start with Photoshop Magic Wand Selections! Here at my first ever attempt to create an object.
Angelouscuitry posted Sun, 11 February 2007 at 12:28 AM
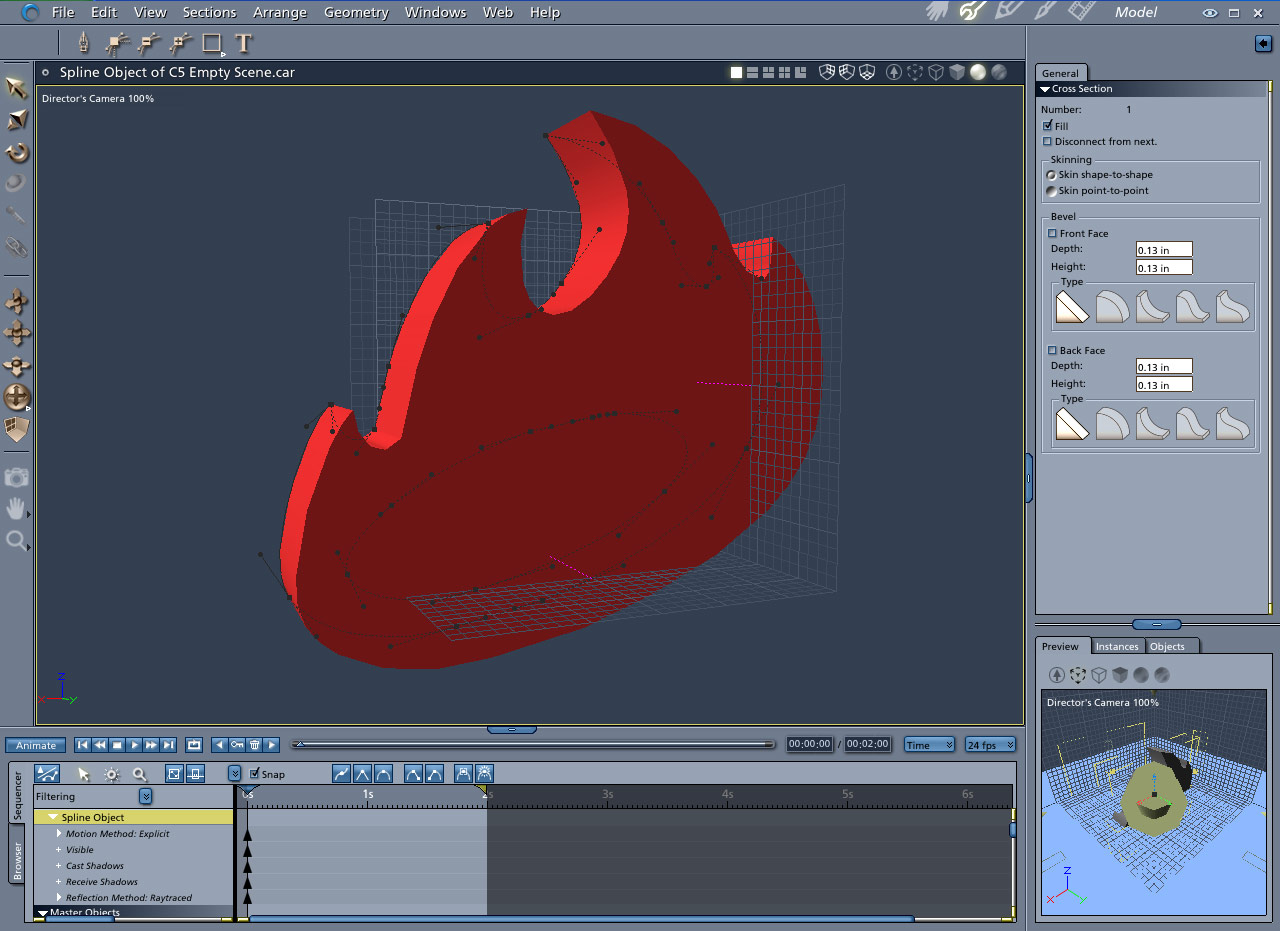
To get things started I used the Photoshop Magic Wand to select this Angelfire logo; then I created a path, and exported the path as an Logo.AI. Then, in Carrara, I Insert > Spline Object and clicked File > Import > Logo.AI.
My first concern is that the hole in the middle of the logo is actually going to need to be treated as an other, Boolean like, object? If so, how can I keep applying the changes I make, from the first object, to the second object?
Angelouscuitry posted Sun, 11 February 2007 at 12:29 AM
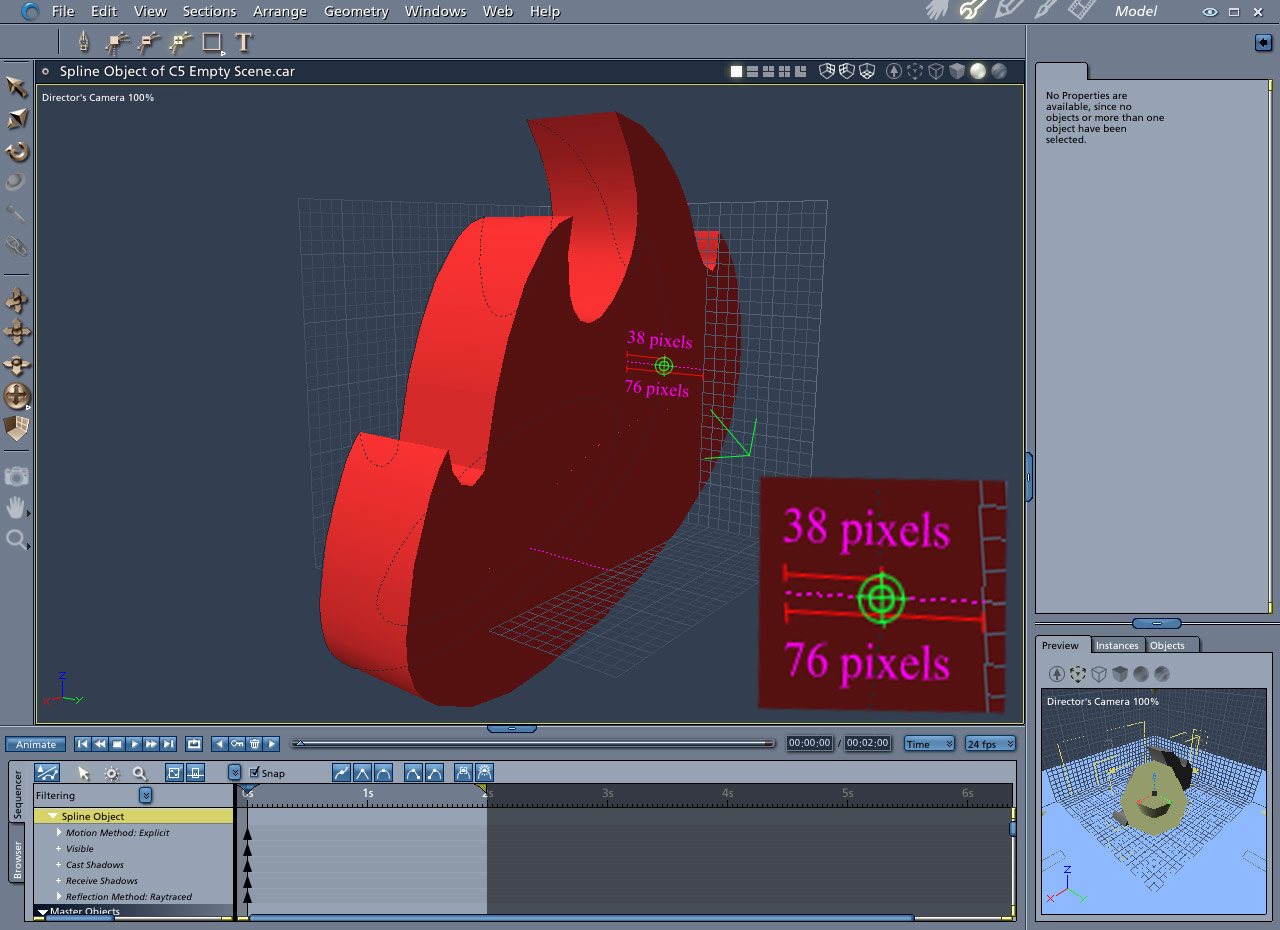
My next concern is really interesting; and involves a concept I should easily like to remember! I see the Add Point tool, and would like to add a point halfway between the two existing points, and halfway down the line? I could do it by hand, but would like to eliminate guess. Similar to being interested in adding one new point, I should like to know how to add multiple points evenly. Lets's say I'd like to 3 more points, so that there is a point at each 1/4 distance of the line?
Angelouscuitry posted Sun, 11 February 2007 at 12:30 AM
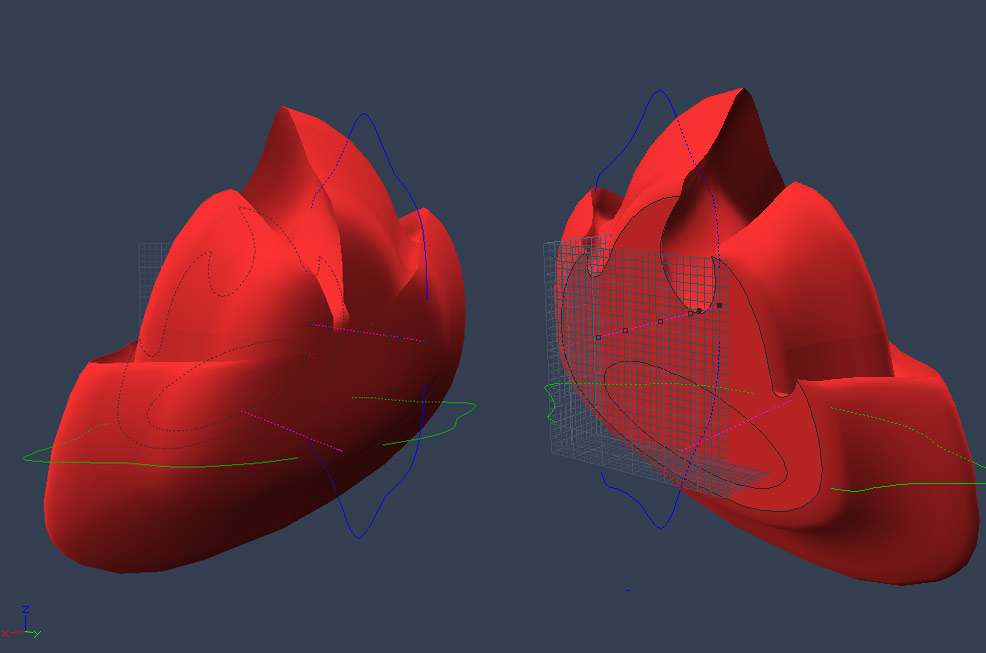
WIth the AI imported I I clicked Geometry > Extrusion Envelope > Symetrical. Then I added some points with the Add Point tool; and had at them with the Convert Point tool. I started to get an idea of what I'm looking for, but then I noticed keeping both sides of the object similar is difficult; any idea how this is done, simply?
Angelouscuitry posted Sun, 11 February 2007 at 12:30 AM
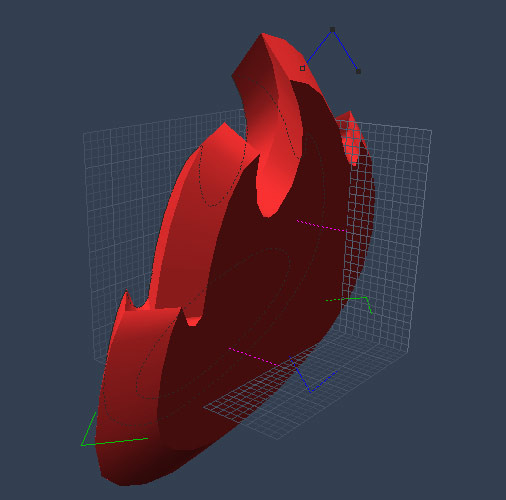
Without getting too complicated I can come fairly close to the shape I'm looking for. But, now that I have added extra points, how could I scale this spline alonf the y axis. Before I added the extra vertexes I could just click and drag on the last vertex, to the right of the Blue or Purple guides; but now hat the others are there, dragging only effects the area bewteen the last vertex and the one before it, rather than from the first to the last vertex? I tried selecting all of the vertexs, along a line, but that did'nt work. I also tried to manipulate selected vertexs with the Scale tool, to no end.
sparrownightmare posted Sun, 11 February 2007 at 11:45 AM
Well the hole should be the simplest to deal with. After you have all of it's points set the way you want them, just ctrl-a to select all and then use the combine as compound to cut it out of the fire. If you don't like the way it imported, use the remove point tool to remove it one point at a time and rebuild it manually before you combine it.
Quote - To get things started I used the Photoshop Magic Wand to select this Angelfire logo; then I created a path, and exported the path as an Logo.AI. Then, in Carrara, I Insert > Spline Object and clicked File > Import > Logo.AI.
My first concern is that the hole in the middle of the logo is actually going to need to be treated as an other, Boolean like, object? If so, how can I keep applying the changes I make, from the first object, to the second object?
Angelouscuitry posted Sun, 11 February 2007 at 1:35 PM
Super, sparrow, thank you! The Combine as Compound command is right there in the Arrange Menu!
The next big thing, holding me up, is how to Add a Point in the middle of two existing points. I hope we wo'nt always need to Eyeball this, but I do'nt see any way to avoid doing it by hand?

