
bluewoods opened this issue on Jun 16, 2026 · 14 posts
RedPhantom posted Tue, 16 June 2026 at 6:17 PM Site Admin
Is there also a sort of "Auto-Fit" Function in Poser for Victoria 4 Figures? And how do I actually rig Clothing?
There is not an auto fit function in Poser. Clothing can be converted to a new figure in the fitting room. These instructions are for L'homme but will work for any figure in Poser.
1. Load figure. Turn off IKs. Use Figure>zero figure. (For L’Homme, make sure the L’Homme size dial is set to zero.) Hide posing chips/control handles.
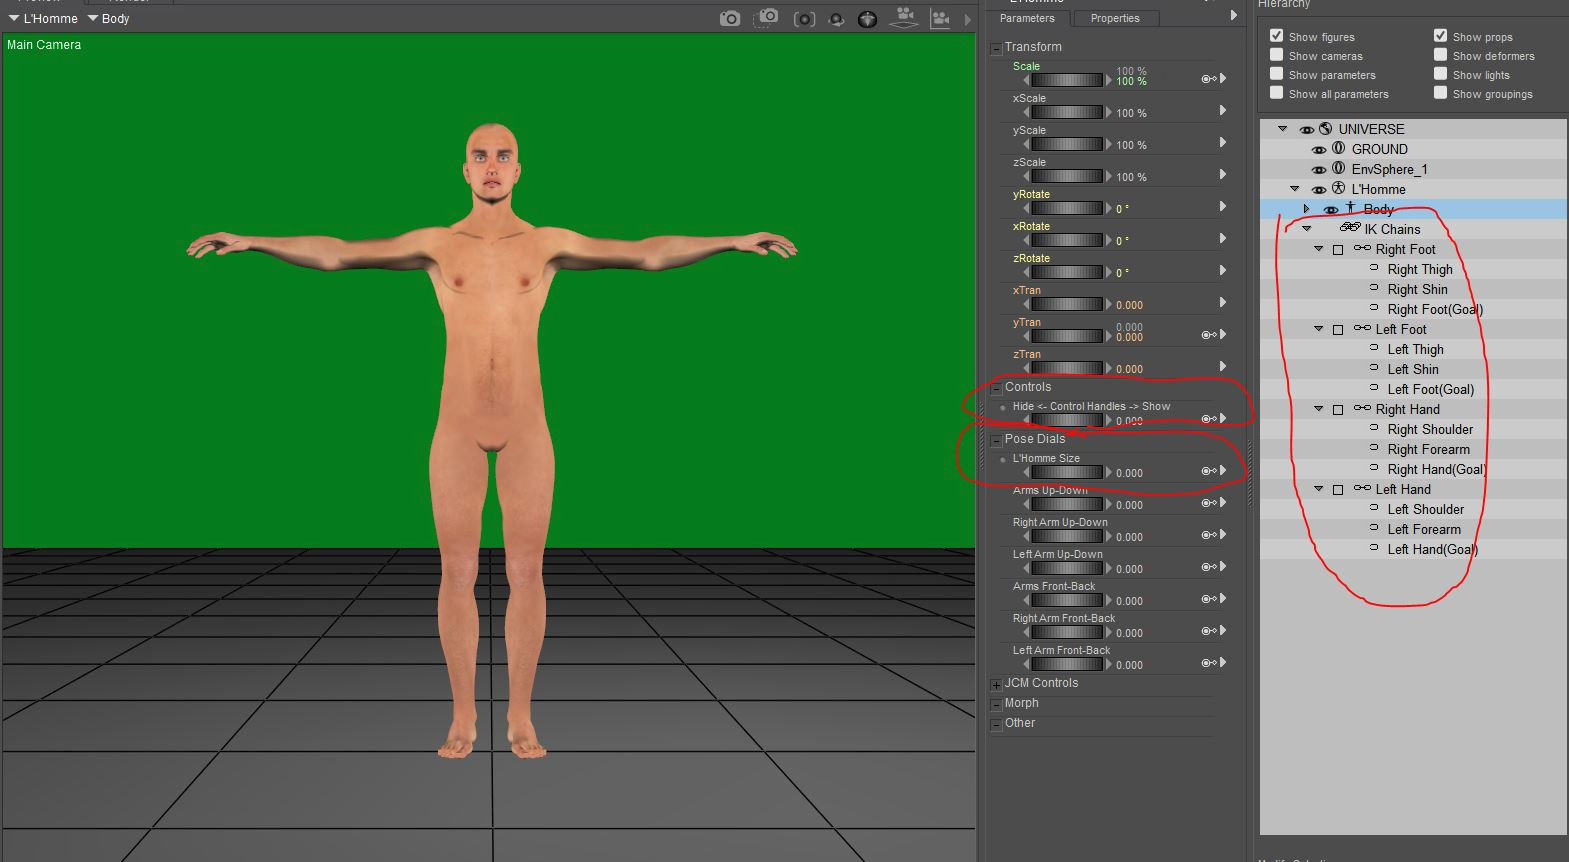
2. Load clothing
3. Move and resize the clothing so it is close to fitting your figure. You might also use the pose dials or scales for individual body parts of the clothing. If the scaling dials aren’t visible, click on the menu on the parameters palette and check the Show hidden parameters option. Don’t forget the pose symmetry option.
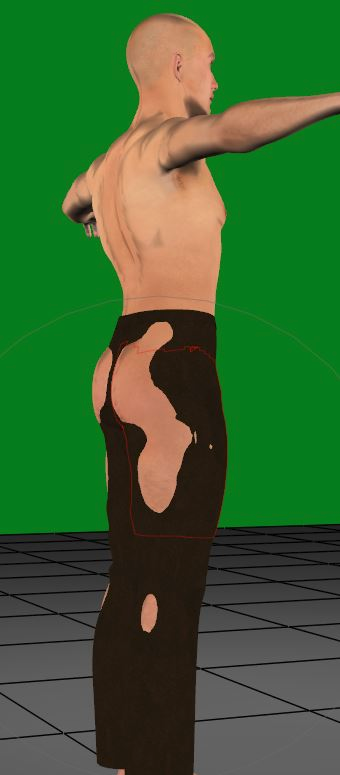
4. Make sure your figure isn’t subdivided. With the clothing selected, open the morph tool and don’t panic. (There’s always undo) Create a new morph and call it something unique like custom_morph. It really doesn’t matter what it’s called. It’s a temporary morph.
5. Select the Loosen fit brush and set the goal to your figure. If you don’t see your figure listed, you probably have it selected and are working with the wrong thing.
6. Set the magnitude to .1 or .05. The loosen brush is very sensitive, and this is the strength of the brush, so you want it low. The size is your choice. I usually find the default too small. Use whatever you’re comfortable with.
7. Working from the edges of the poke-through inward, stroke the brush over the poke-through. Work only on one side. Later, you can mirror the morph. Be patient as you work. Higher poly garments are slower to work with.
8. Once there are no more poke-throughs, go to display>figure style> wireframe (or press ctrl-alt 3) to check for places where the clothing is too far from the figure.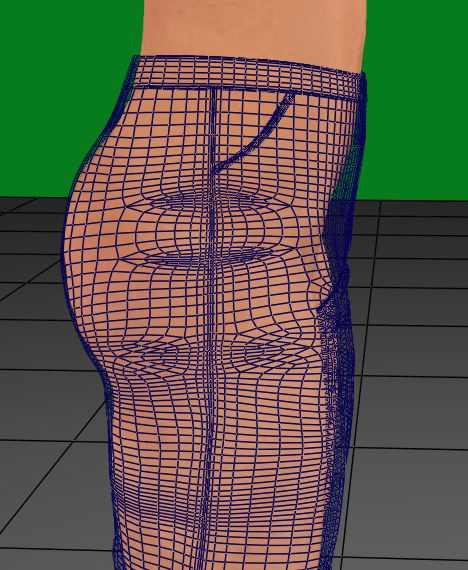
9. Use the tighten-fit brush if you find places that need to be fixed. Set the Pokethrough margin to about .001 or so. The smaller the number, the closer to the figure the clothing will get. .5 is good for the magnitude and your choice of brush sizes.
10. Stroke the places you want closer.
11. For tight areas, like between the legs, you can hide the body parts that are in the way.
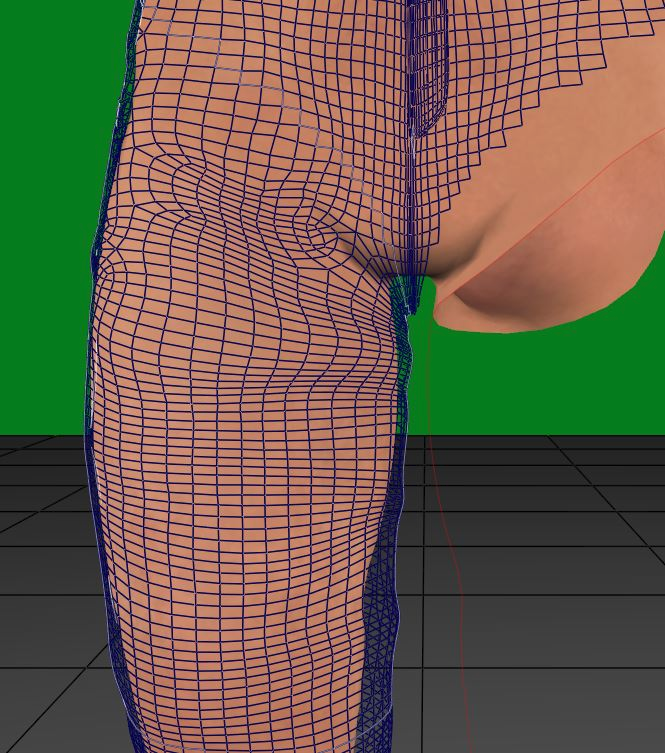
12. Make sure no parts are touching other parts, like in between the legs. The fitting room may get confused and mix up polys.
13. Use the smoothing tool for any place where the polys are bunching. You may need to use the loosen brush again afterward.
14. At the bottom of the morph tool, click on mirror and copy the morph from the side you were working on to the other.
15. Go to display>figure style>use document style (Ctrl. Alt. 0) and look for areas that need touch-ups.
16. When you don’t have any more, close the morph palette
17. Save your work. You don’t want to go through that again.
18. Go into the fitting room and create a new session. For the object, choose the clothing you are converting. Make sure the zero figure is NOT checked. Choose your figure for the goal. The zero figure can be checked here.
19. Ignore all the fitting tools because they don’t work right, and the clothing is already shaped how you want it.
20. Hit the create figure button.
21. A window will pop up with a chance to name the clothing. You can use the suggested name or another. Click Okay
22. In the transfer figure pop-up window, click the checkbox to deselect everything and select only the body parts you need. You don’t have to select every part individually. You can select the extremities (neck, forearm, shin, or foot), and everything between that and the body will be selected.
23. Click on select to choose which morphs you want to copy.
24. If the grouping is similar, you can choose to try to use the original grouping of the body parts; if they are different (such as having other parts), check auto group.
25. Click okay and go back to the pose room
26. Hide the original clothing and select the new clothing
27. Go to figures>copy joint zones from and choose the figure you are fitting it to.
28. Conform and test
29. Save file
30. Save the new clothing to the library
I use the steps 18-30 to rig something too.
Available on Amazon for the Kindle E-Reader Monster of the North and The Shimmering Mage
Today I break my own personal record for the number of days for being alive.
Check out my store here or my free stuff here
I use Poser 14 and Windows 11