atpo opened this issue on Jul 06, 2018 · 17 posts
Razor42 posted Sun, 08 July 2018 at 10:10 PM
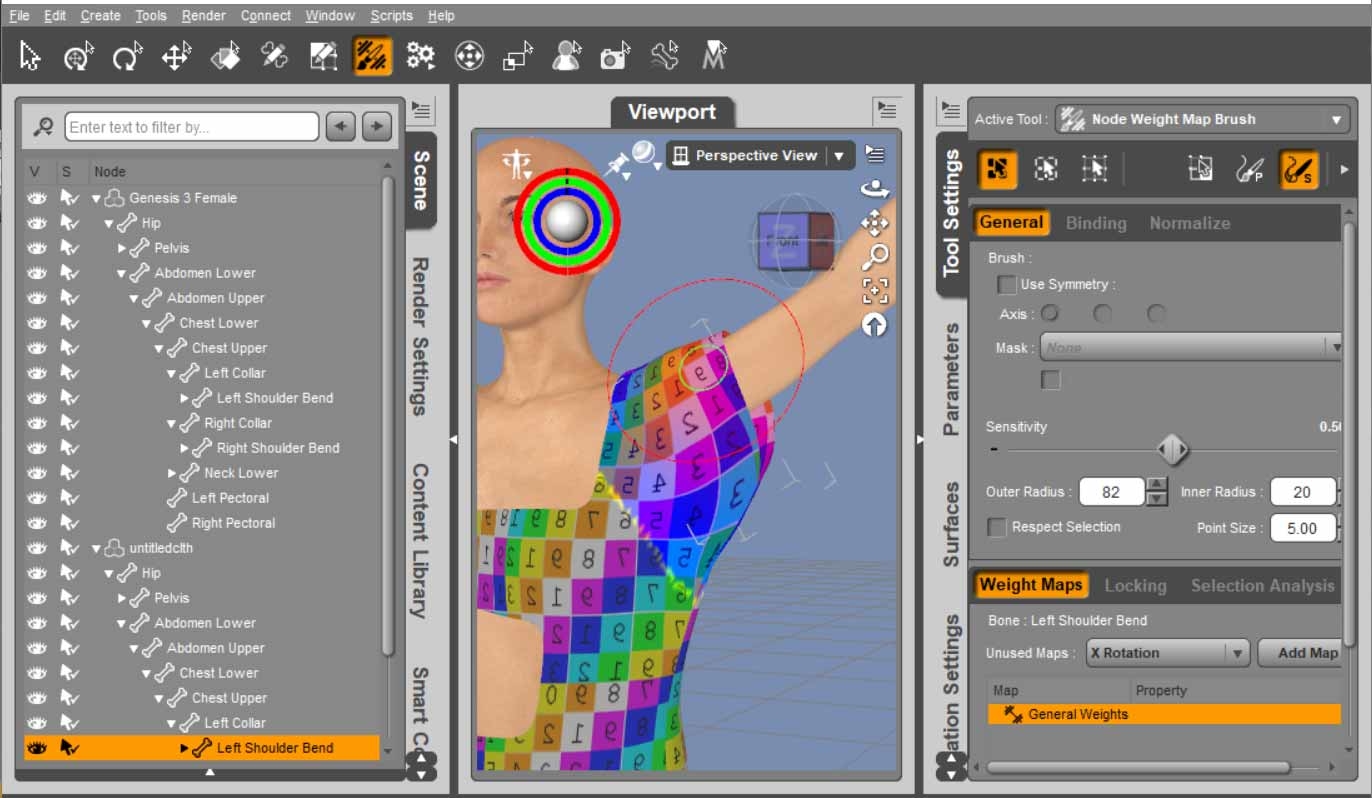
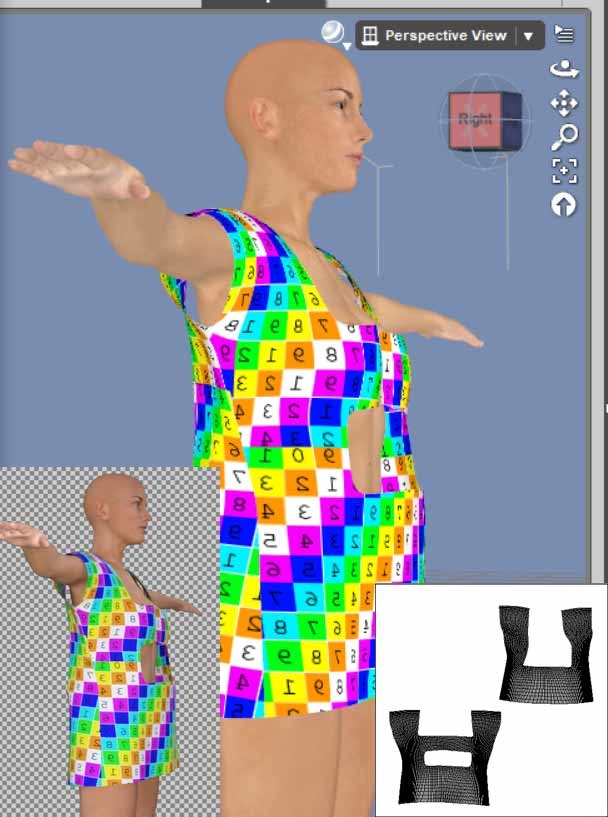
Hi Atpo, I downloaded your freebie, here are some quick observations.
3a. I moved the Genesis left shoulder bend up
3b. Select the same bone in the dress rigging in the scene tab. ie Left Shoulder Bend
3c. Now select the tool for Node Weight Map Brush you will also need the tab/panel Tool Settings visible. If it is not visible you can find it in Window/Panes(Tabs)/Tool Settings
3d. Now you need to select the Map you want to paint on. In this case it is the General Weight Map for the Left Shoulder Bend you can see it highlighted in the bottom Tool Settings panel below. Once selected you should be able to see the weight map directly on your dress geometry. Red is strong effect, Blue is light and no color is no effect.
3e. Now I selected the smooth tool (indicated by icon with the little brush and the S), and enlarged the outer radius and inner radius of the brush size.
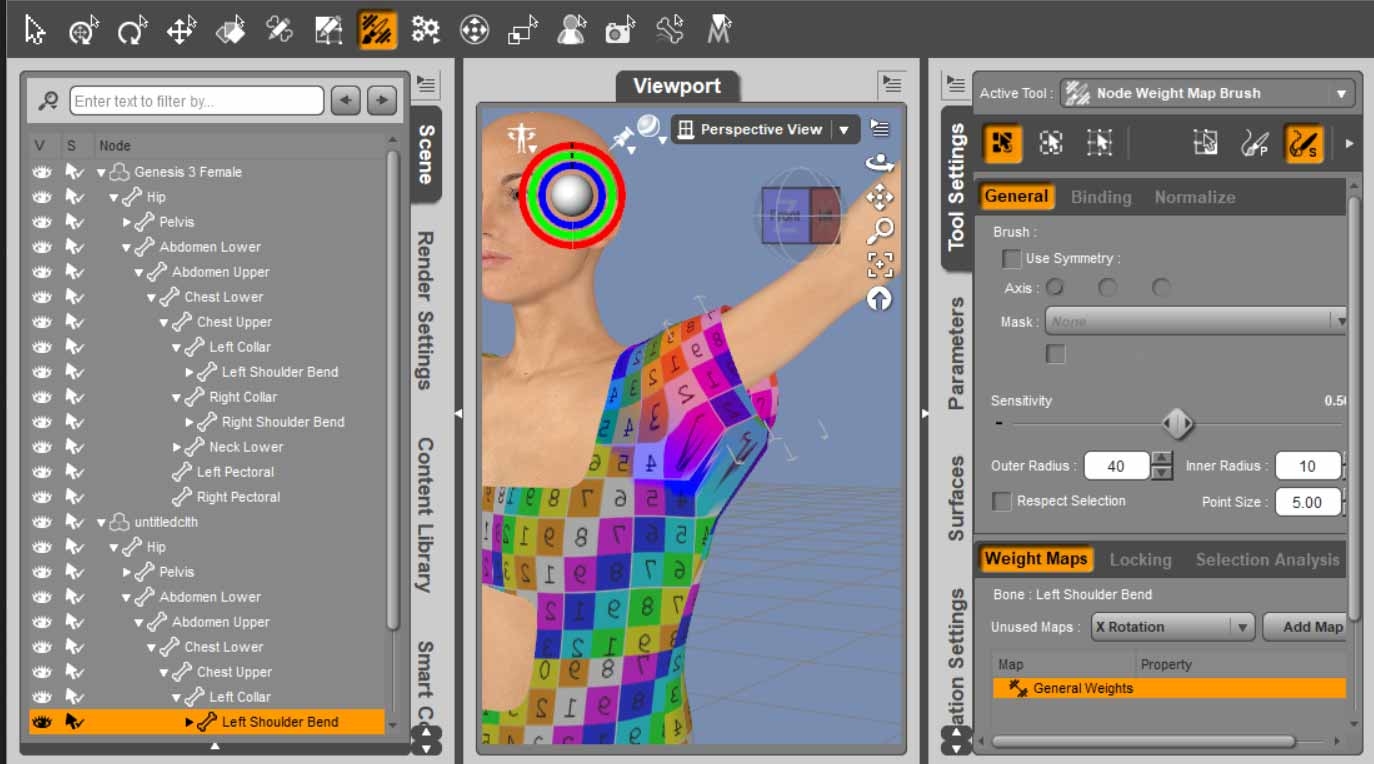
3f. Now on the actual dress geometry I use the brush to smooth out the weight map to give a smoother bend.
3g. Rinse and repeat on all joint bends and bones to make sure the clothing item bends as well as possible. Make sure to resave the figure/clothing to save the altered wright maps.
3h. IN some cases a JCM may be needed to get the desired shape when bending. Plus you also have rigidity maps for things like buttons or toggles but that's a tut for another day.
Image below with the weight map smoothed.